Modeling & Materials
Weekly Design Challenge Template
Gia Linh Dinh
Module 1
Intro to 3d by selecting objects from around my environment.
Design Challenge 1
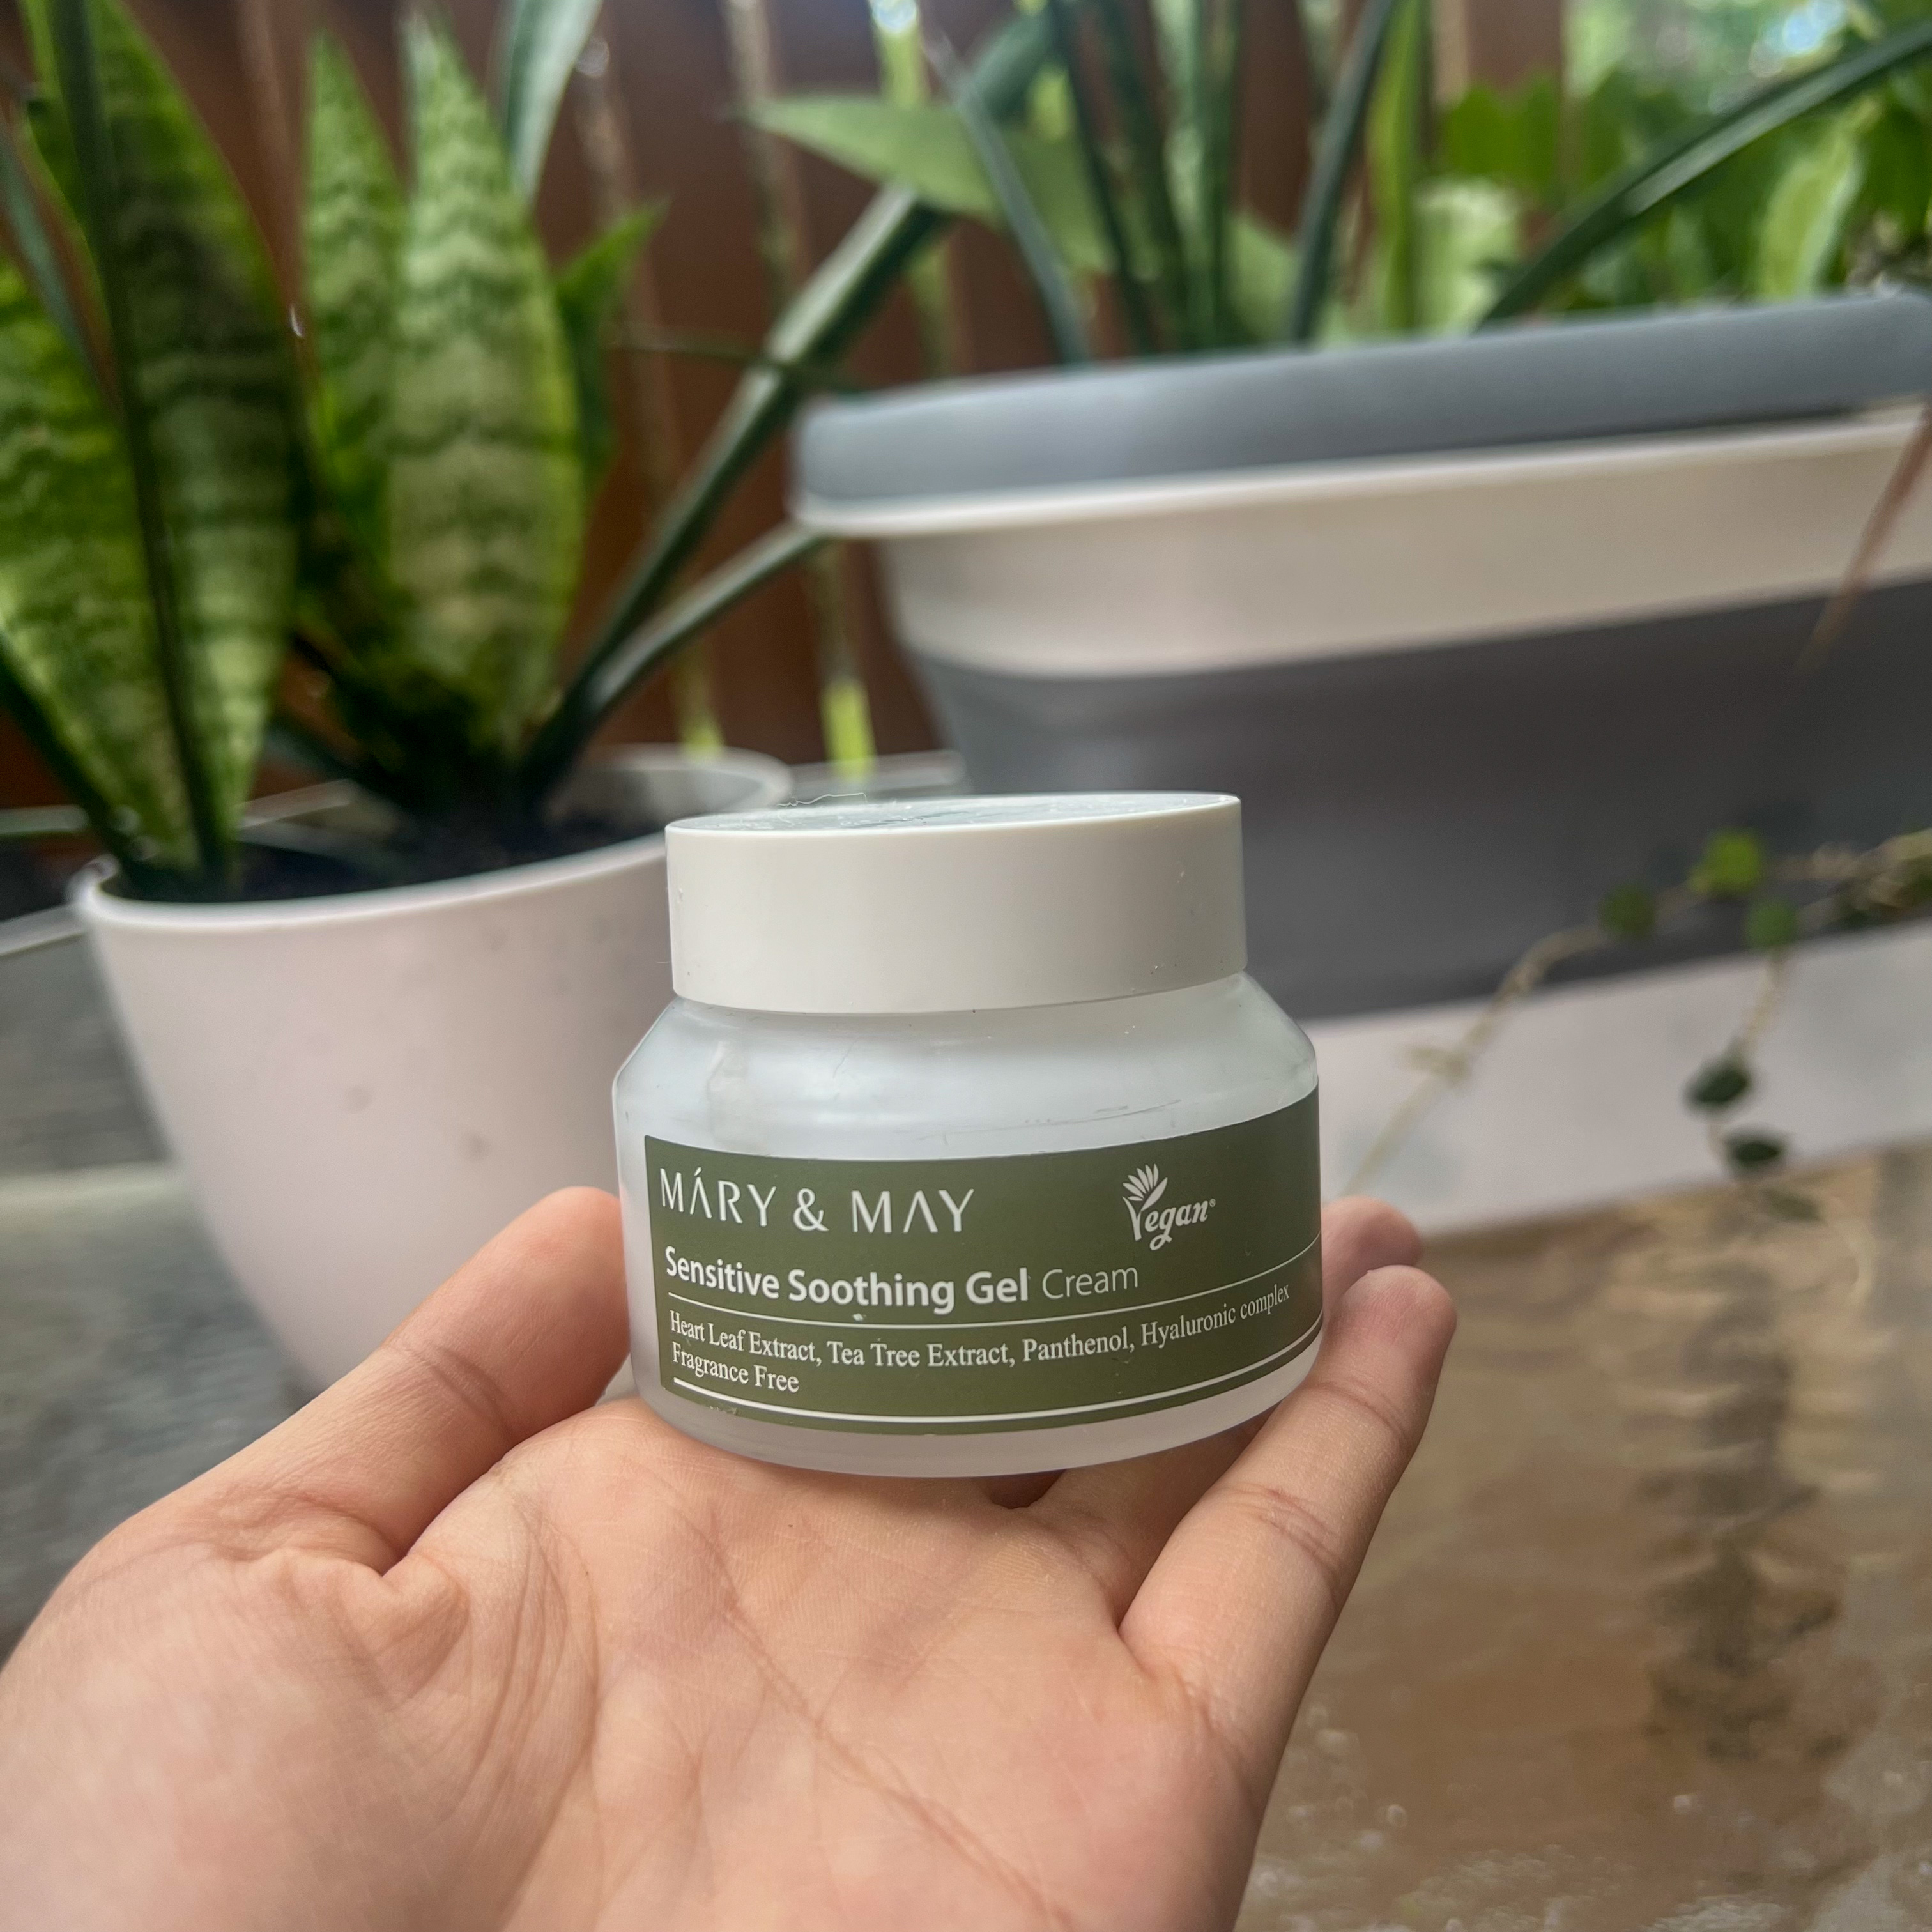
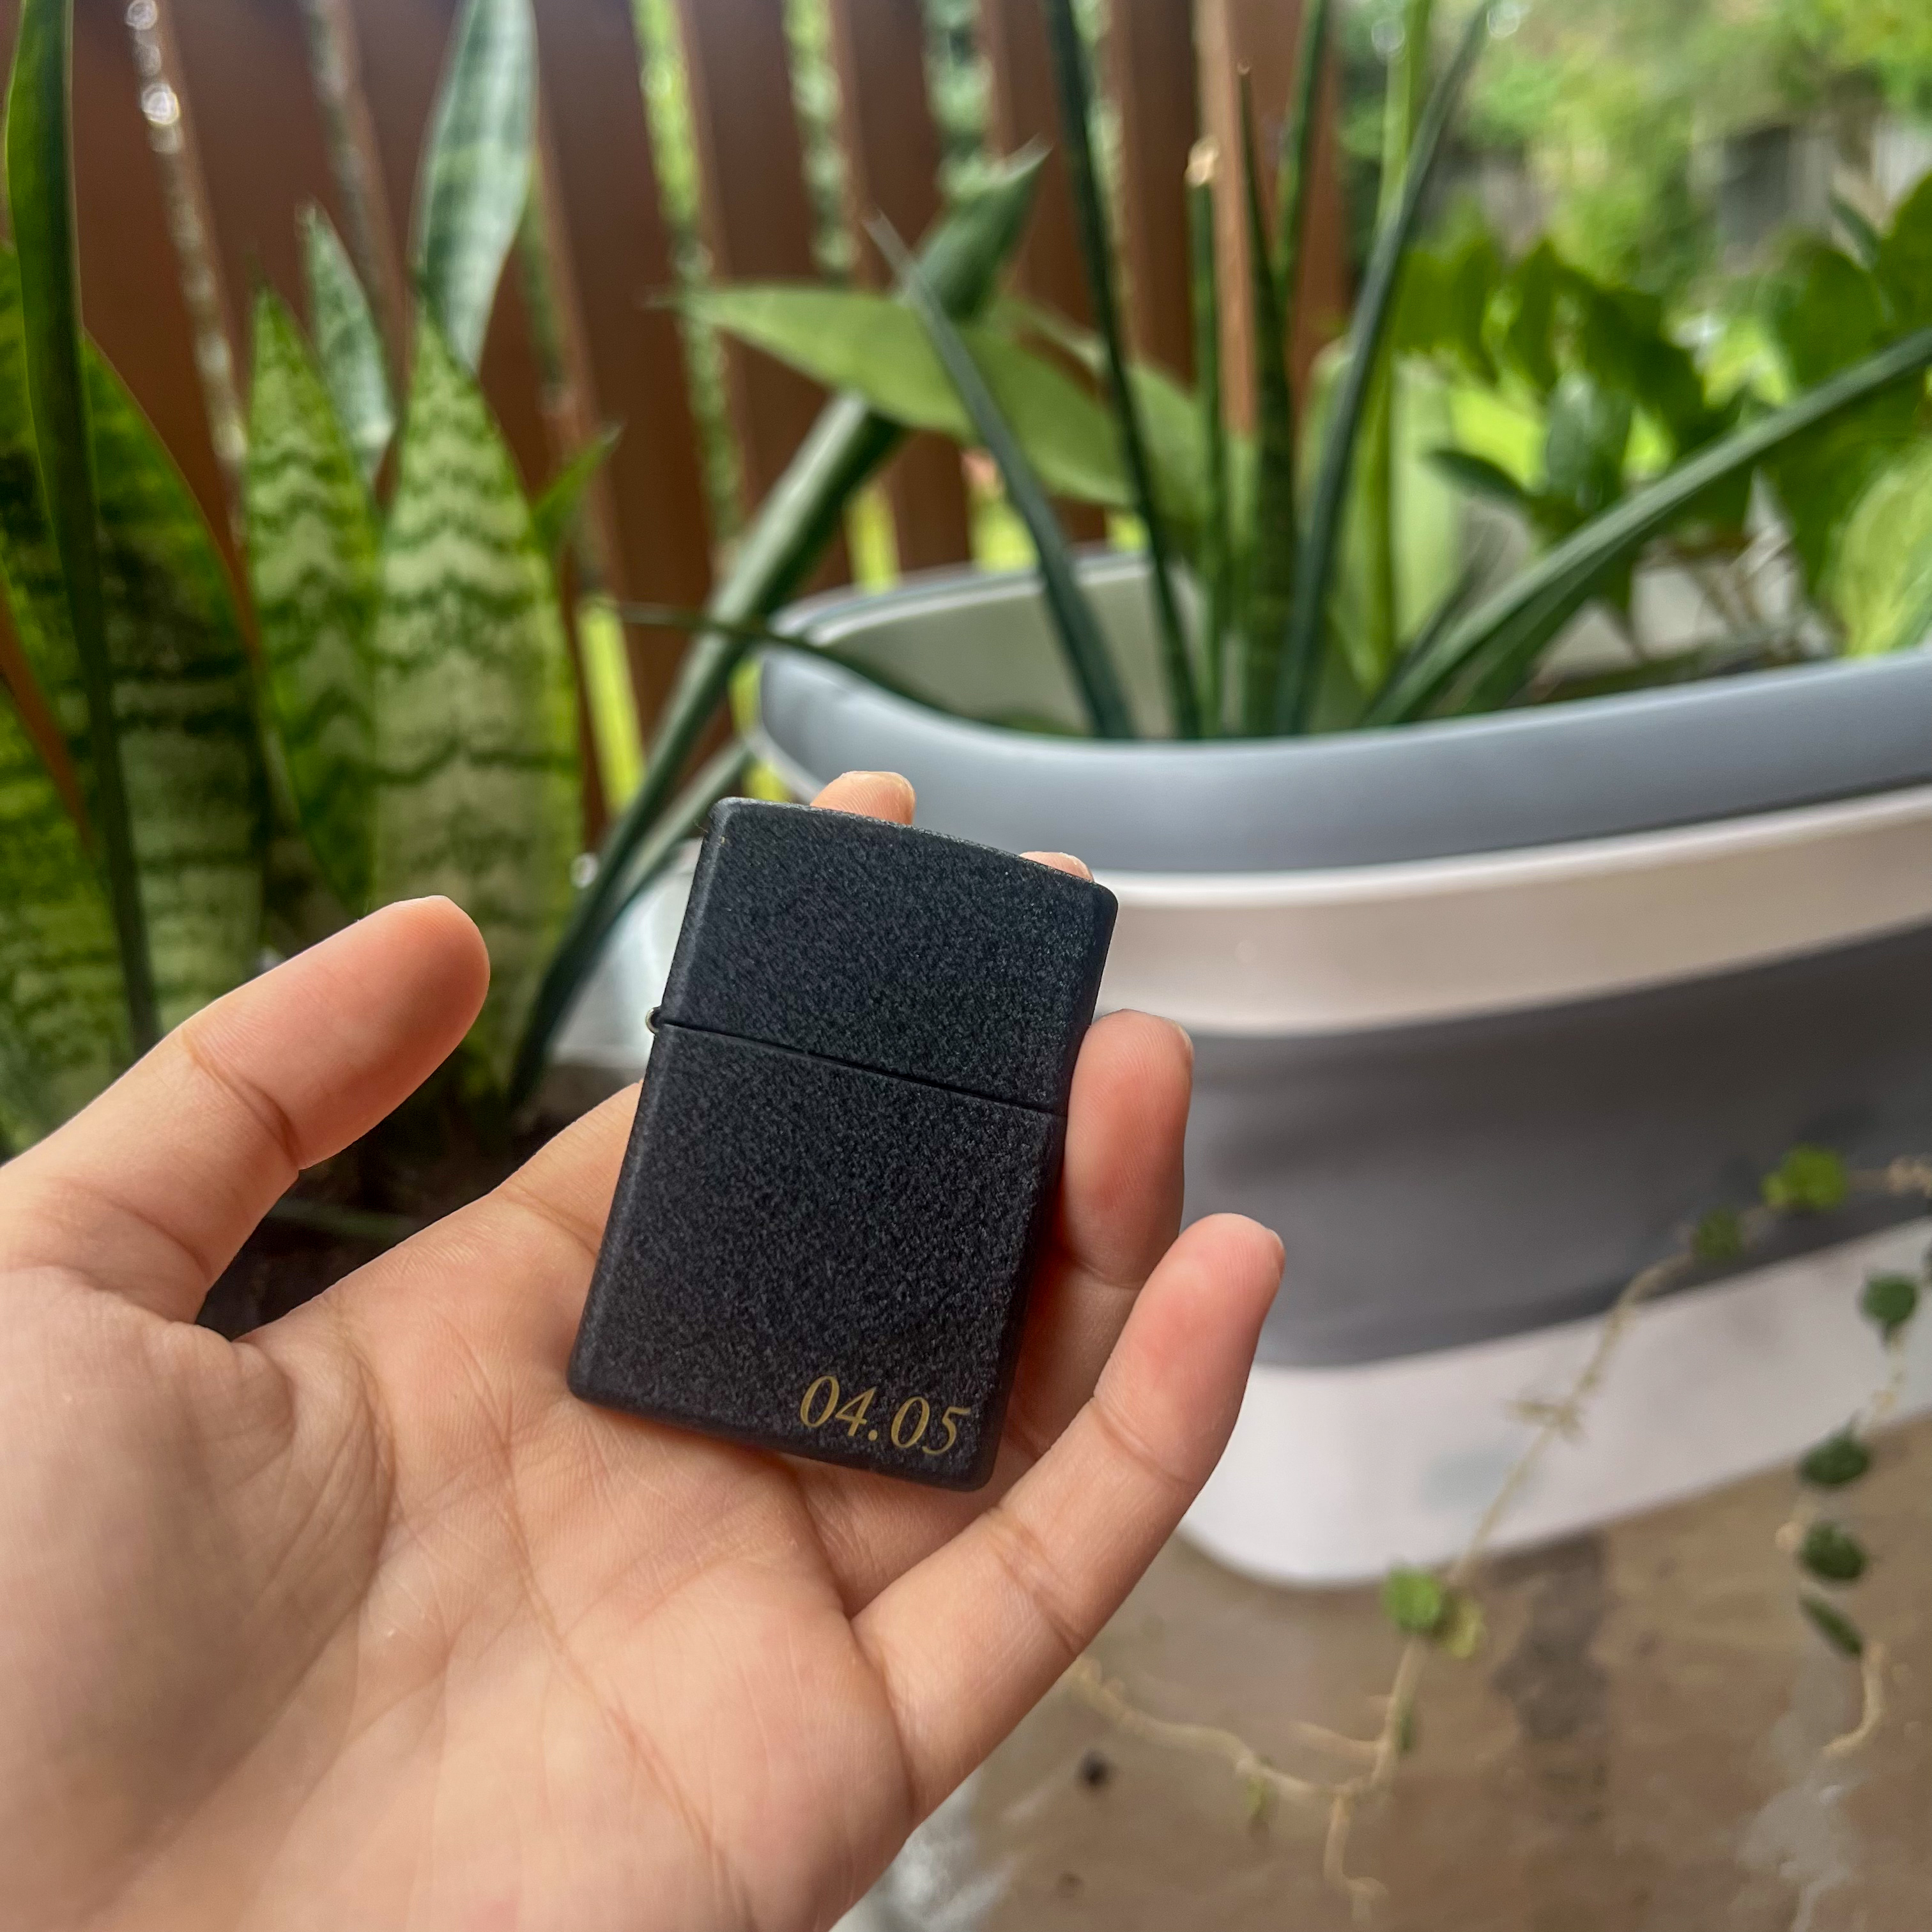
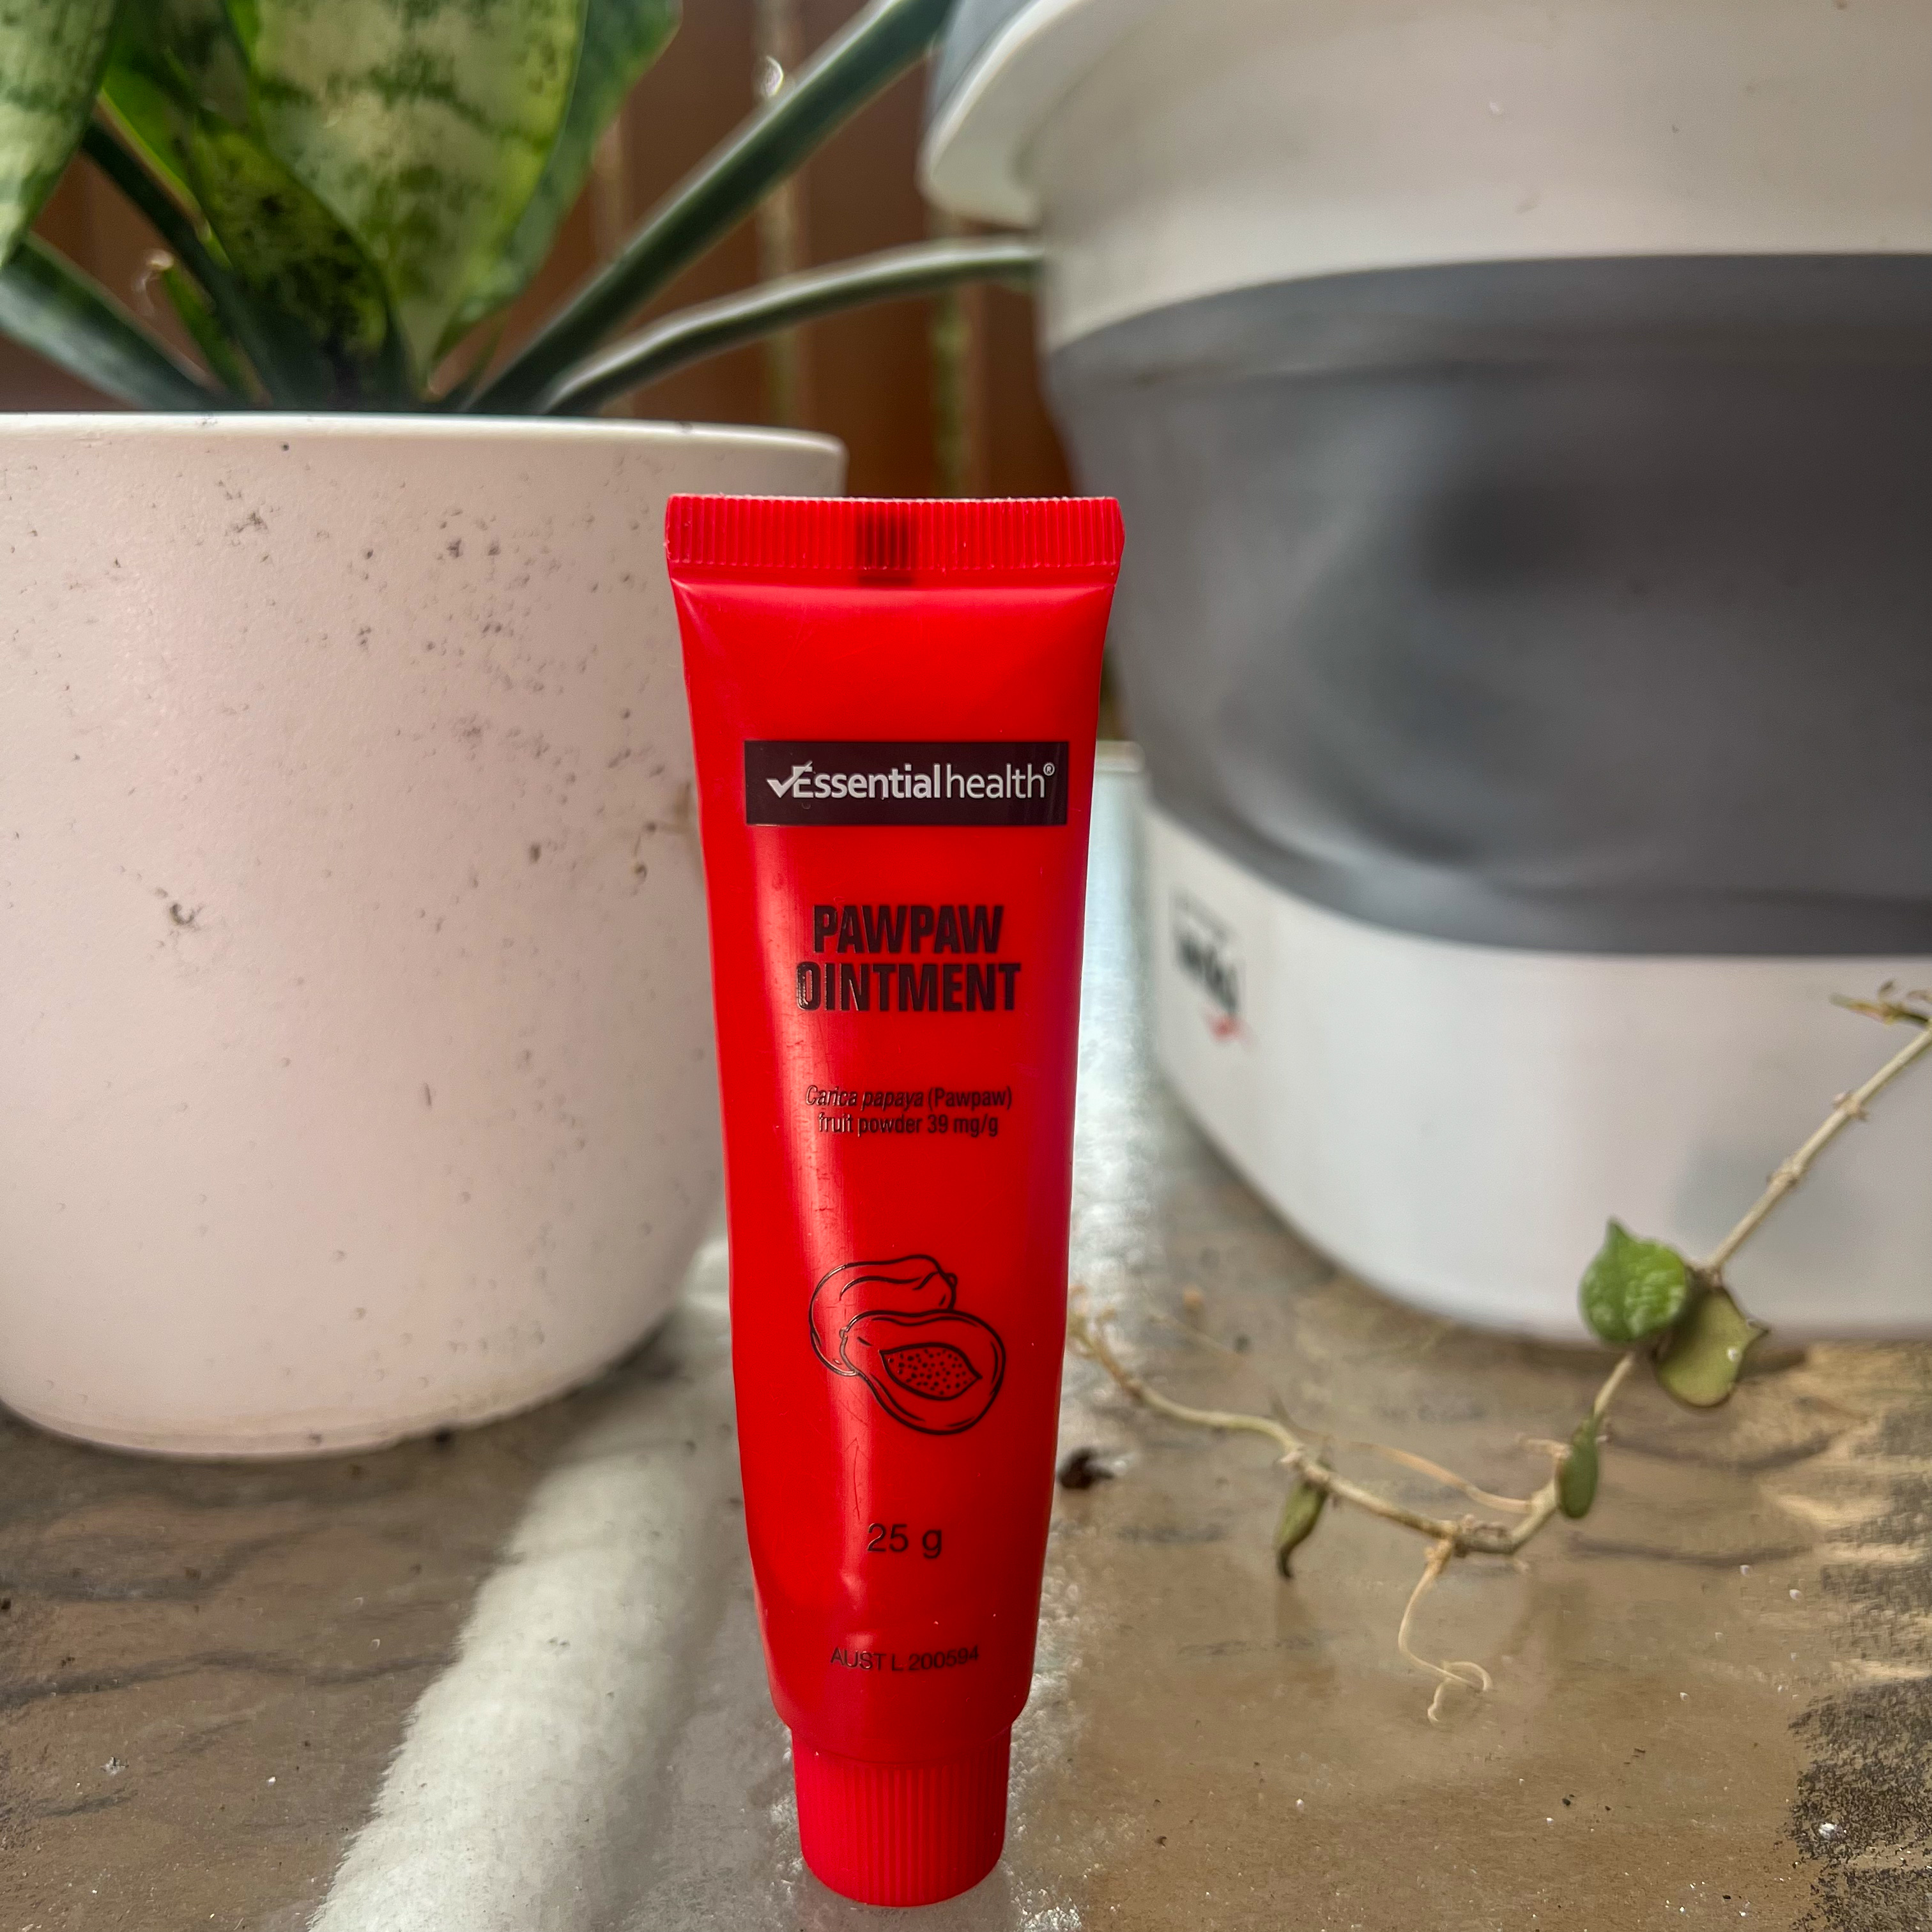
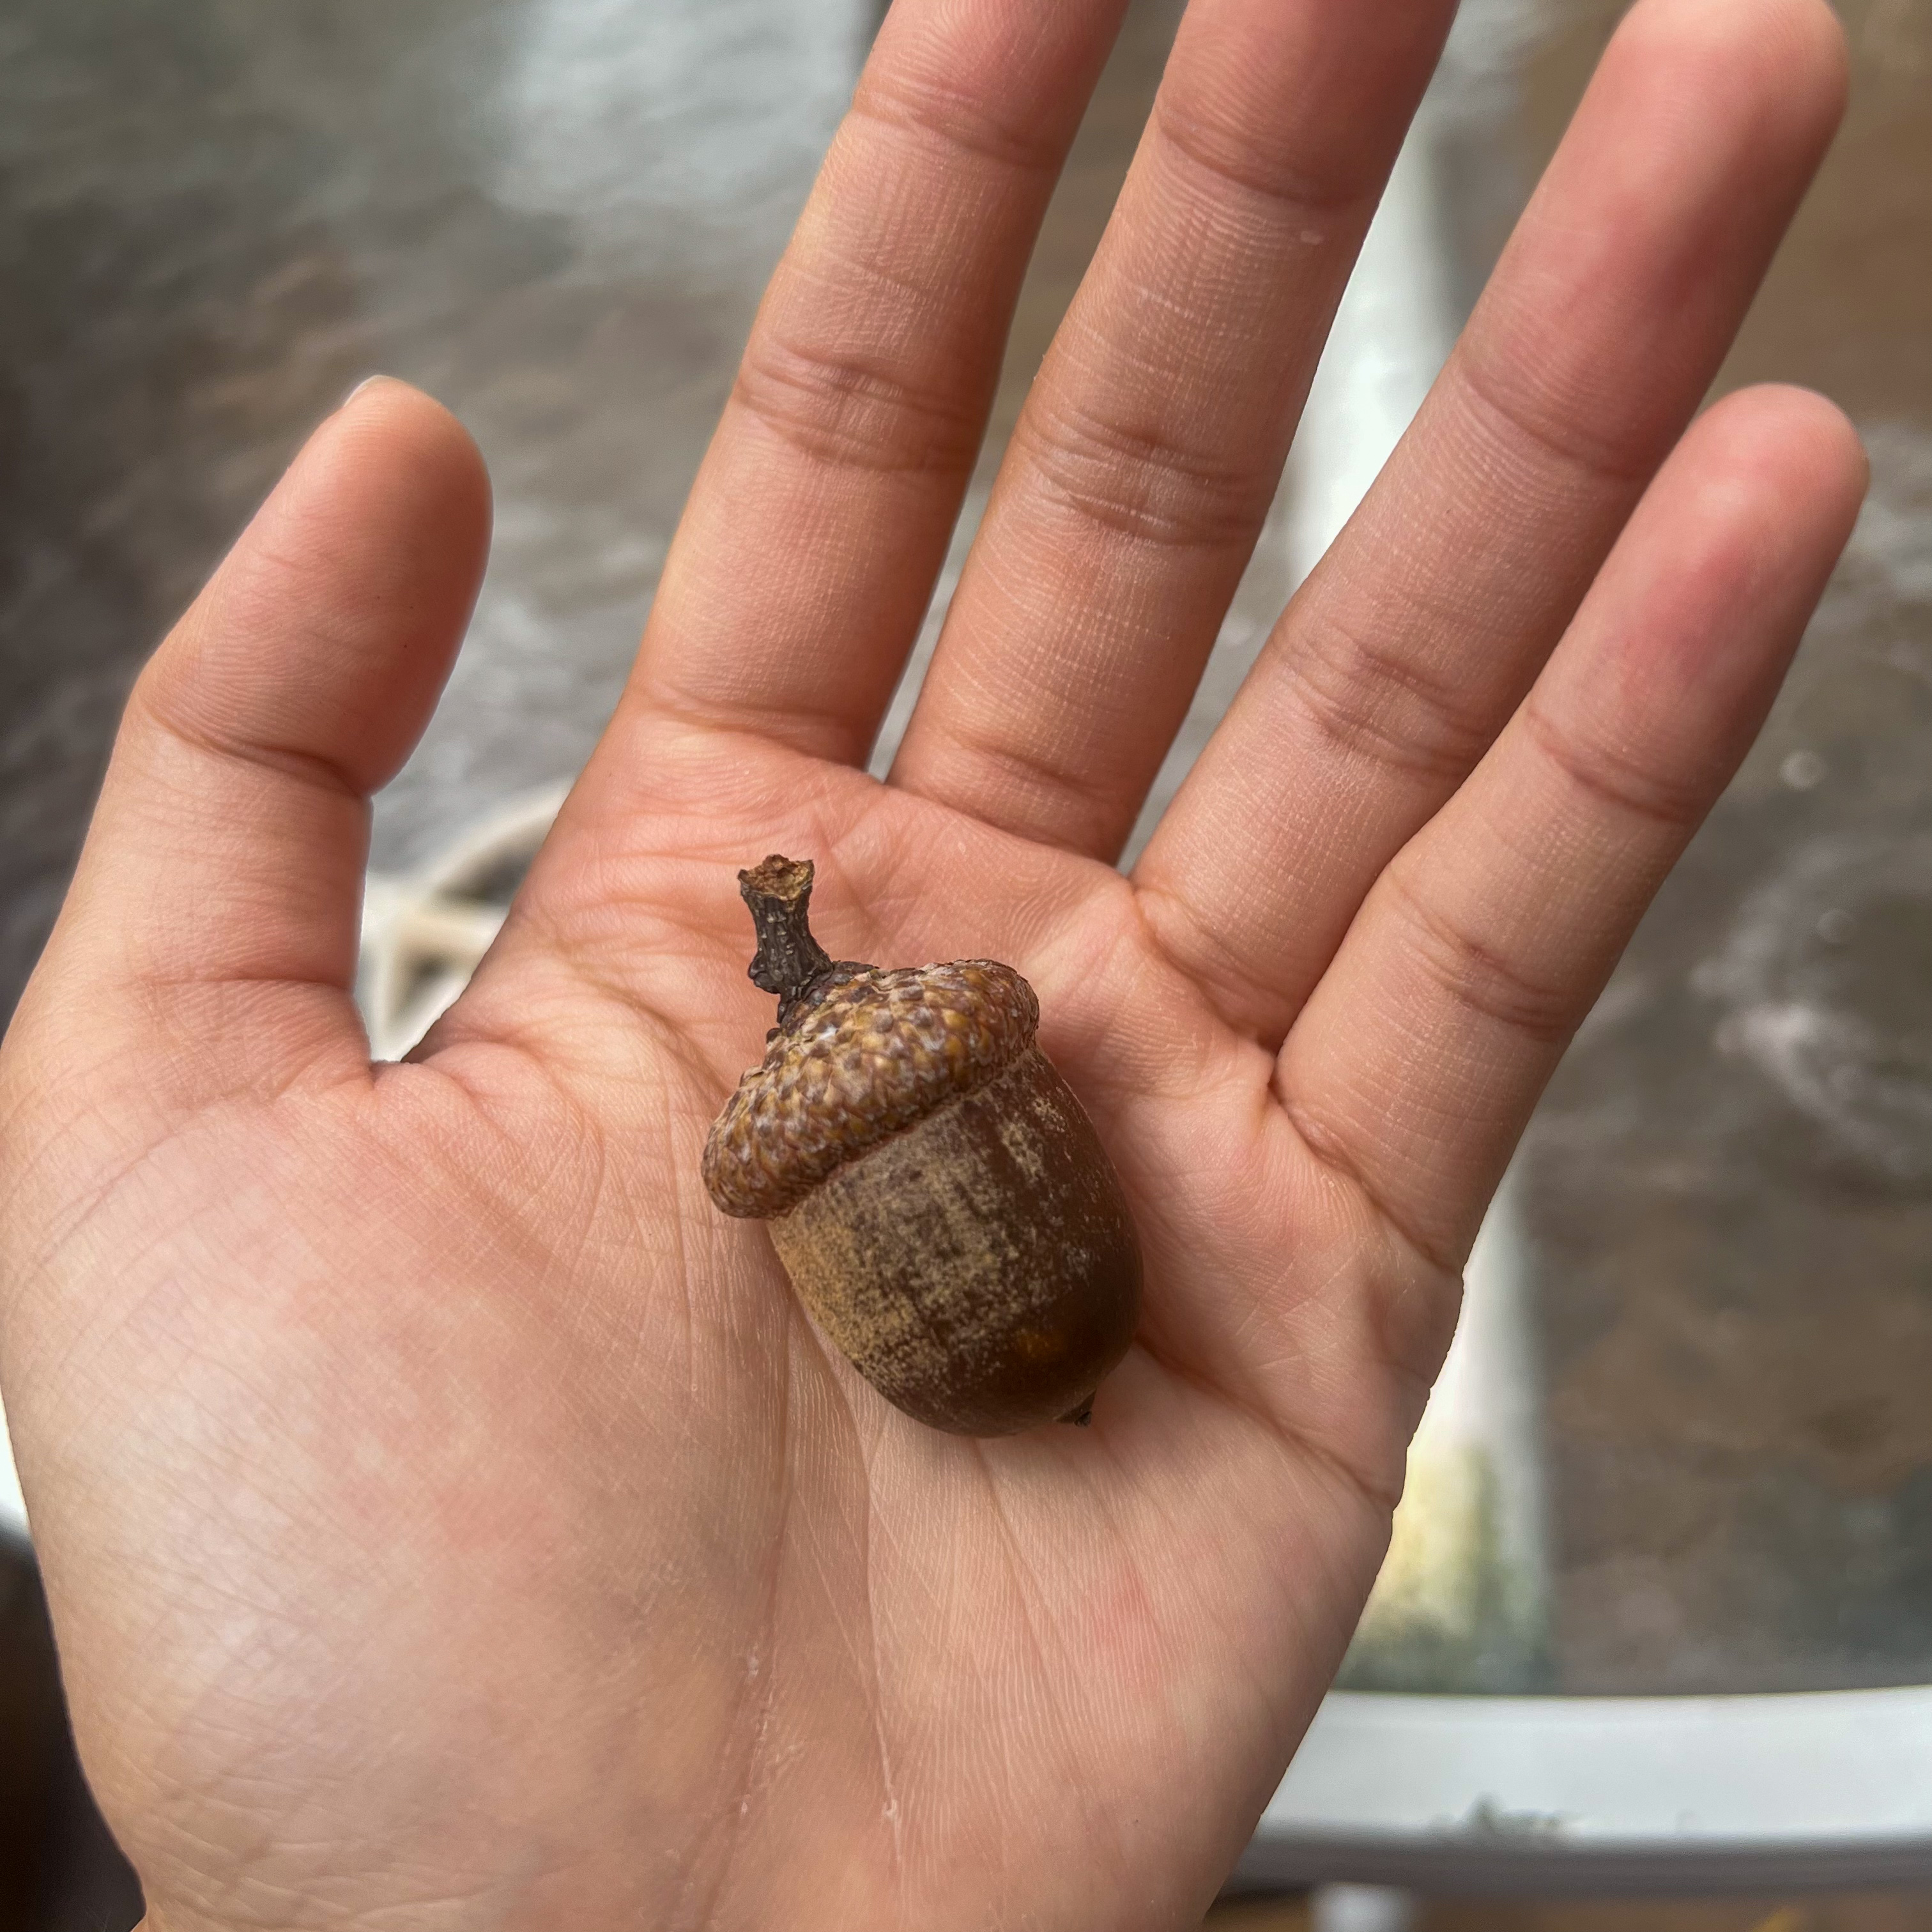
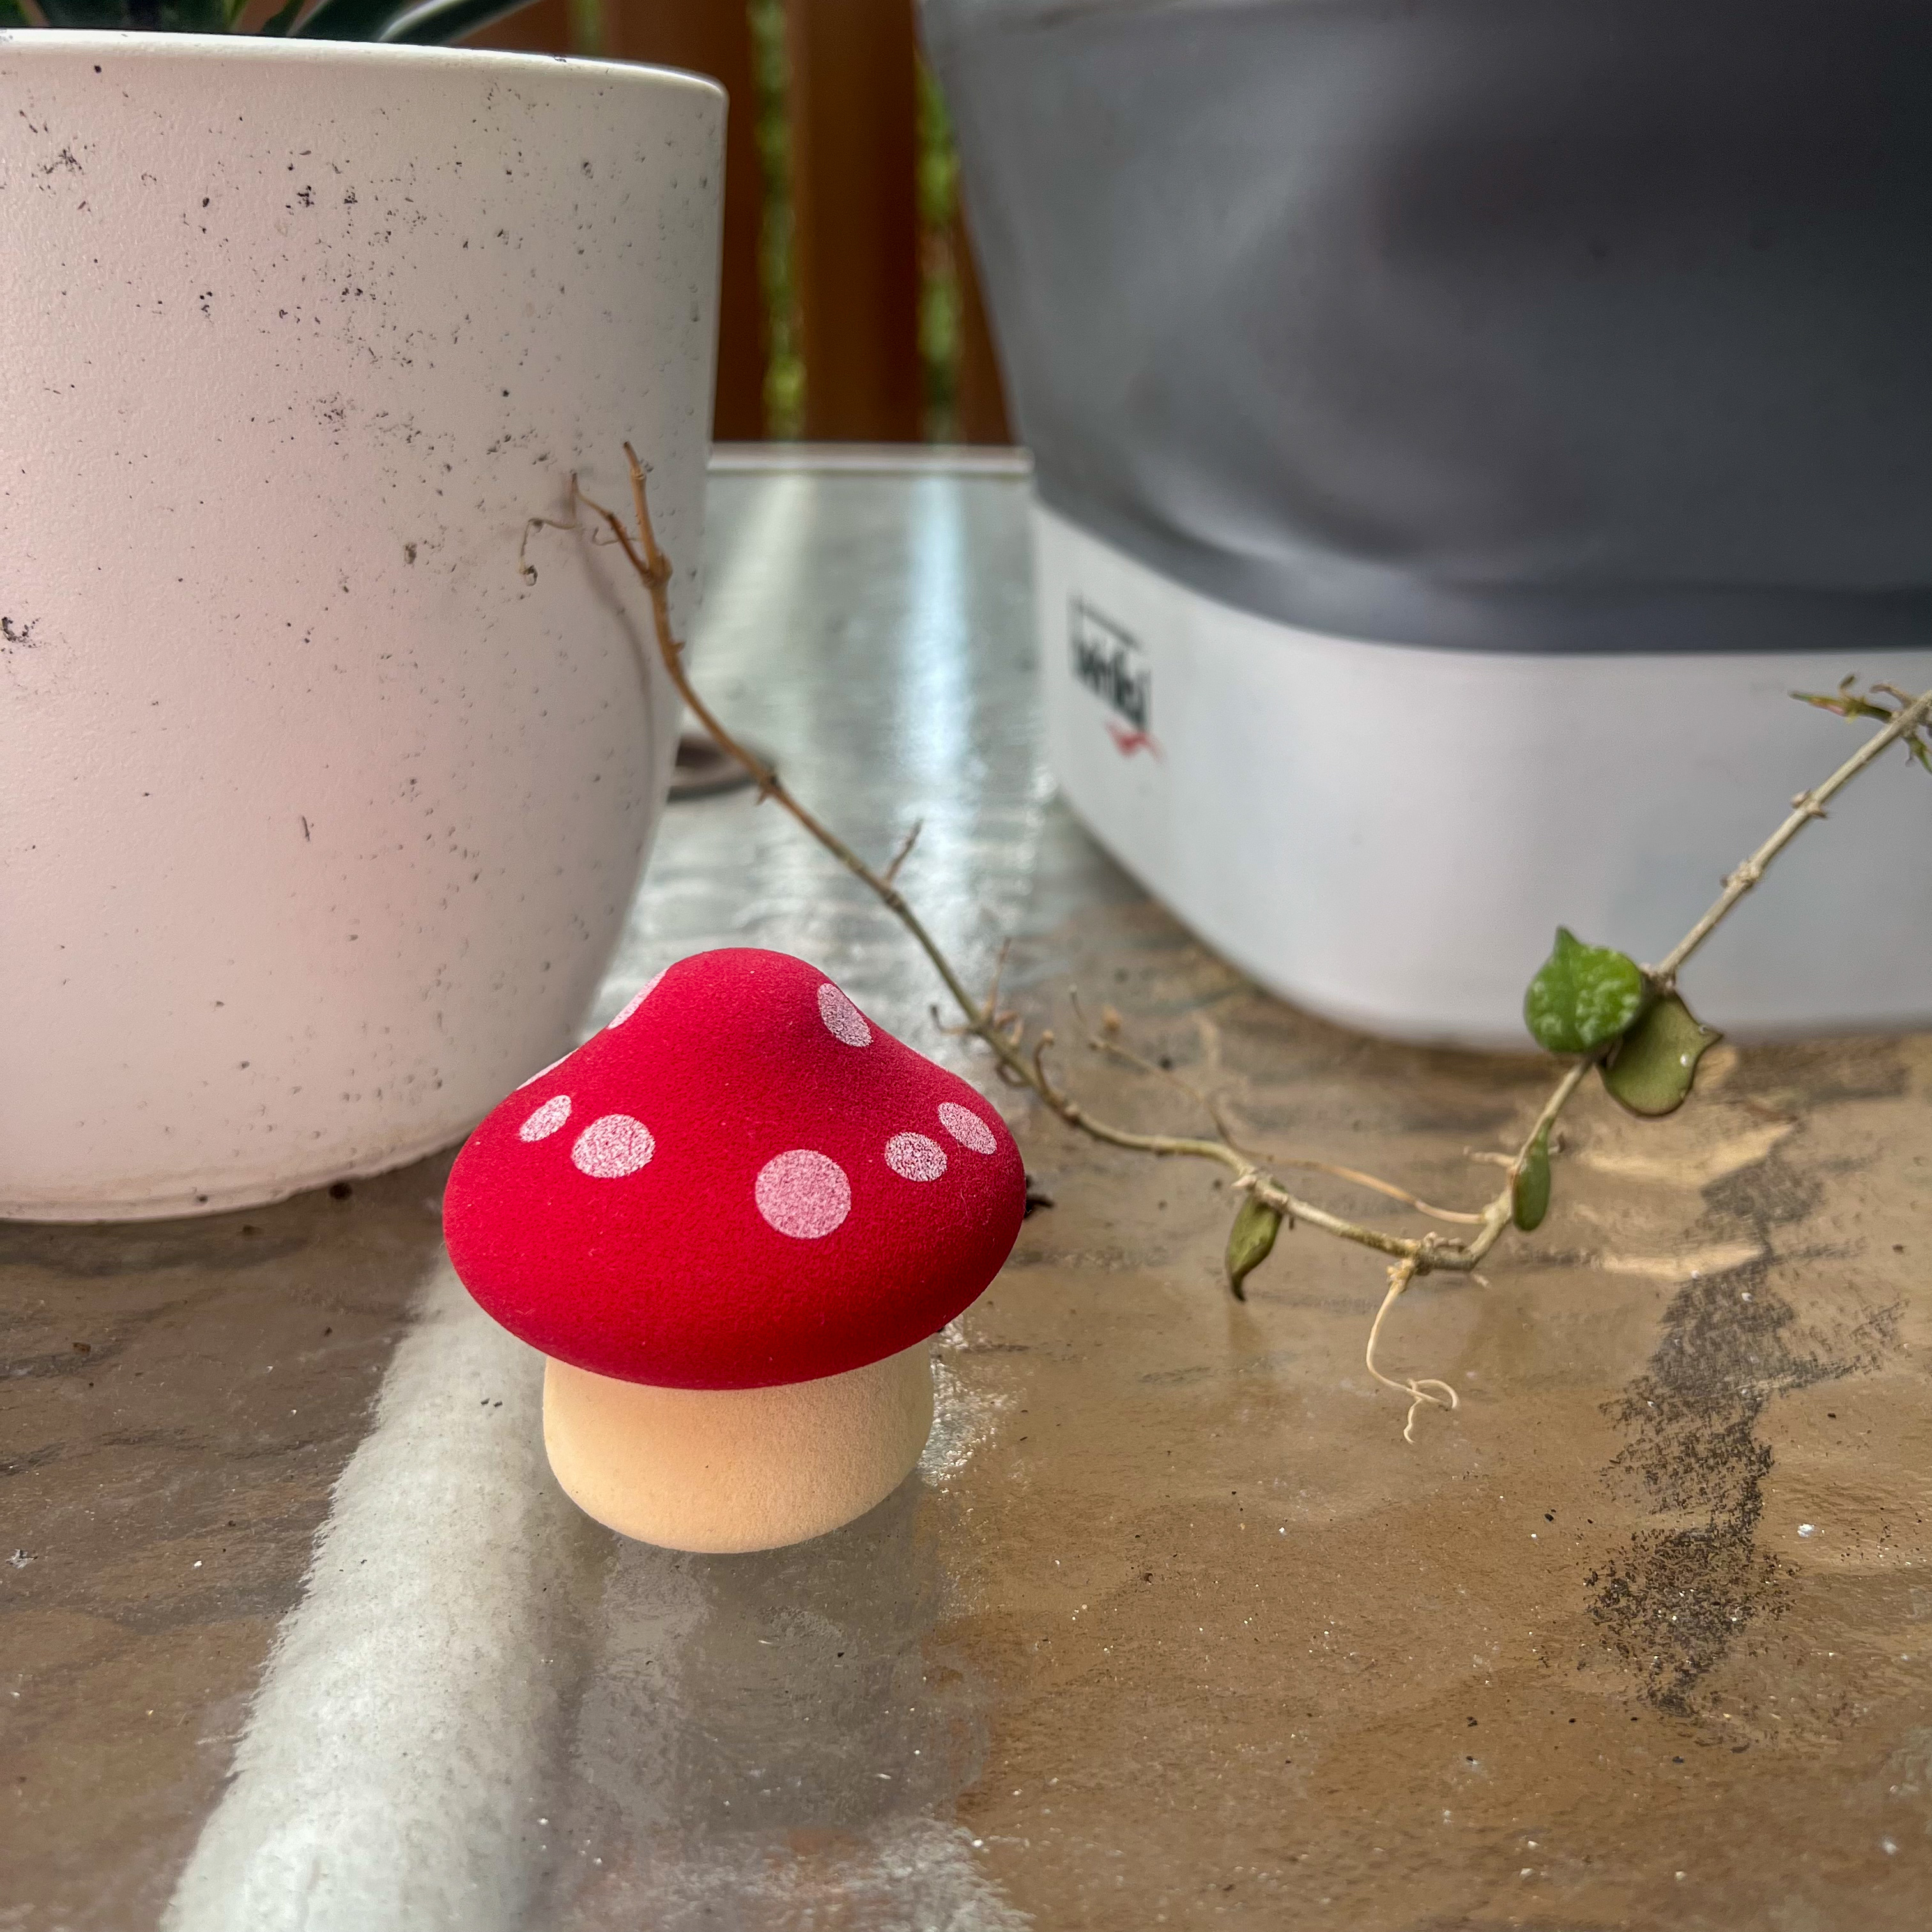
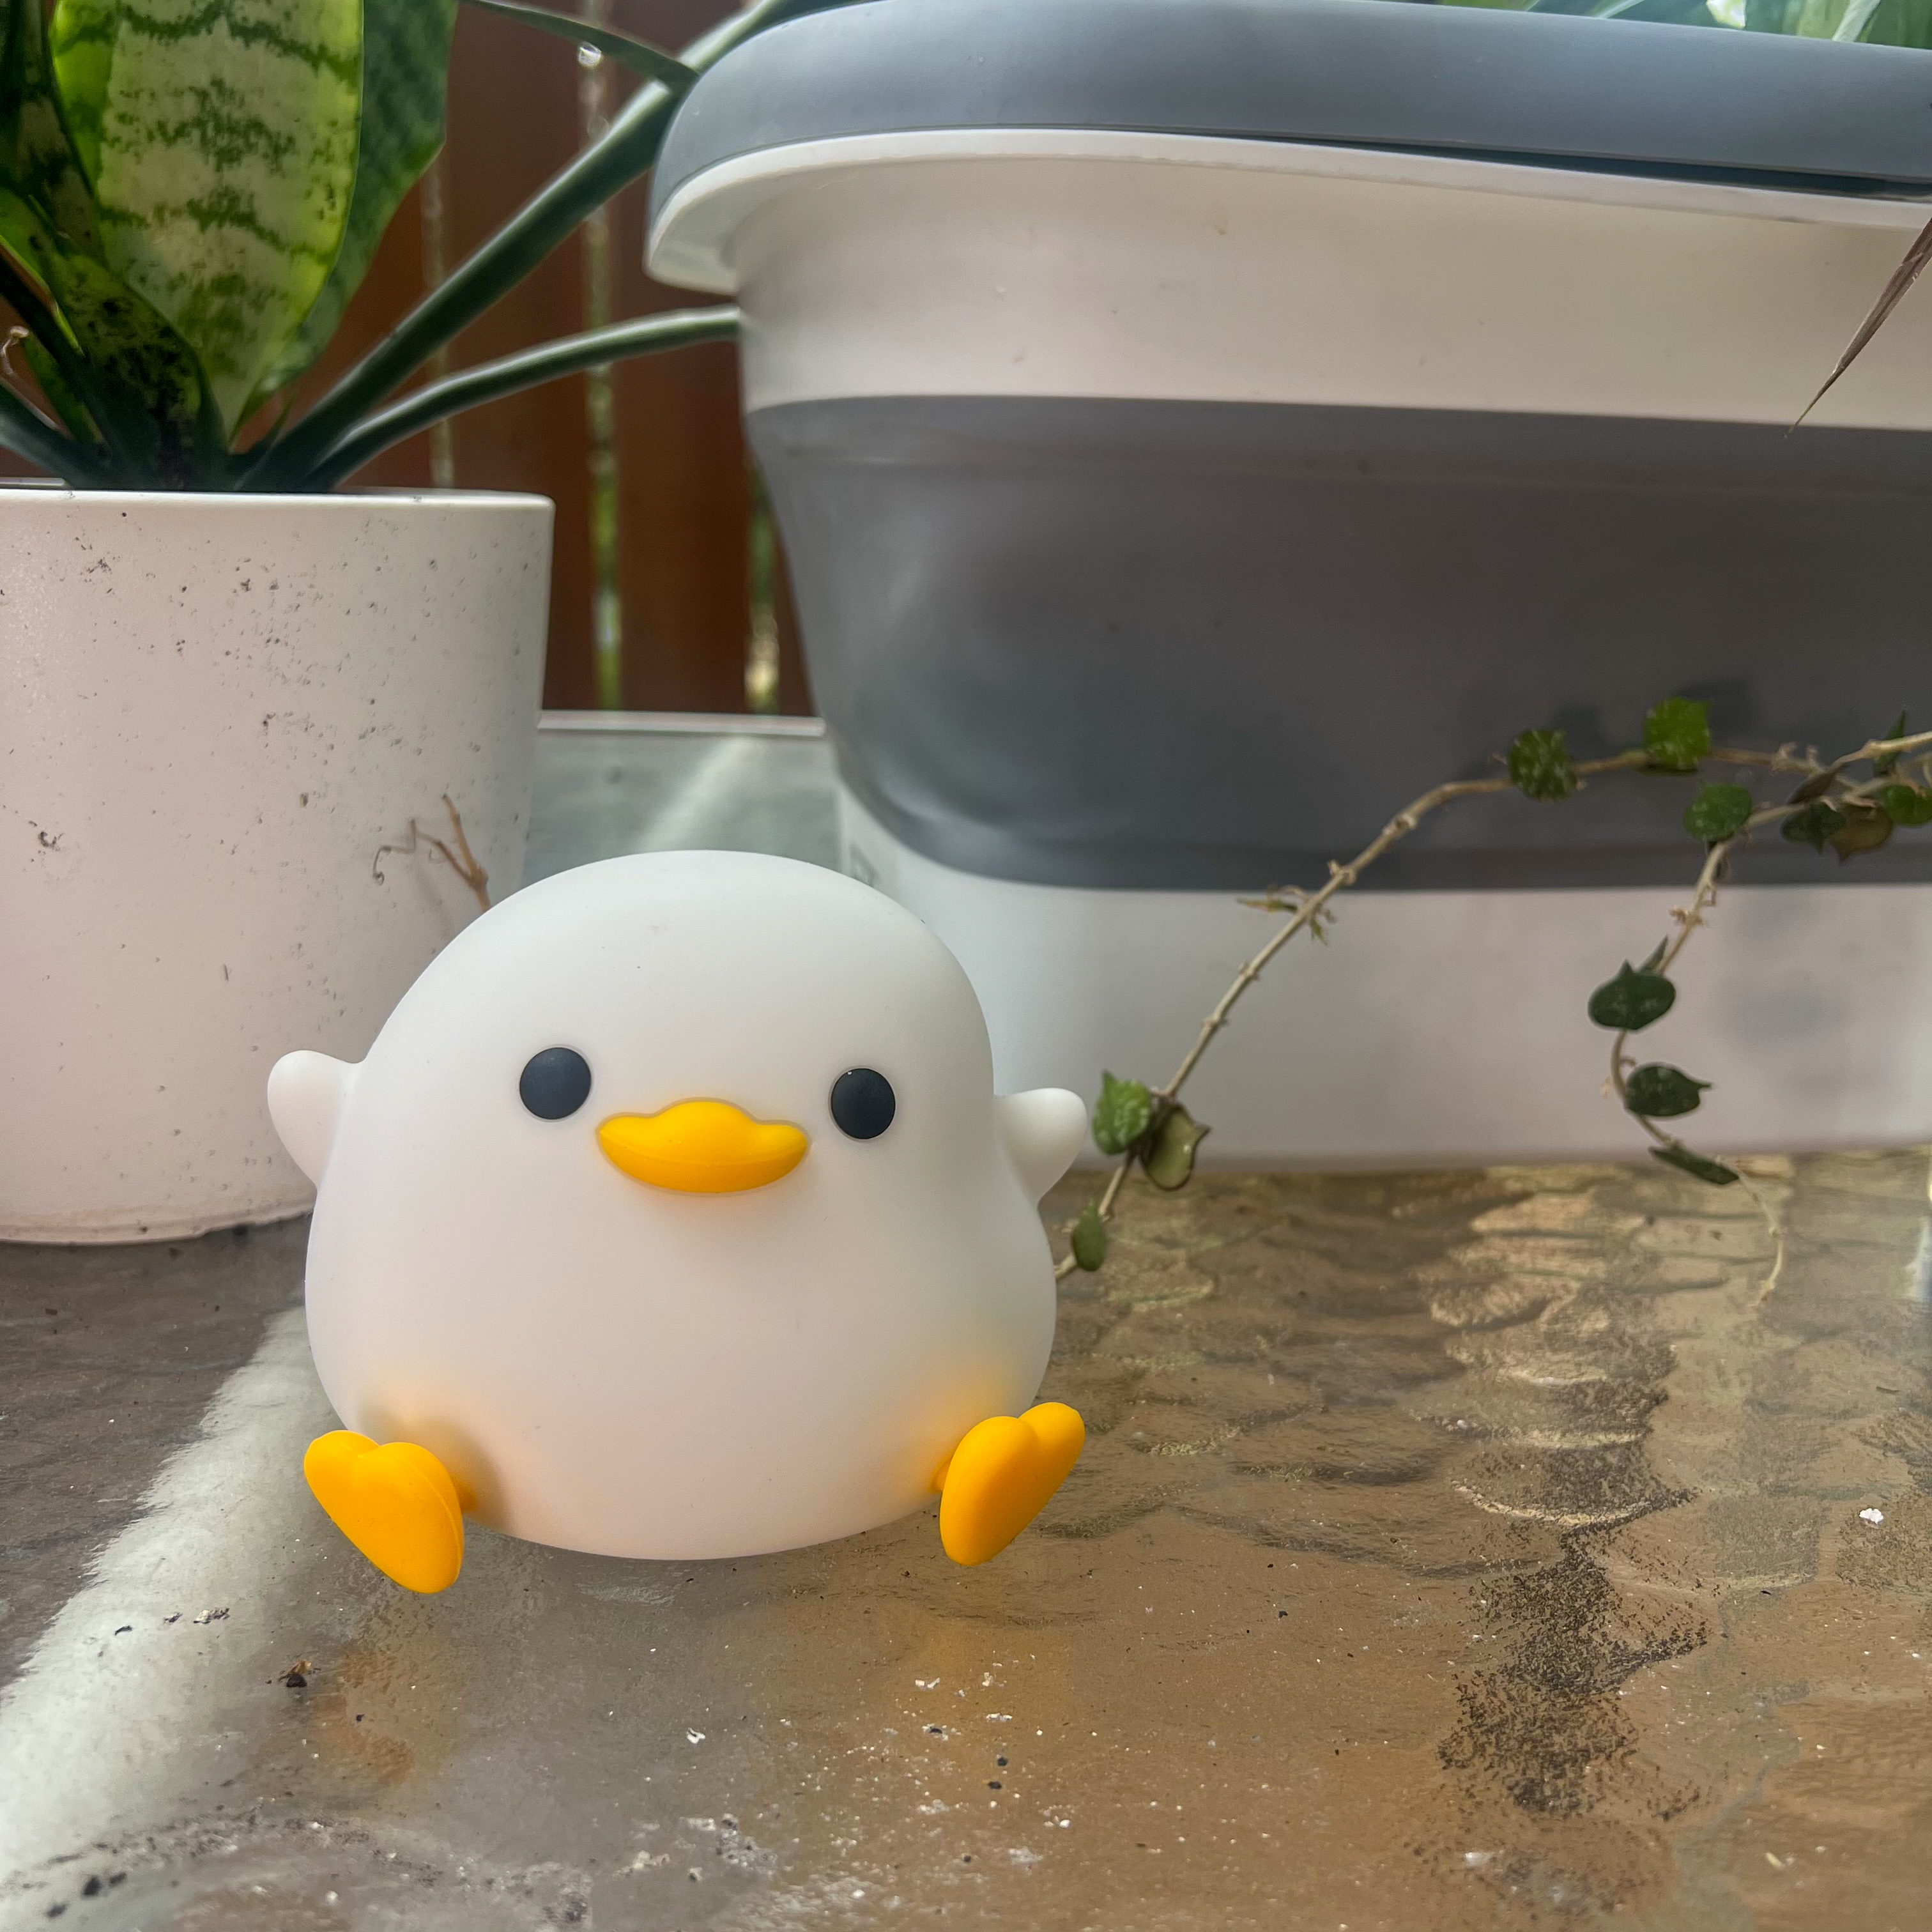
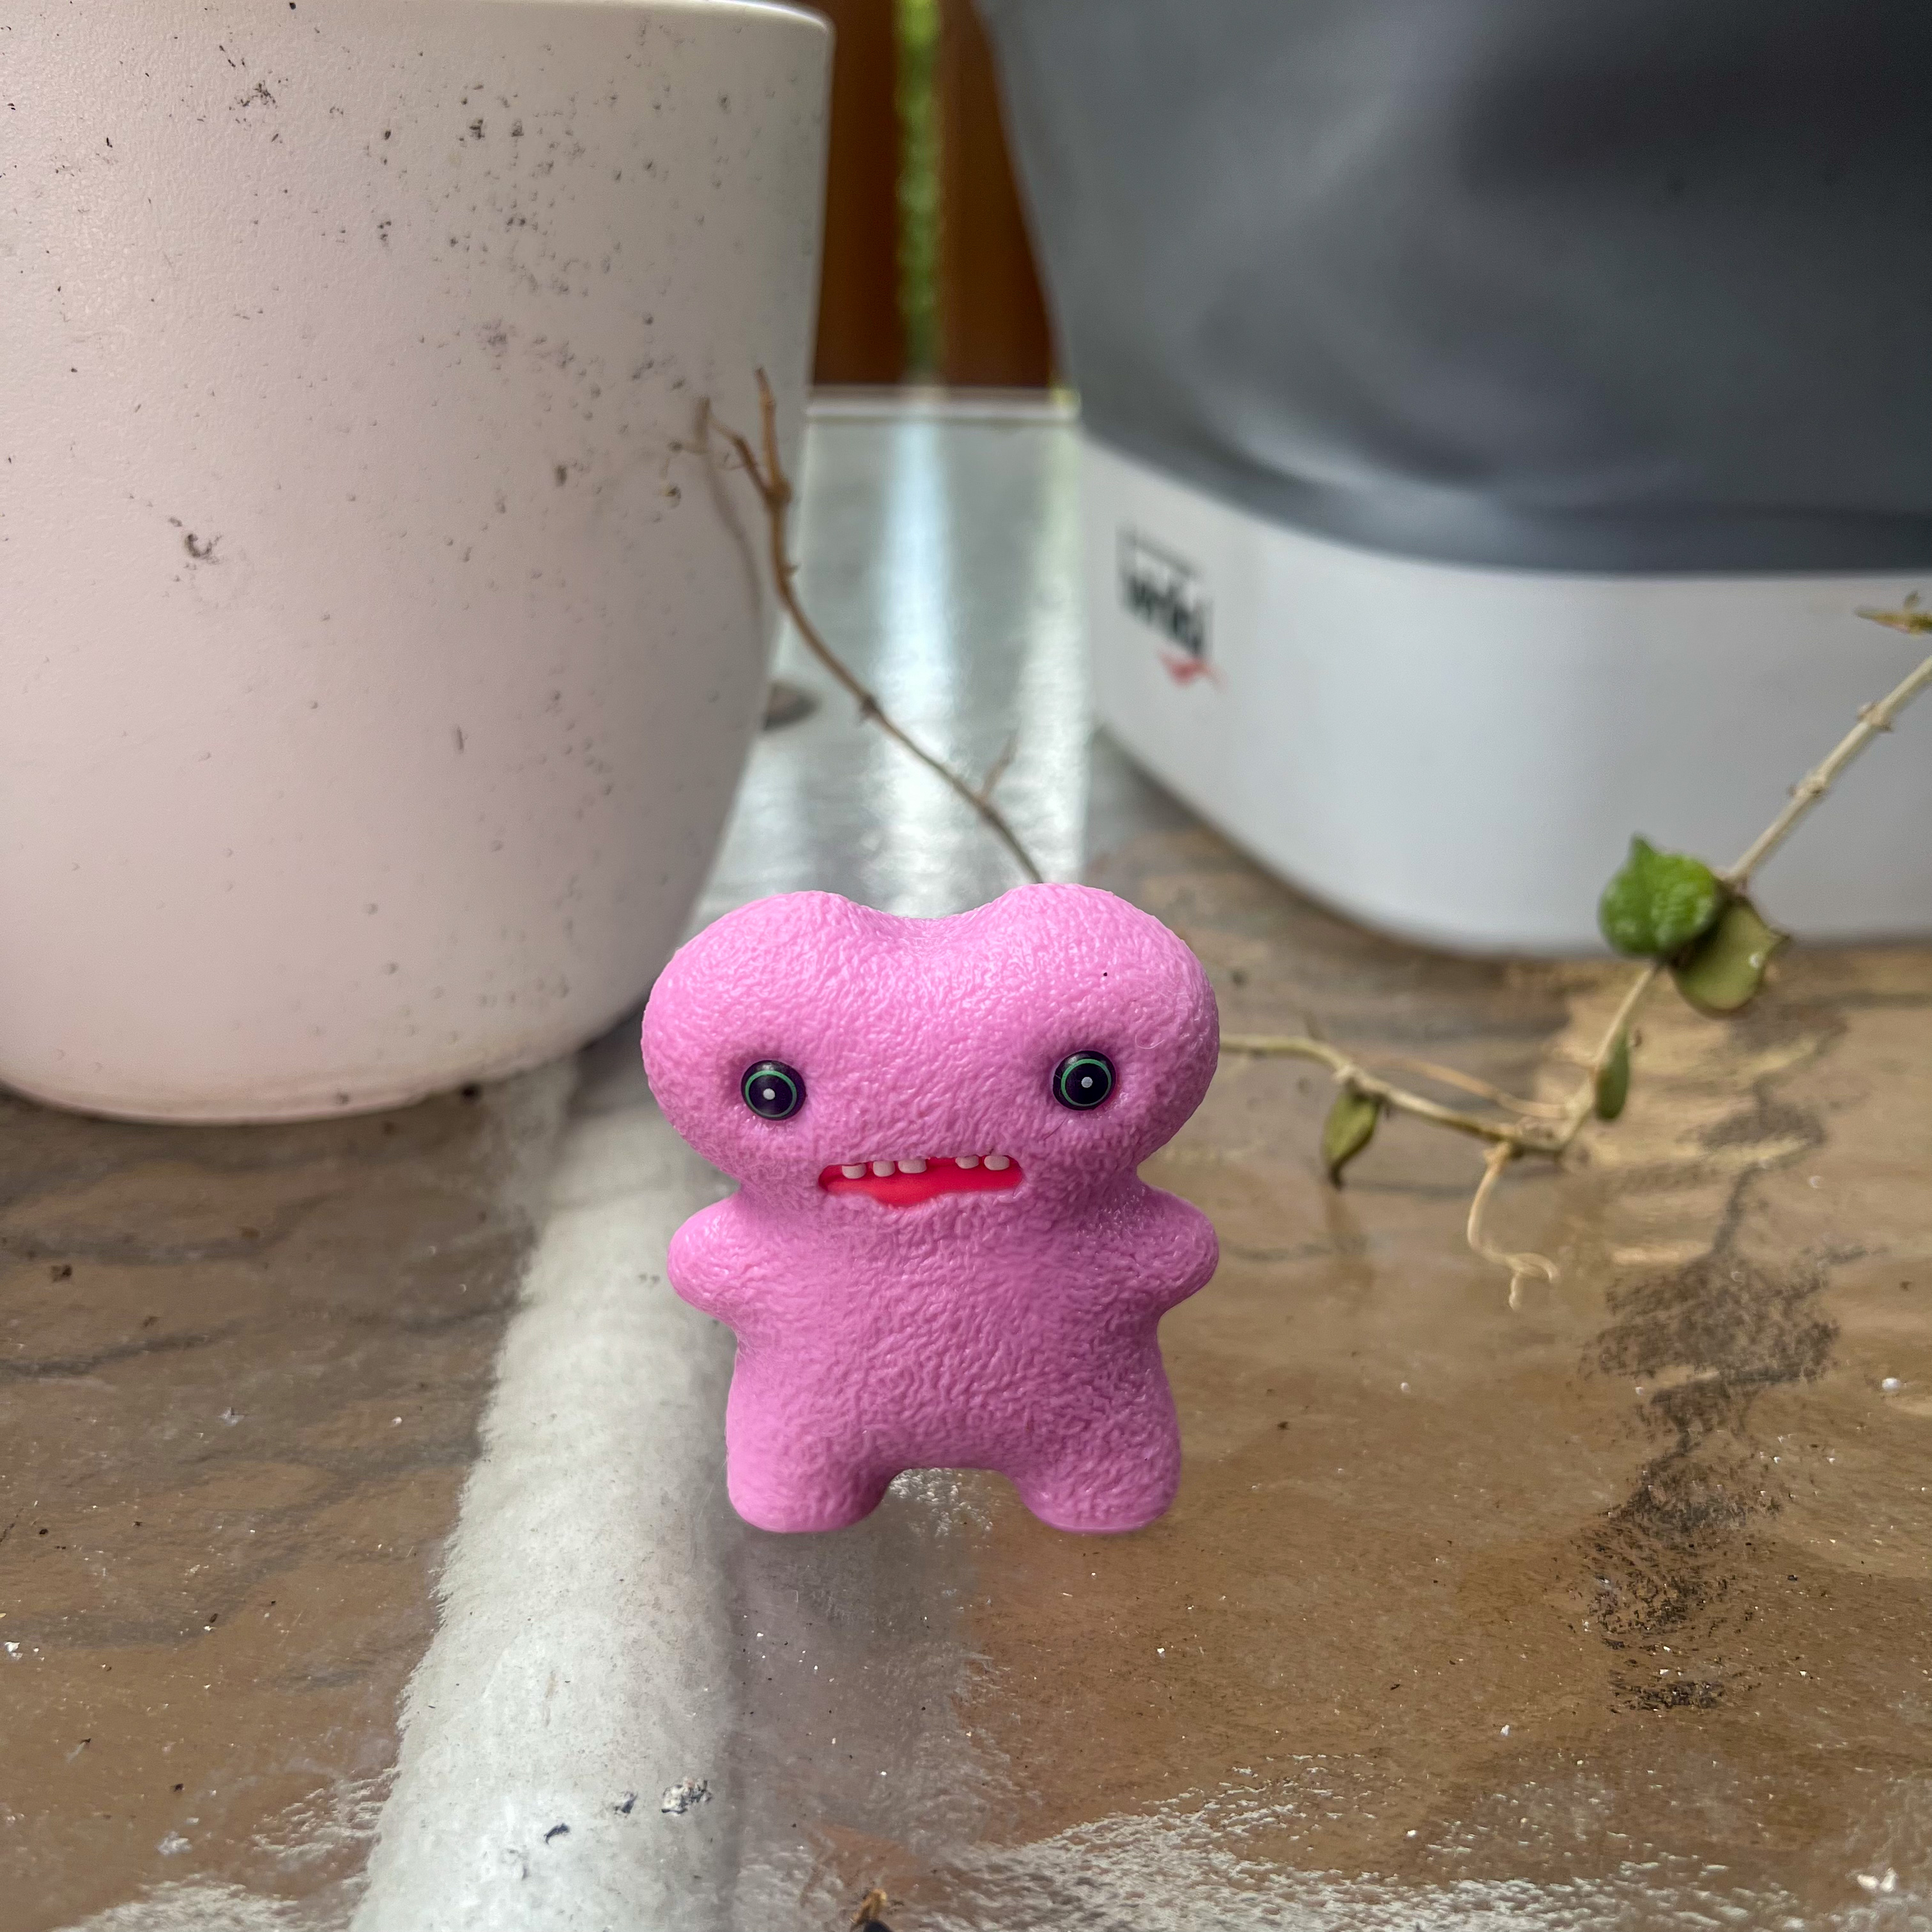
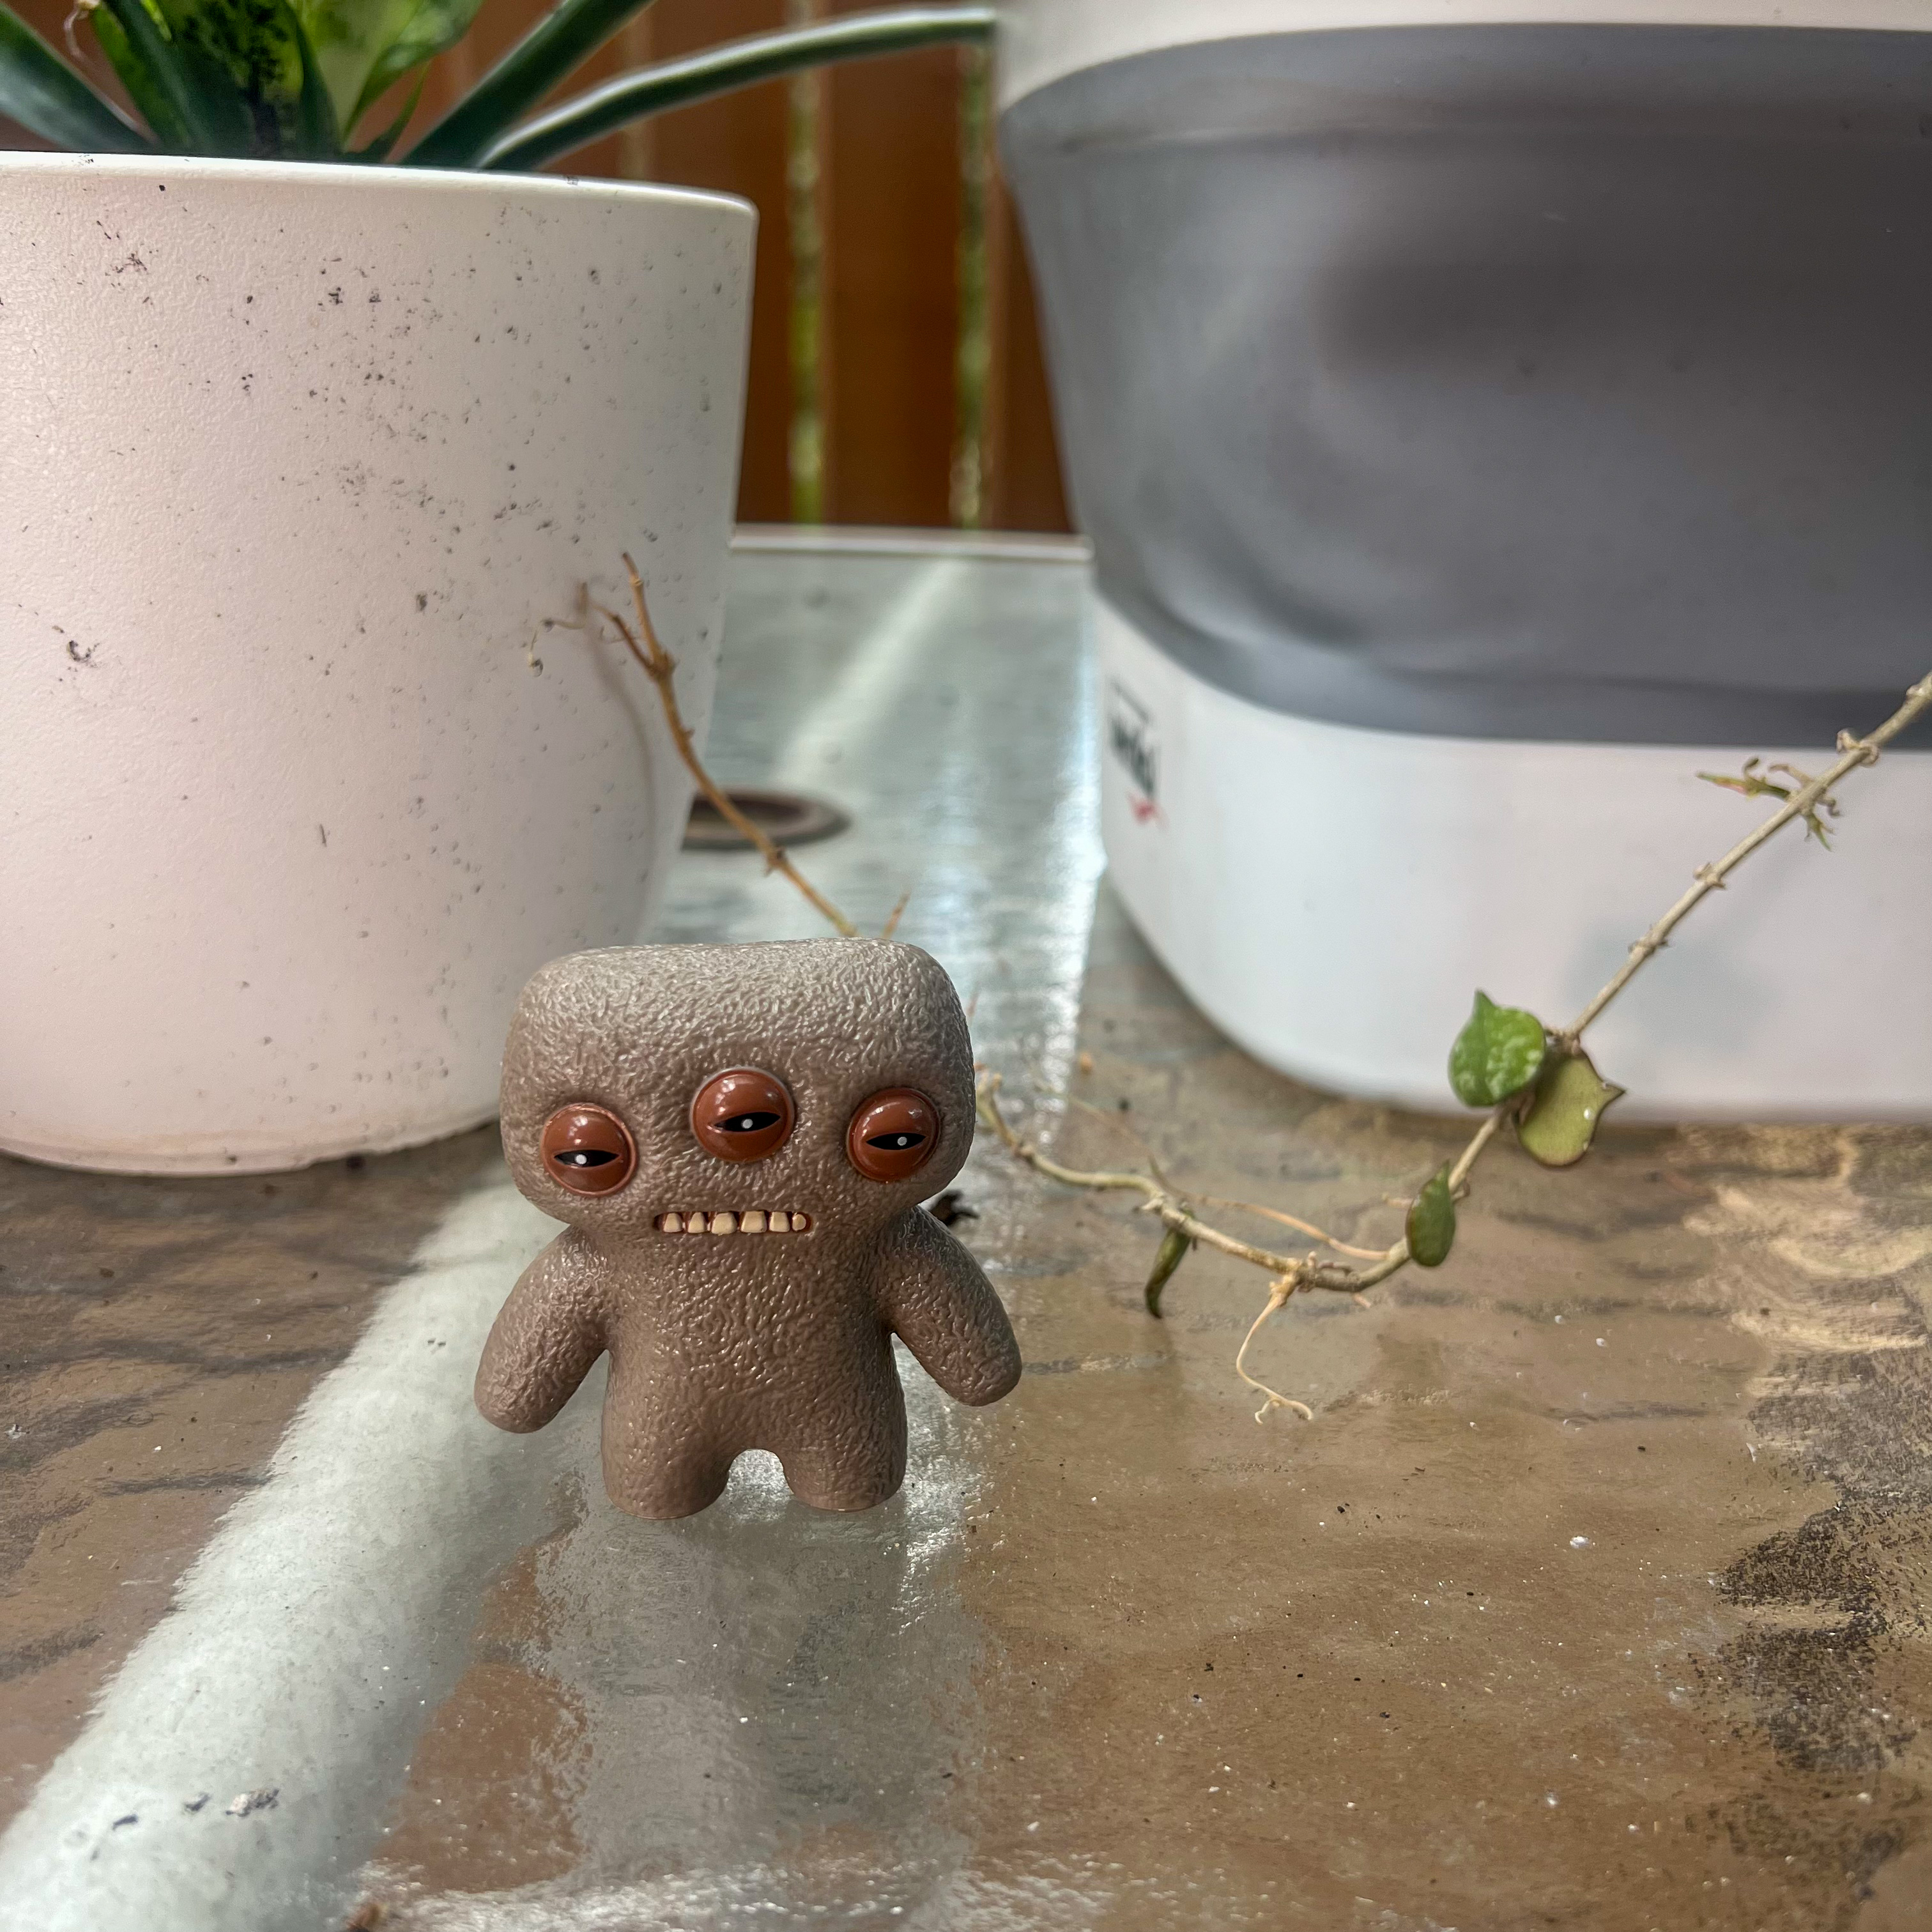
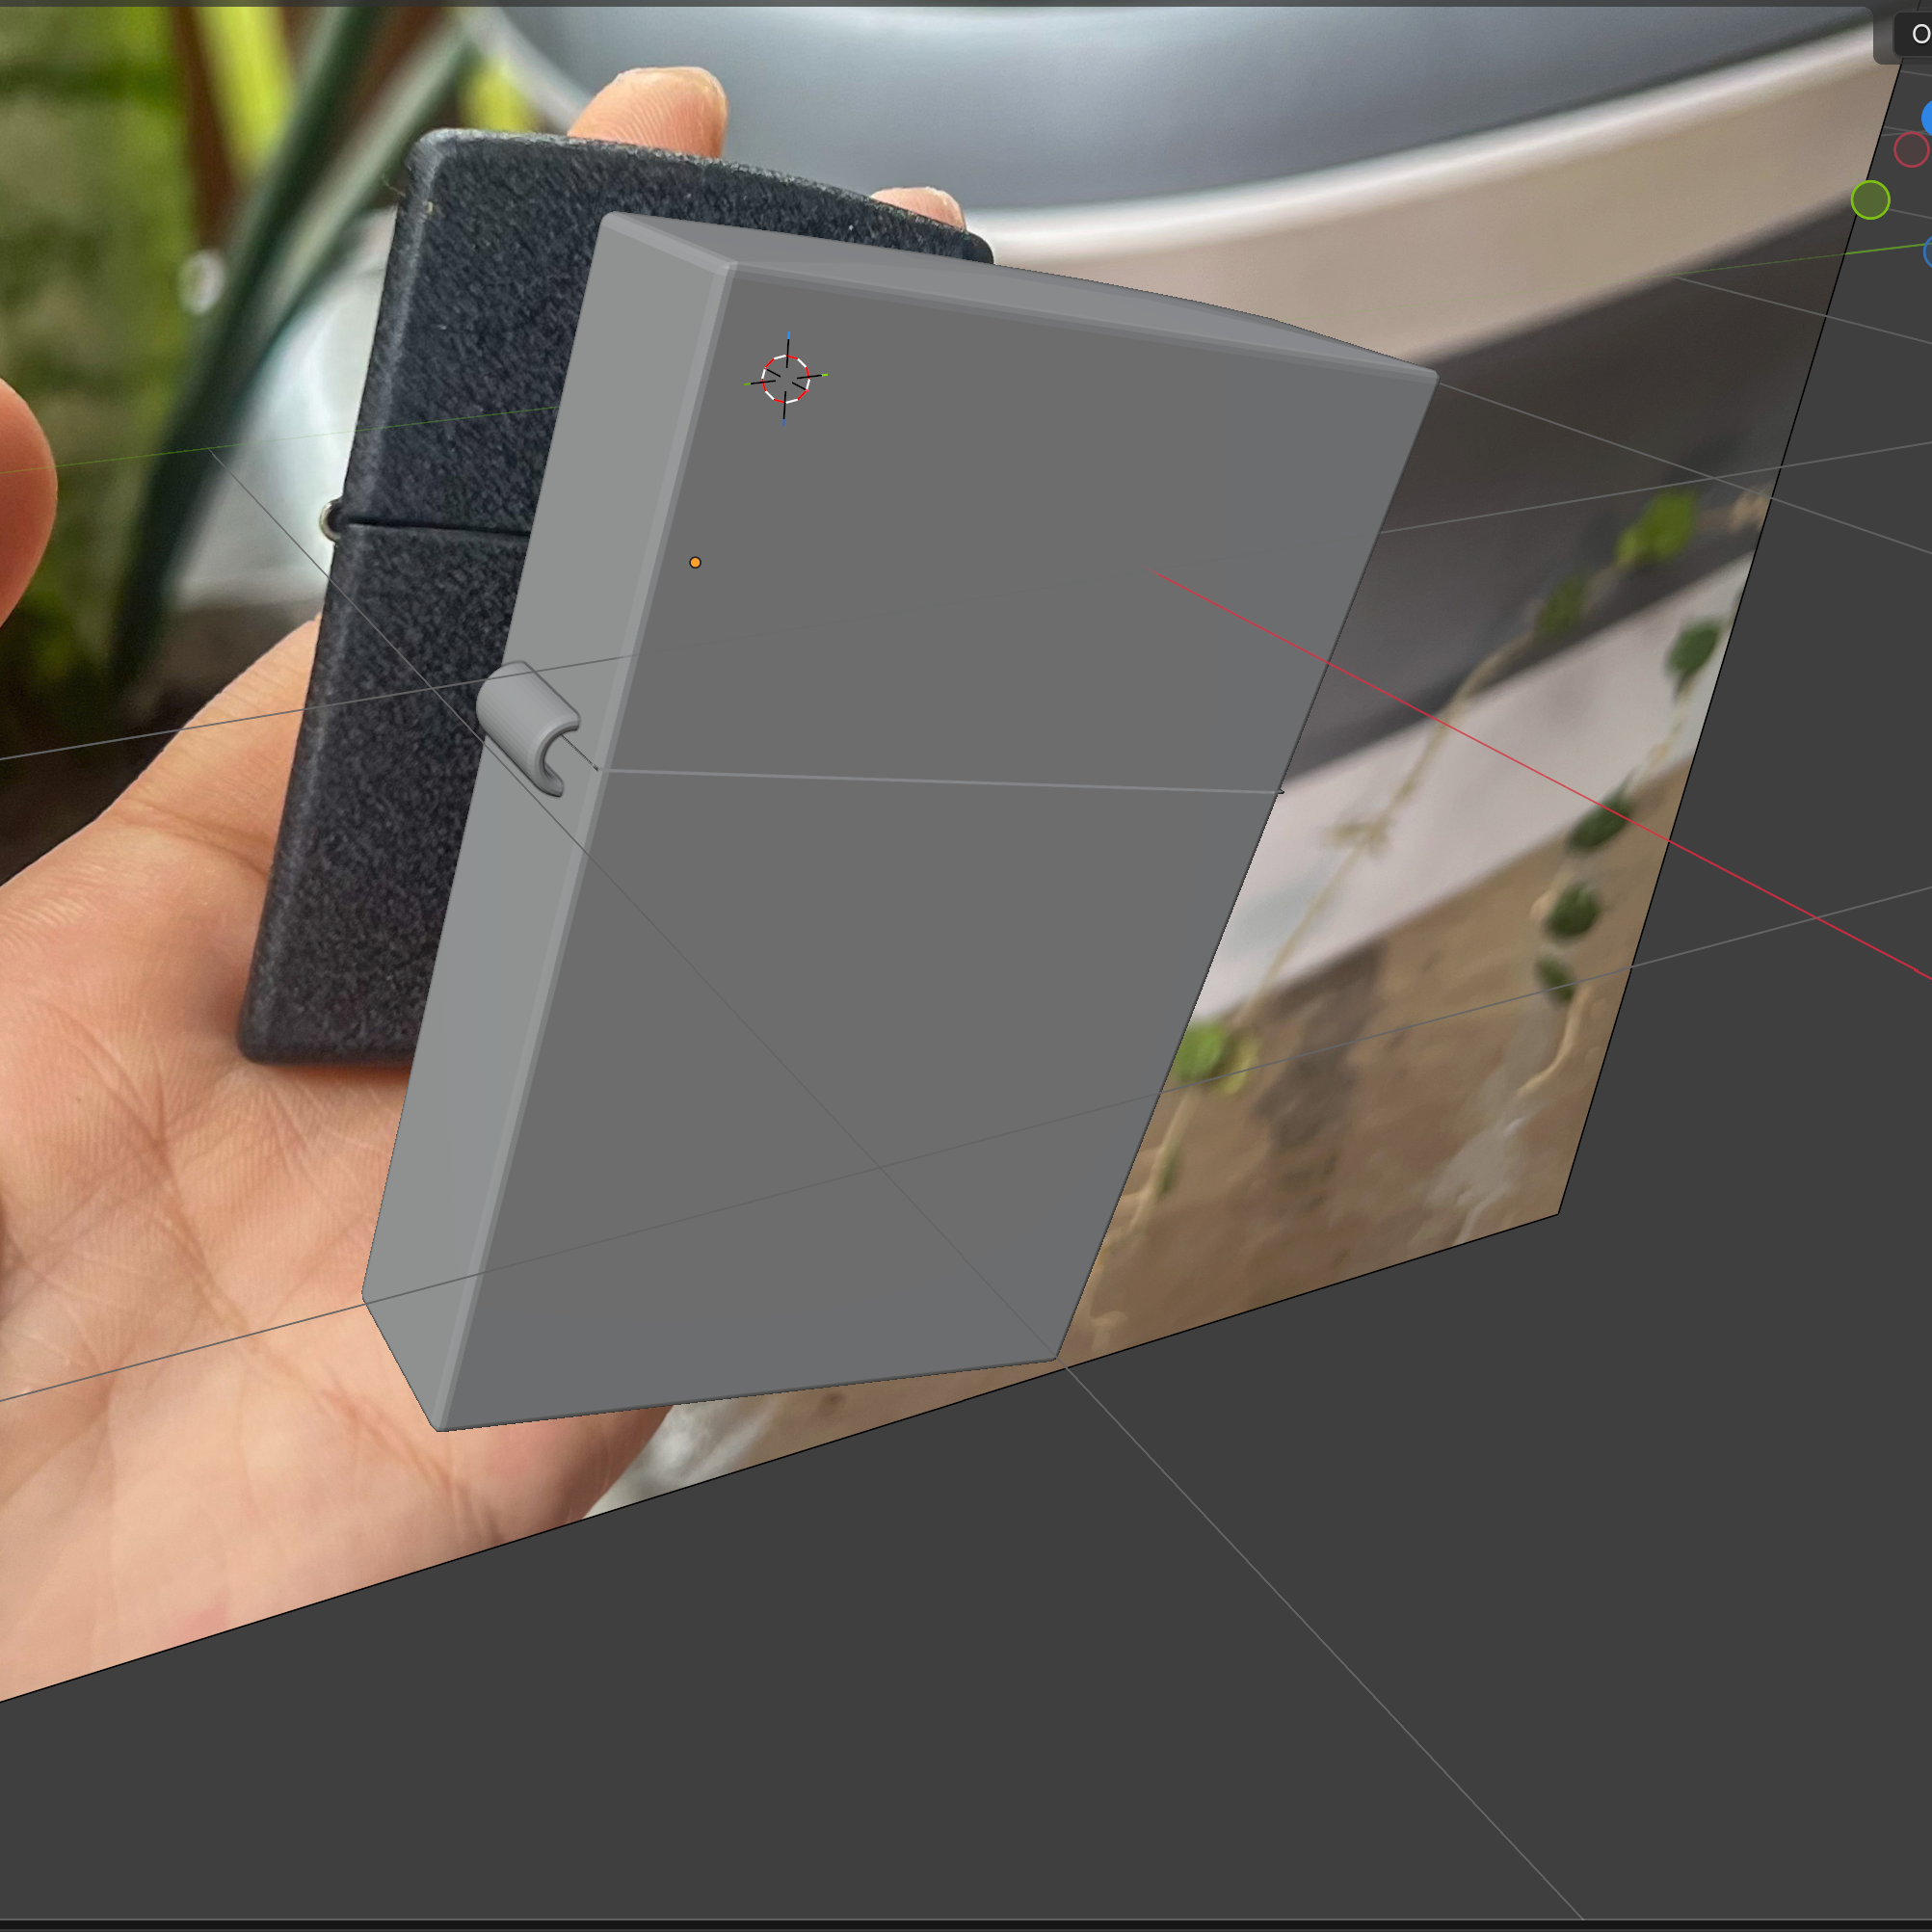
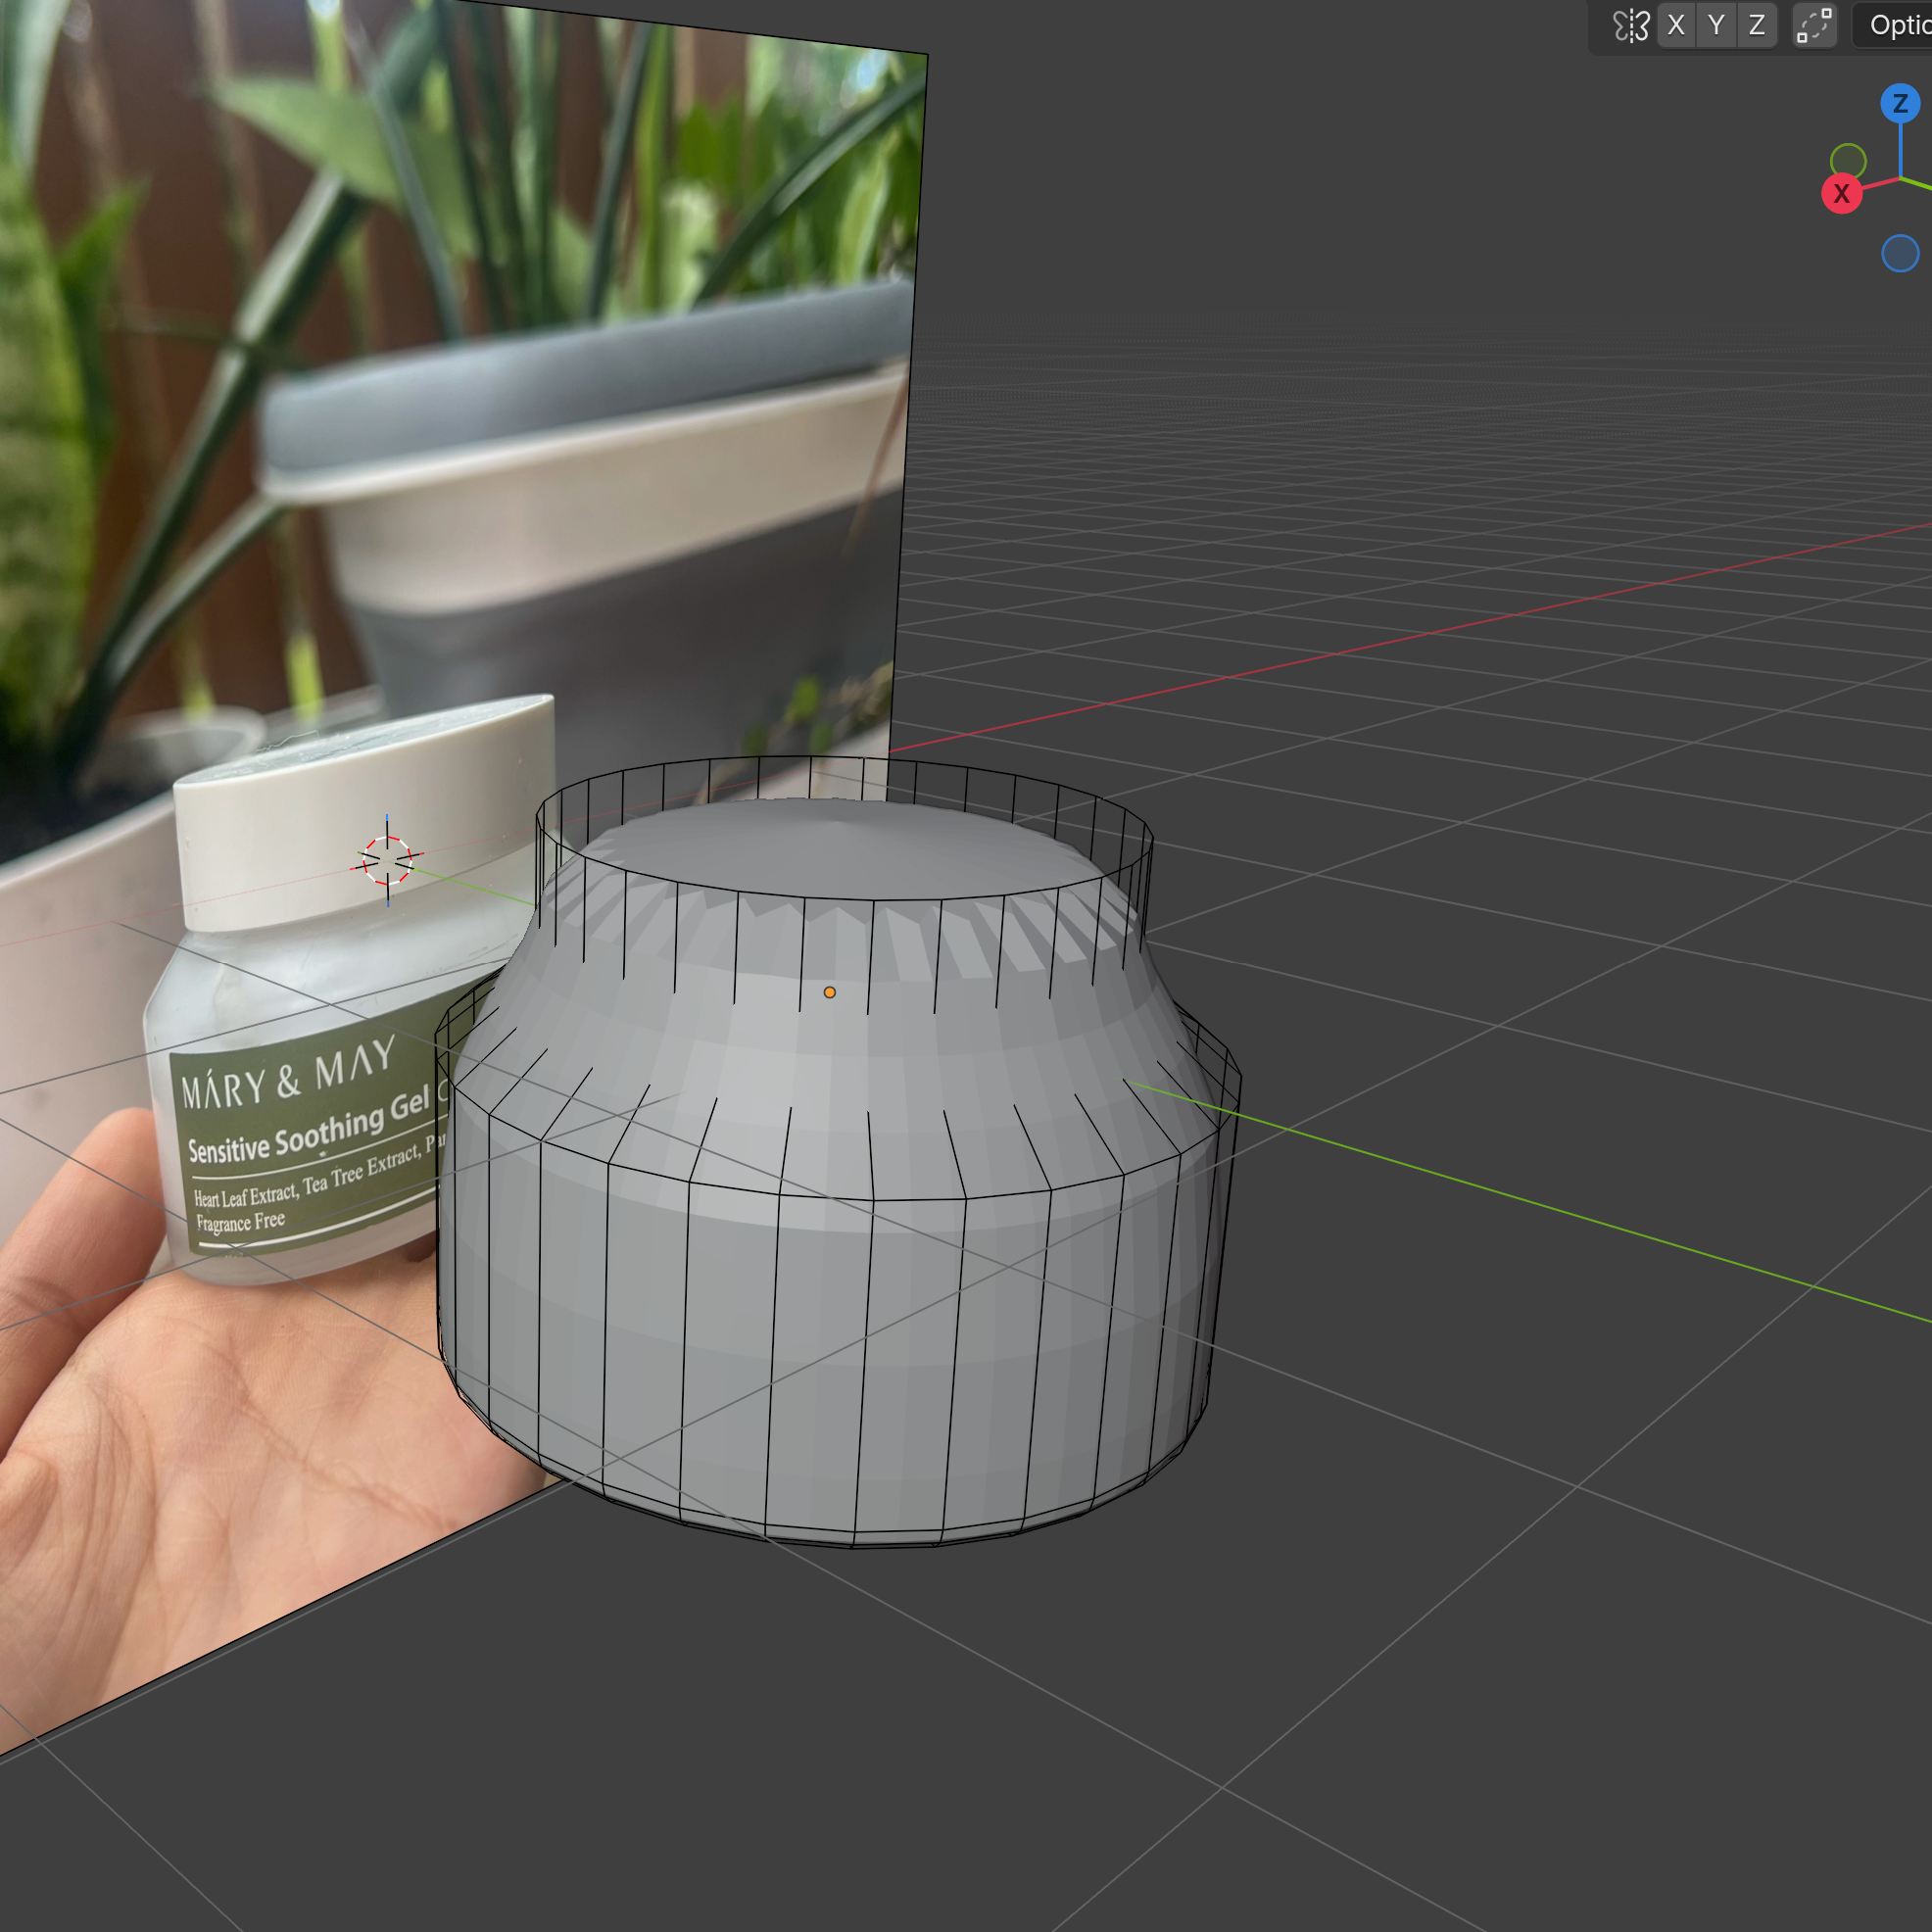
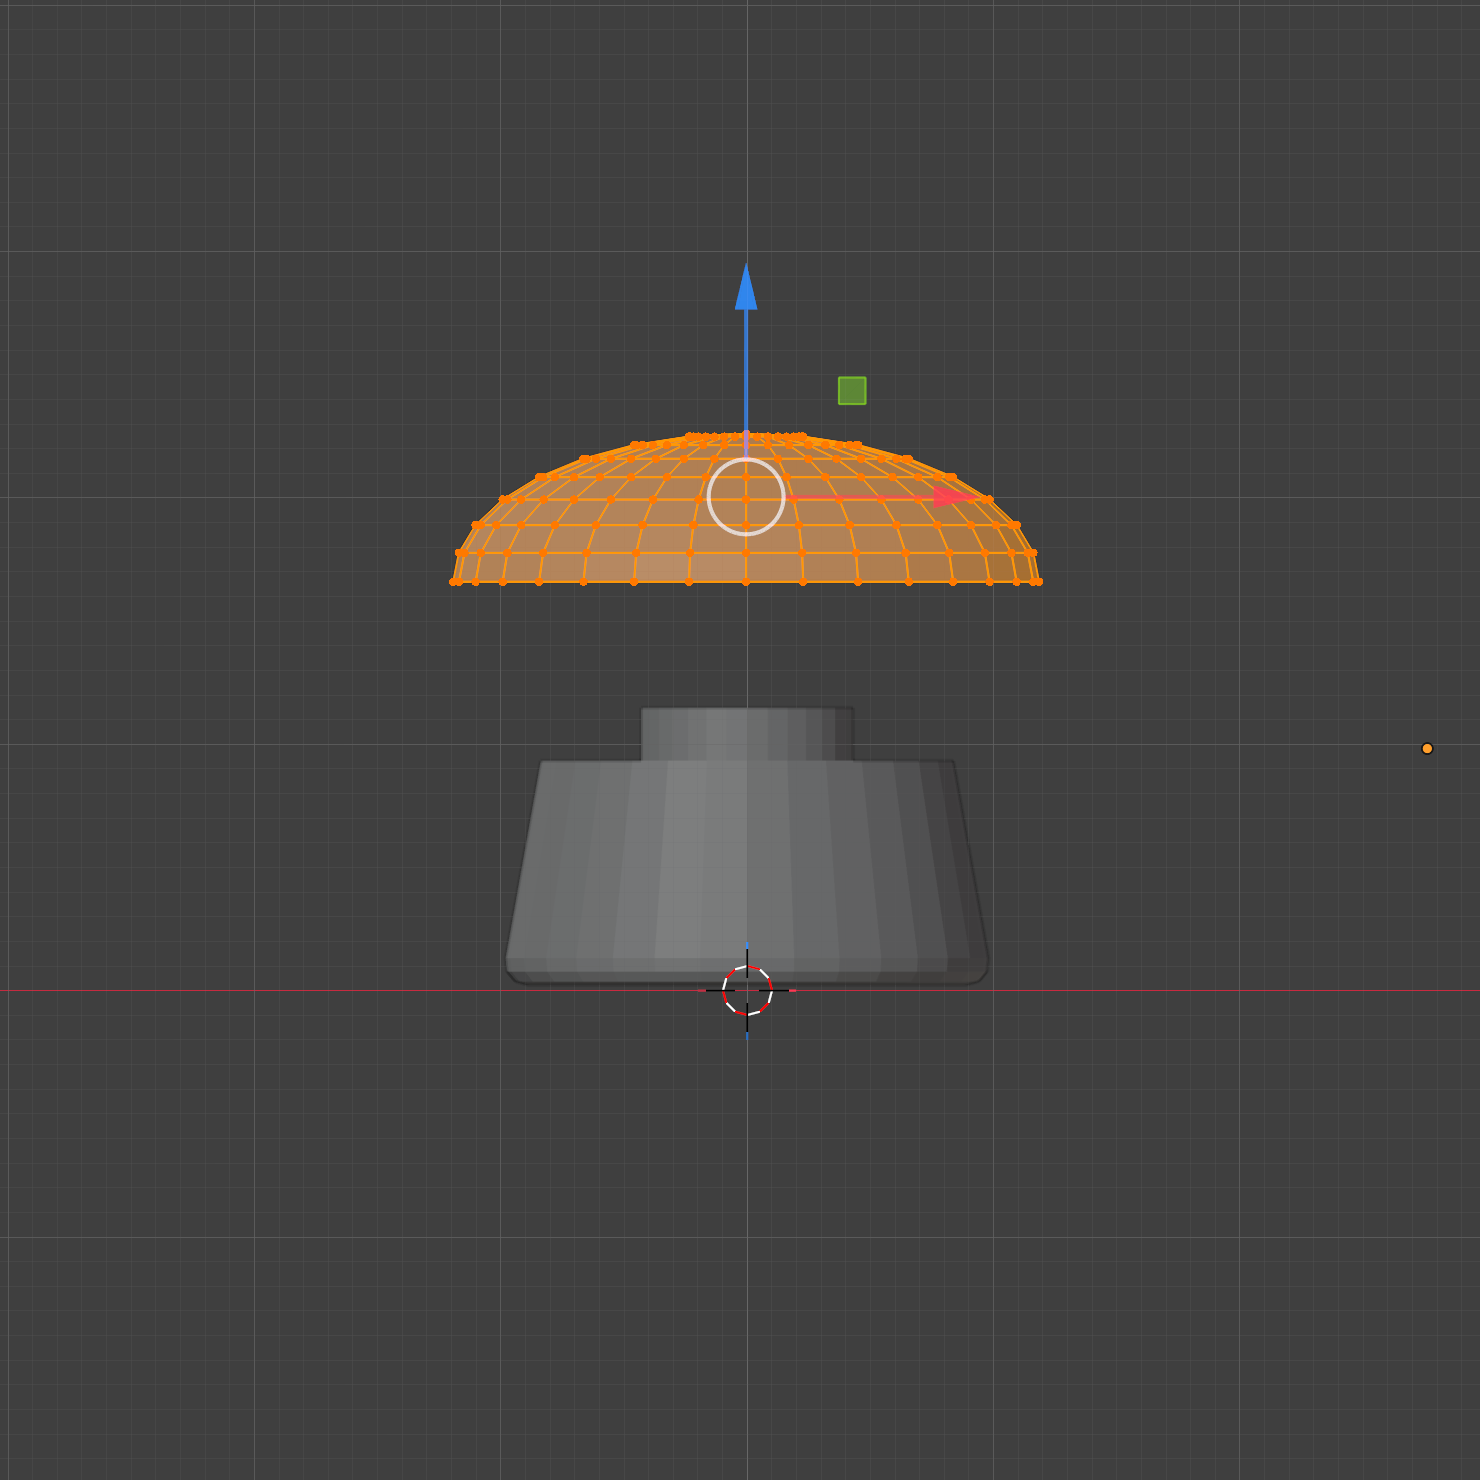
I found a variety of small objects around my house to use for this module. There were 5 objects that can be represented by primitives such as skincare product container, zippo lighter, lip balm, acorn and mushroom beauty blender. And 3 objects that are more complicated in shape and contain limbs and facial features are a rubber duck light and 2 fugglers (since I really like trinkets and collectible stuffs). I took pictures of each of these to use as references when making the 3d version.
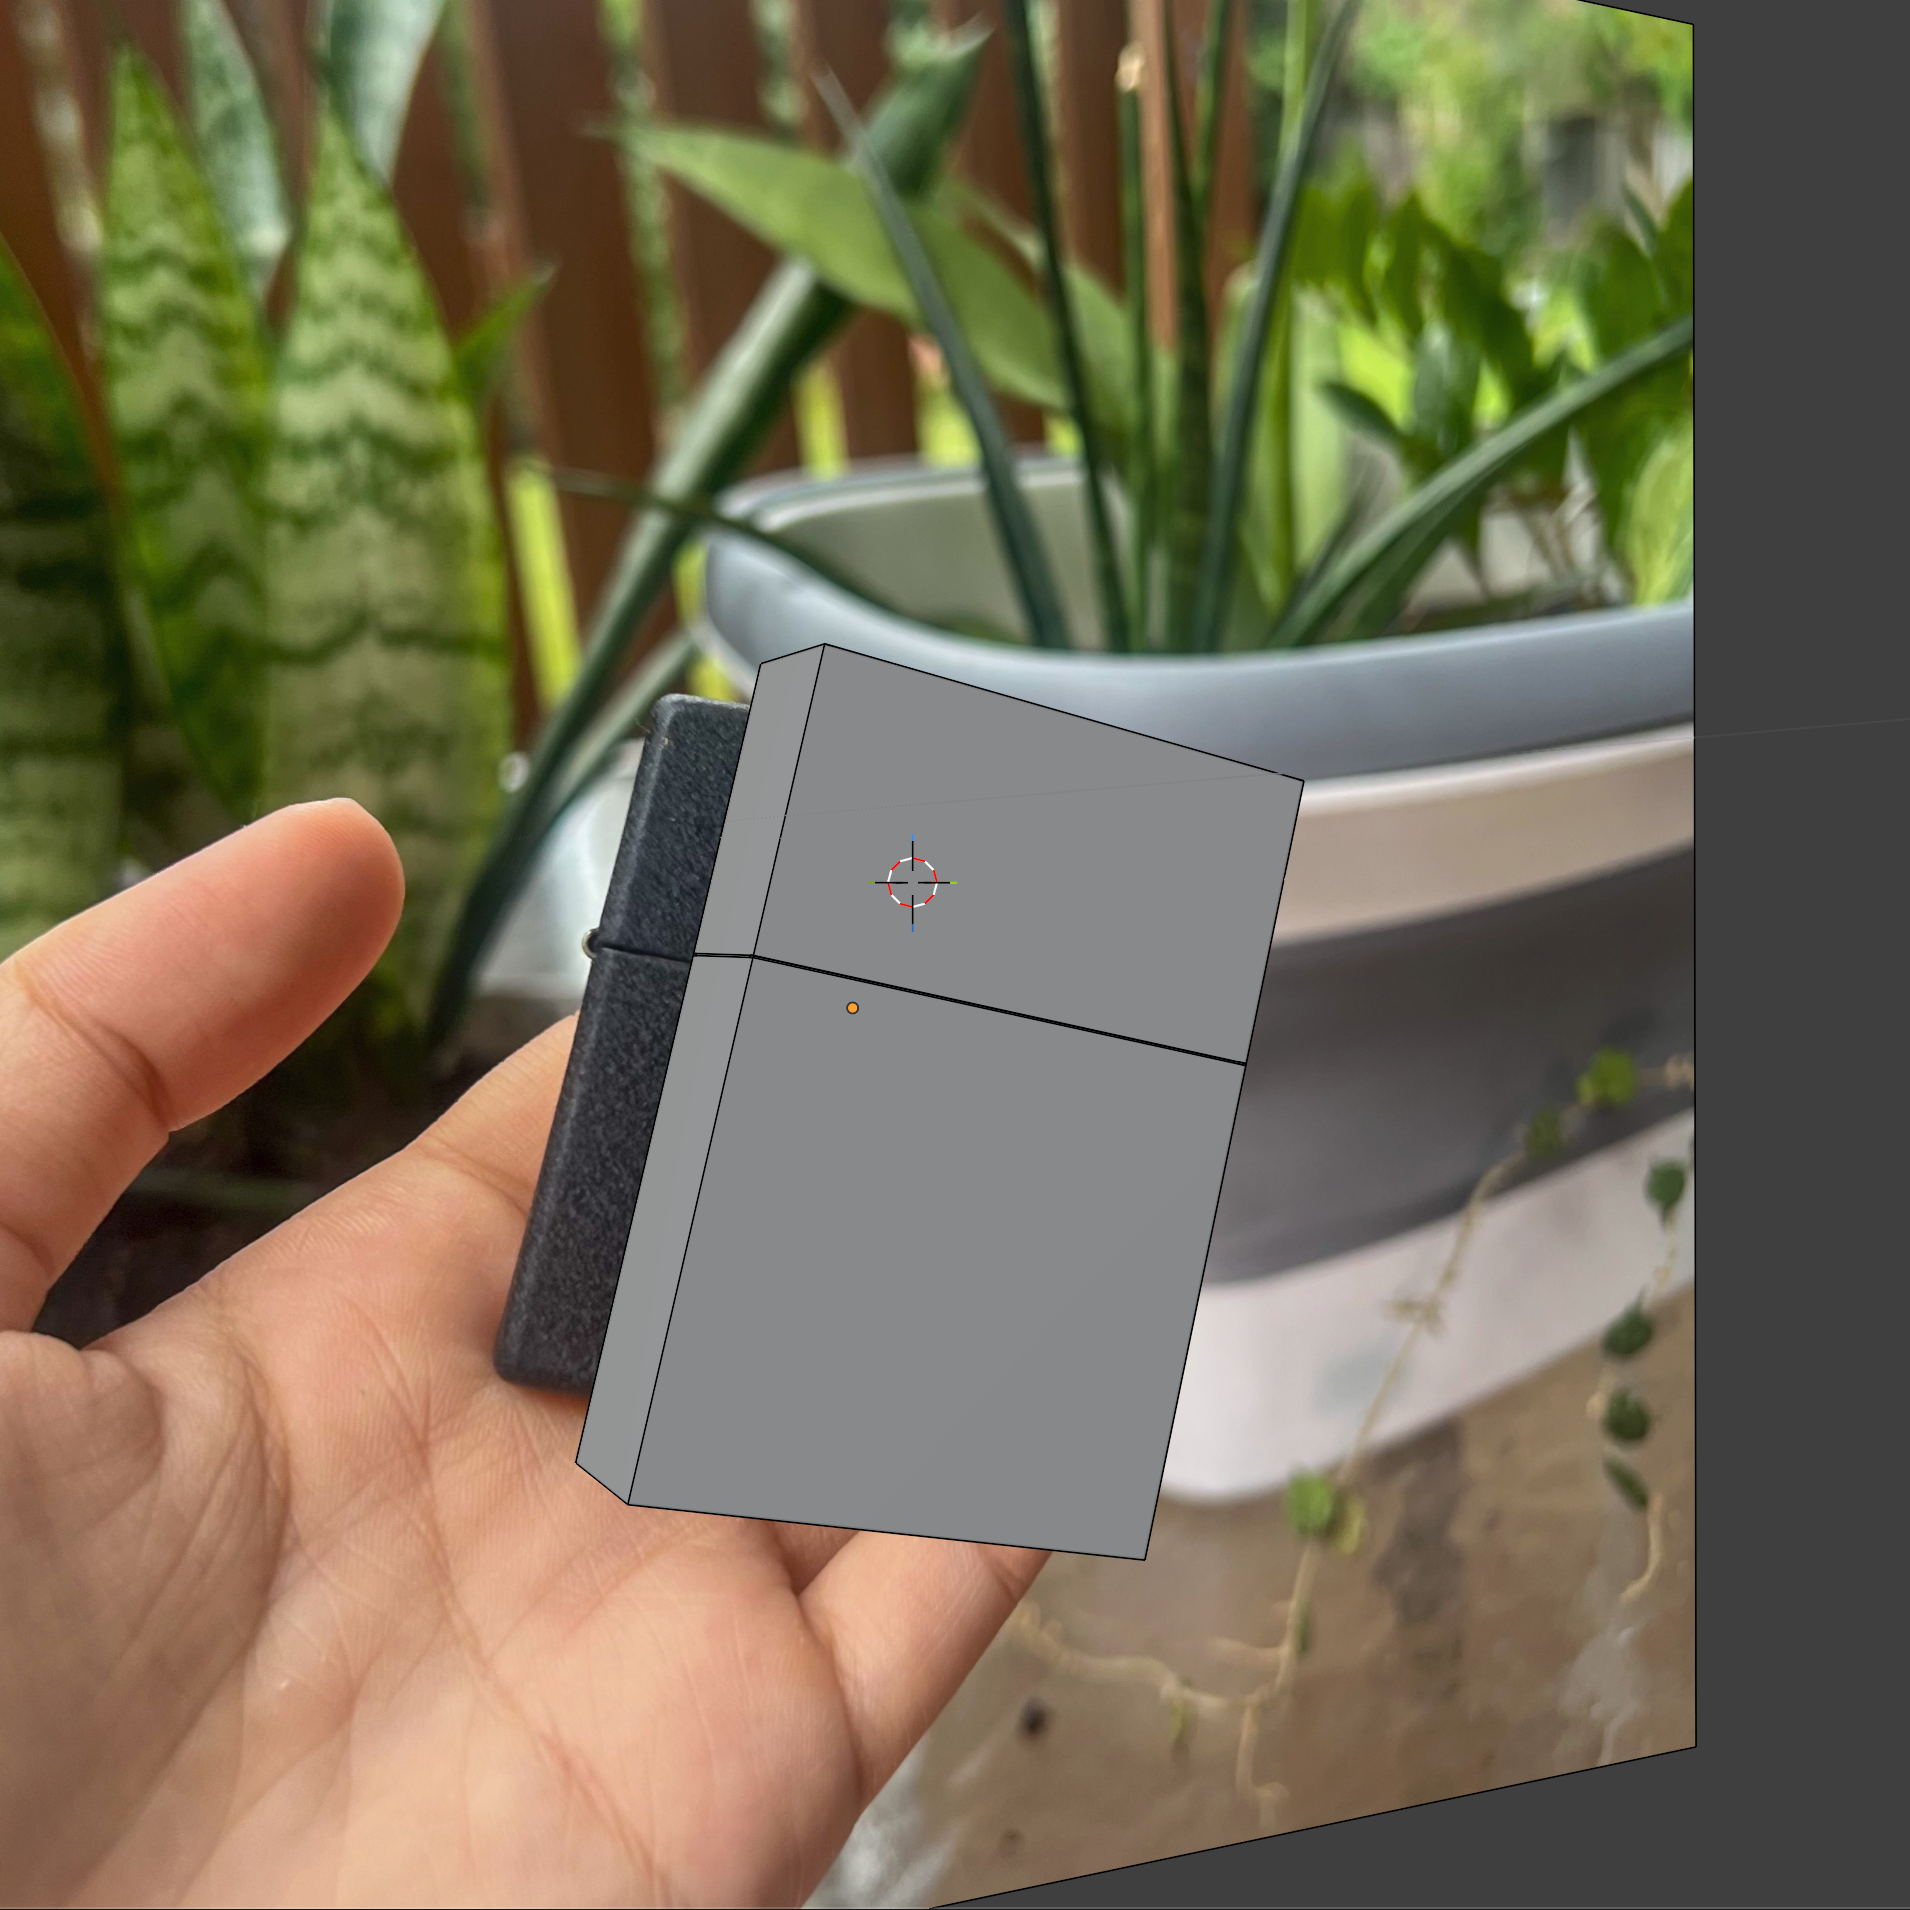
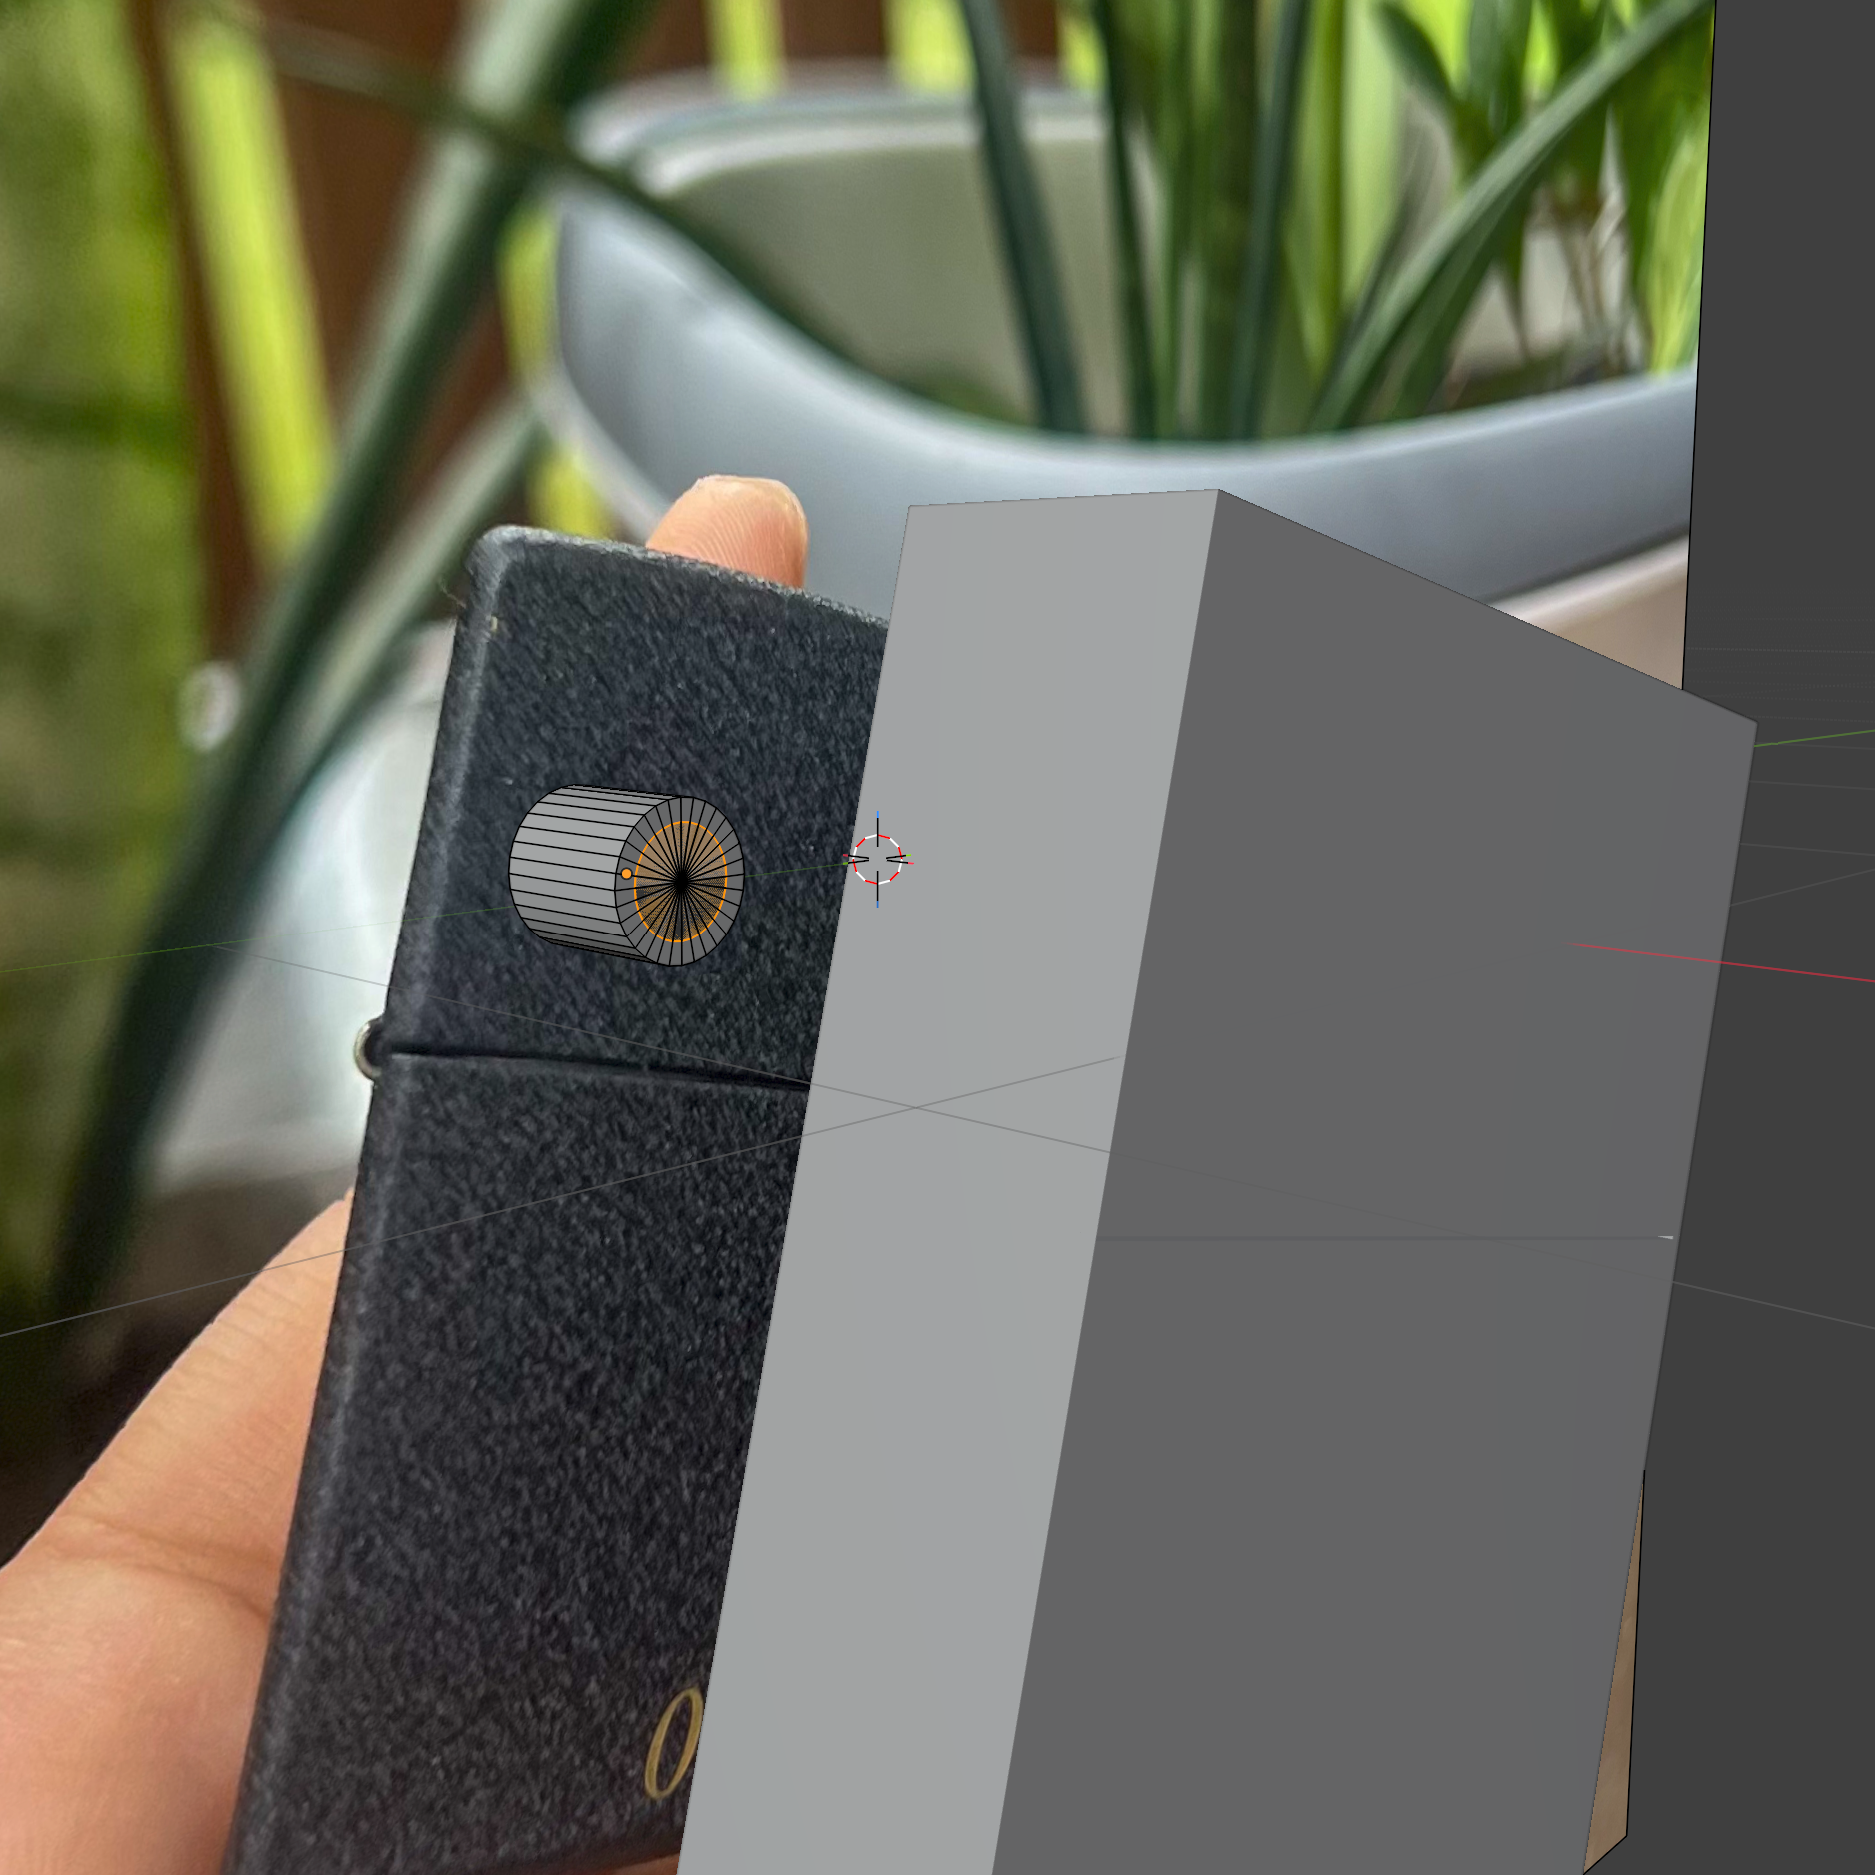
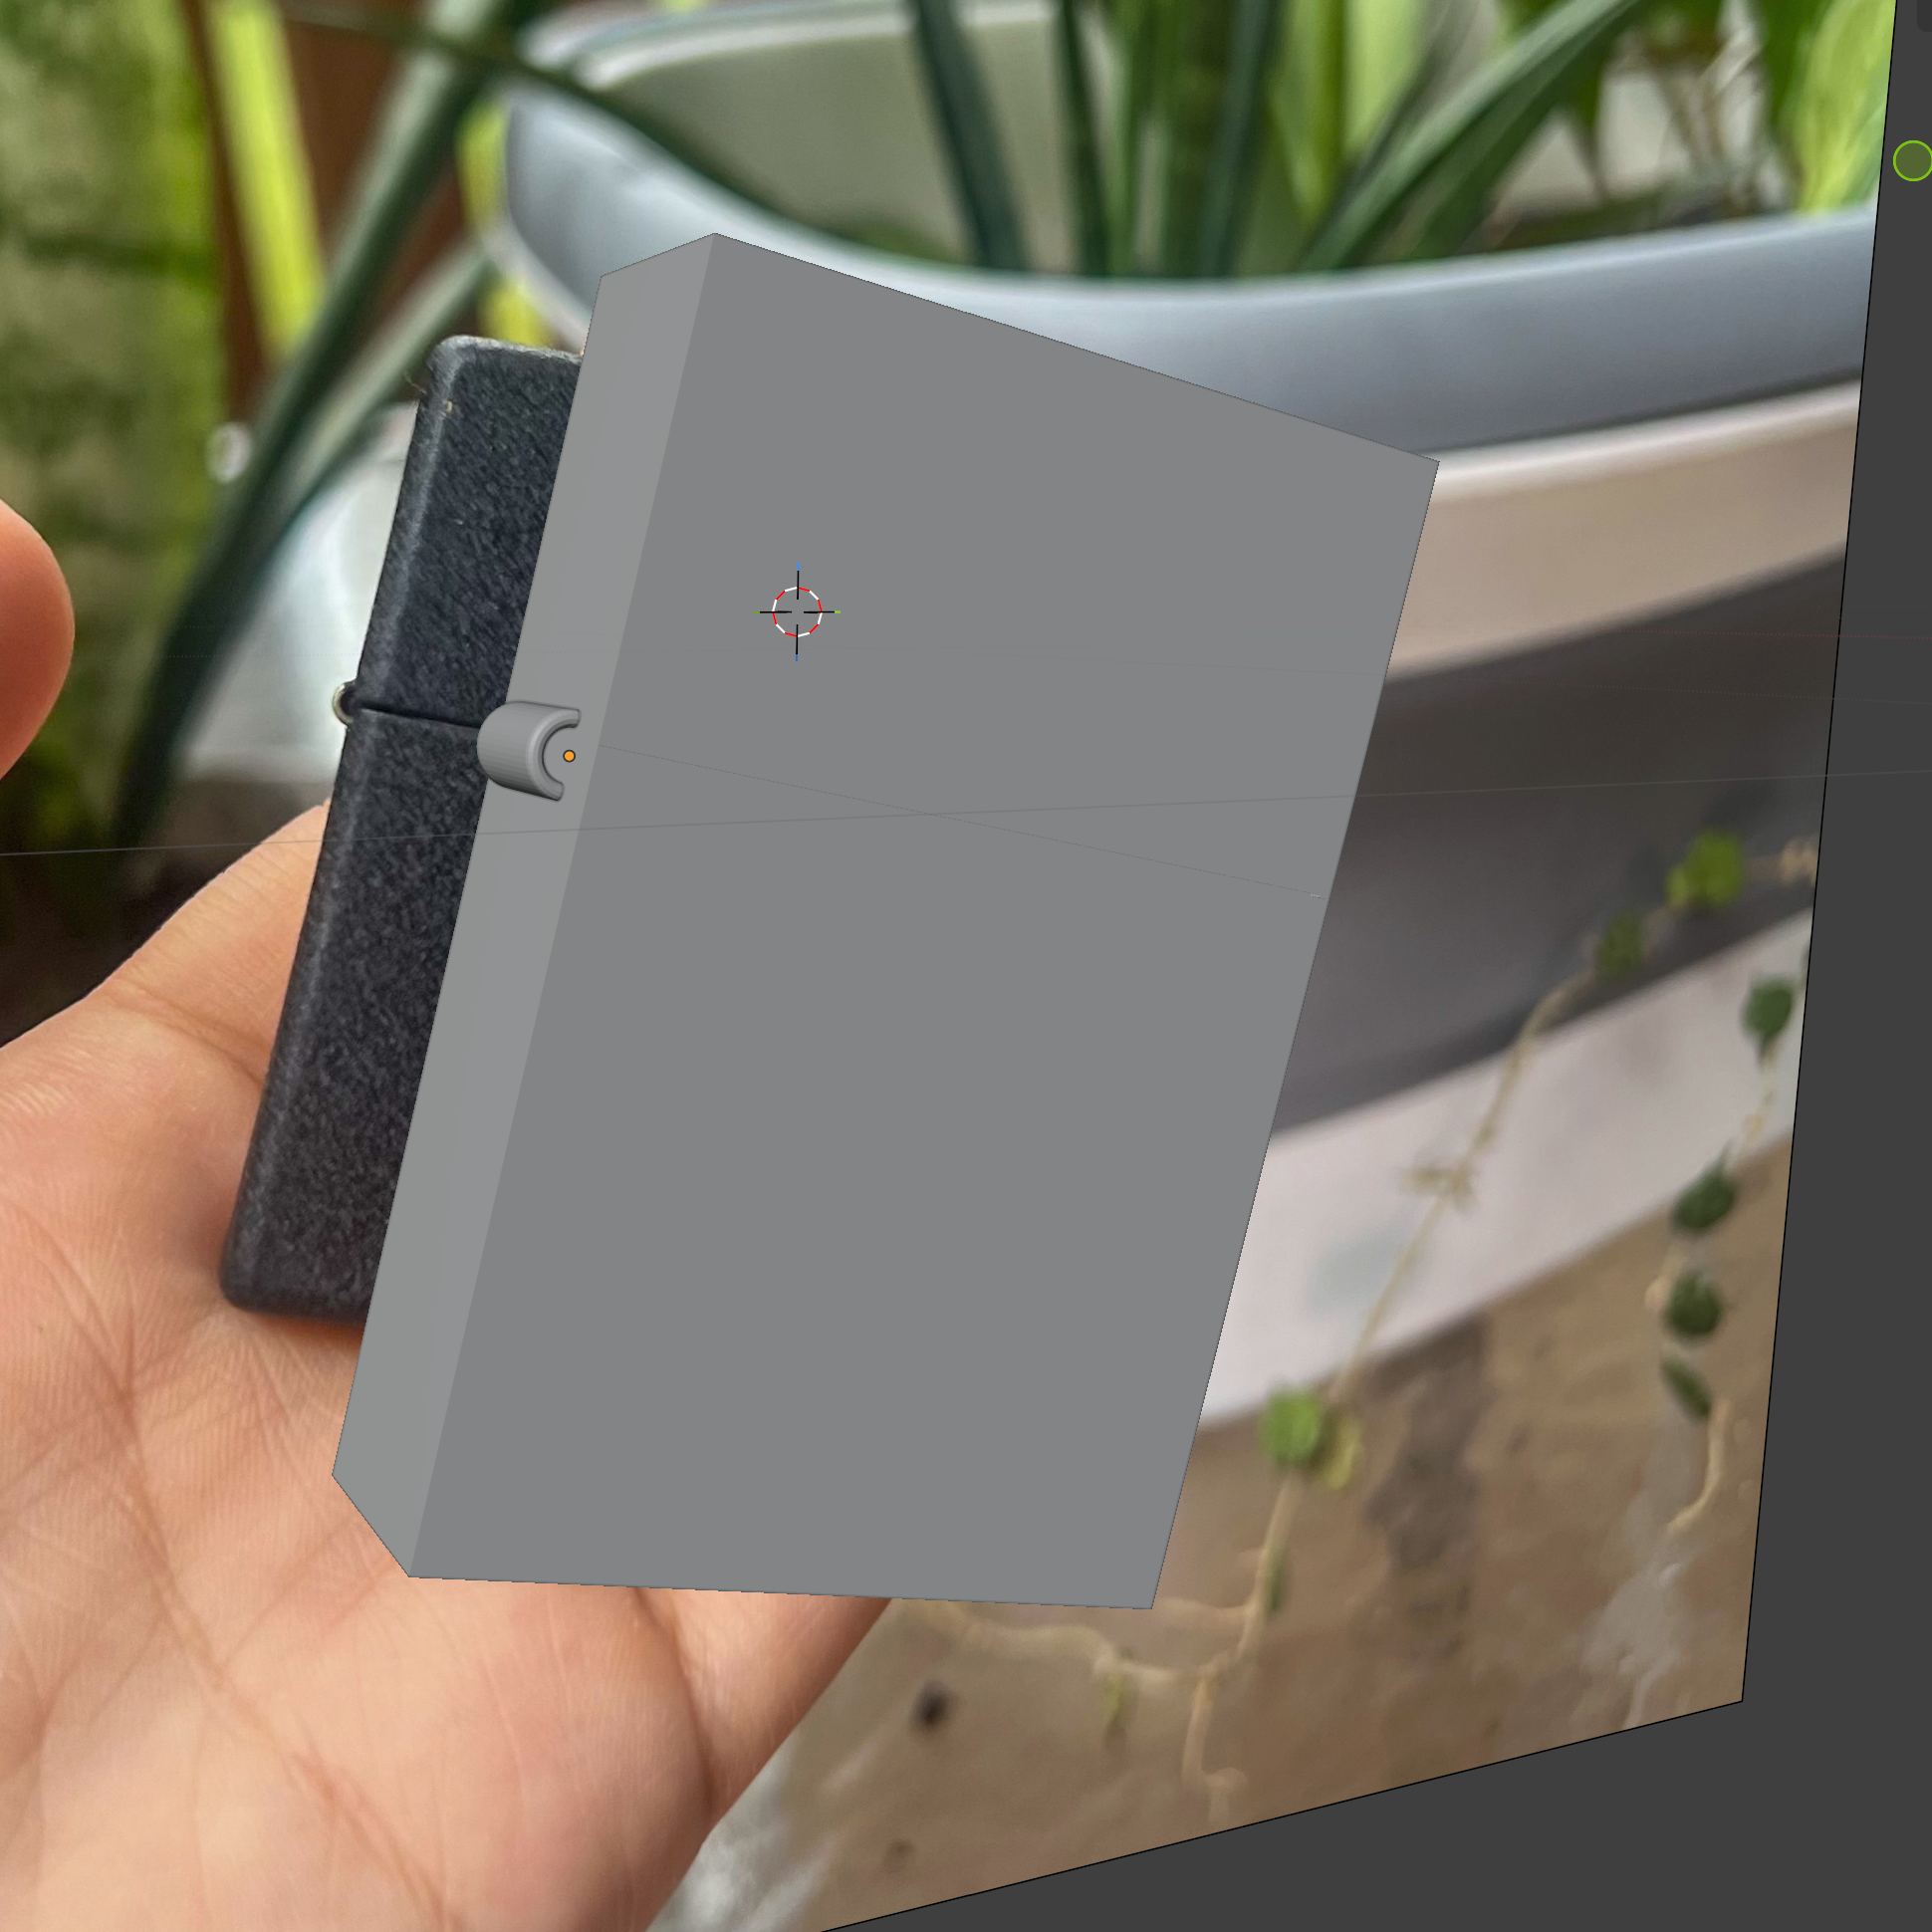
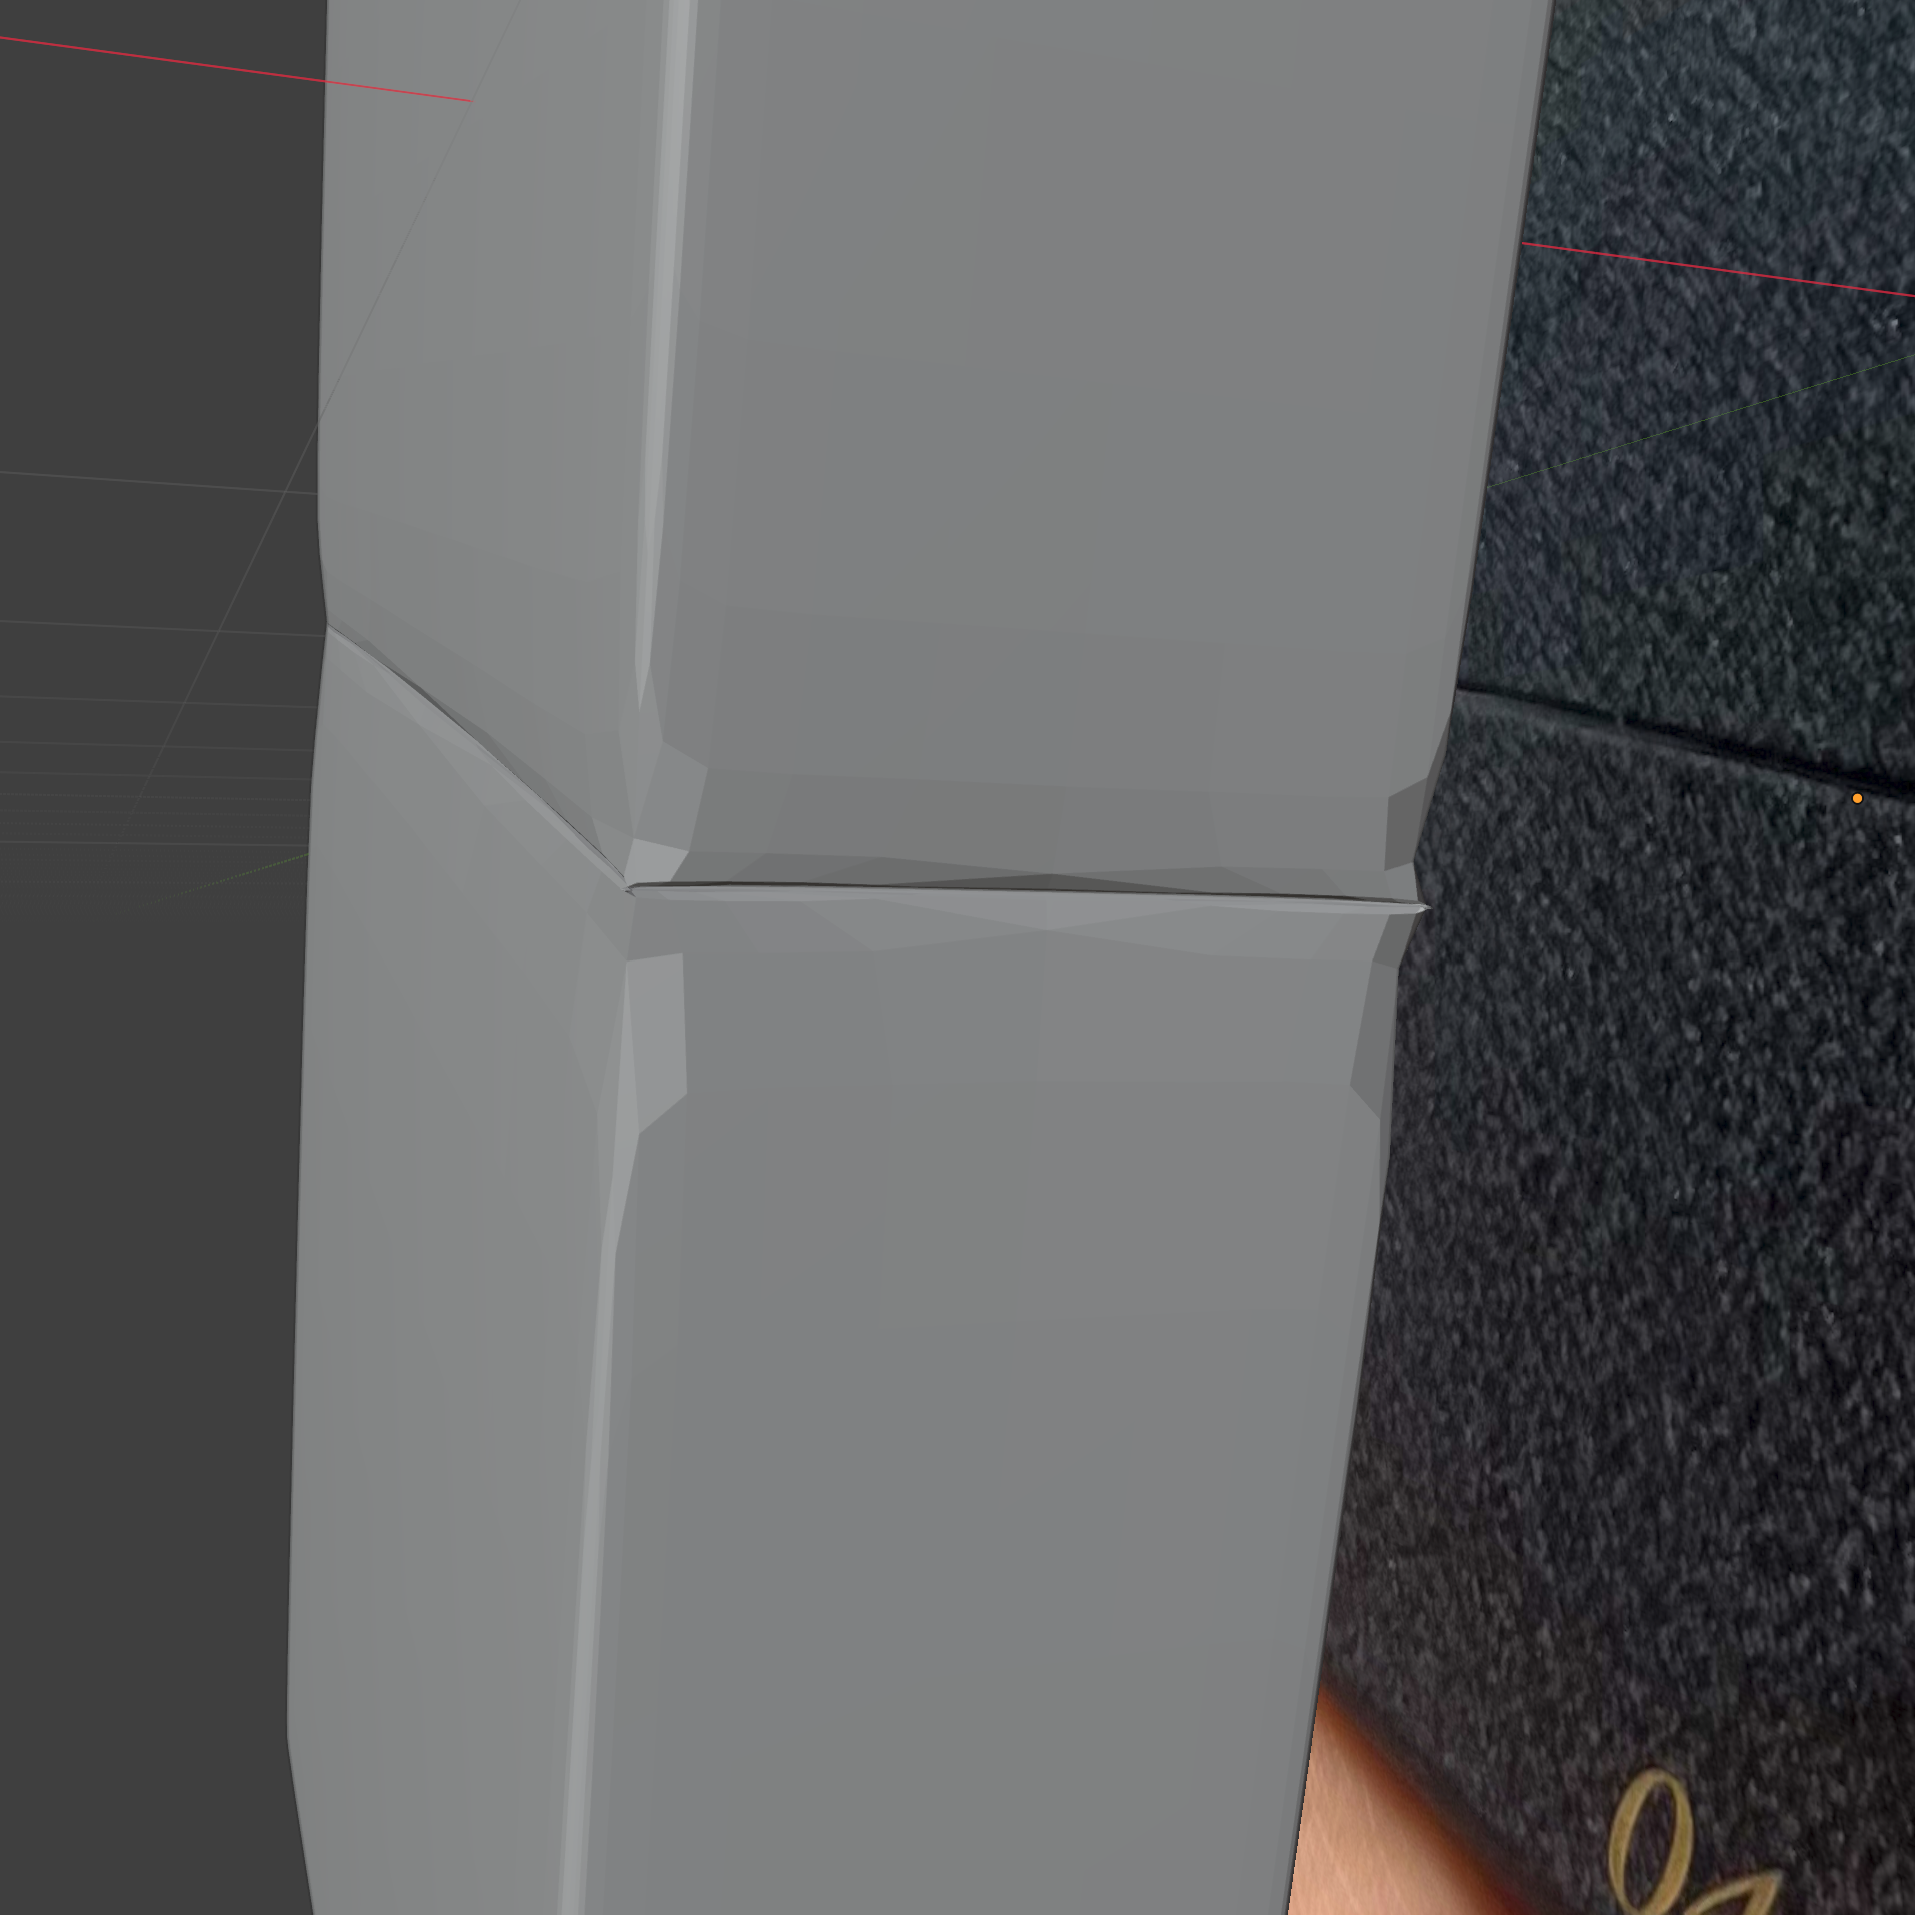
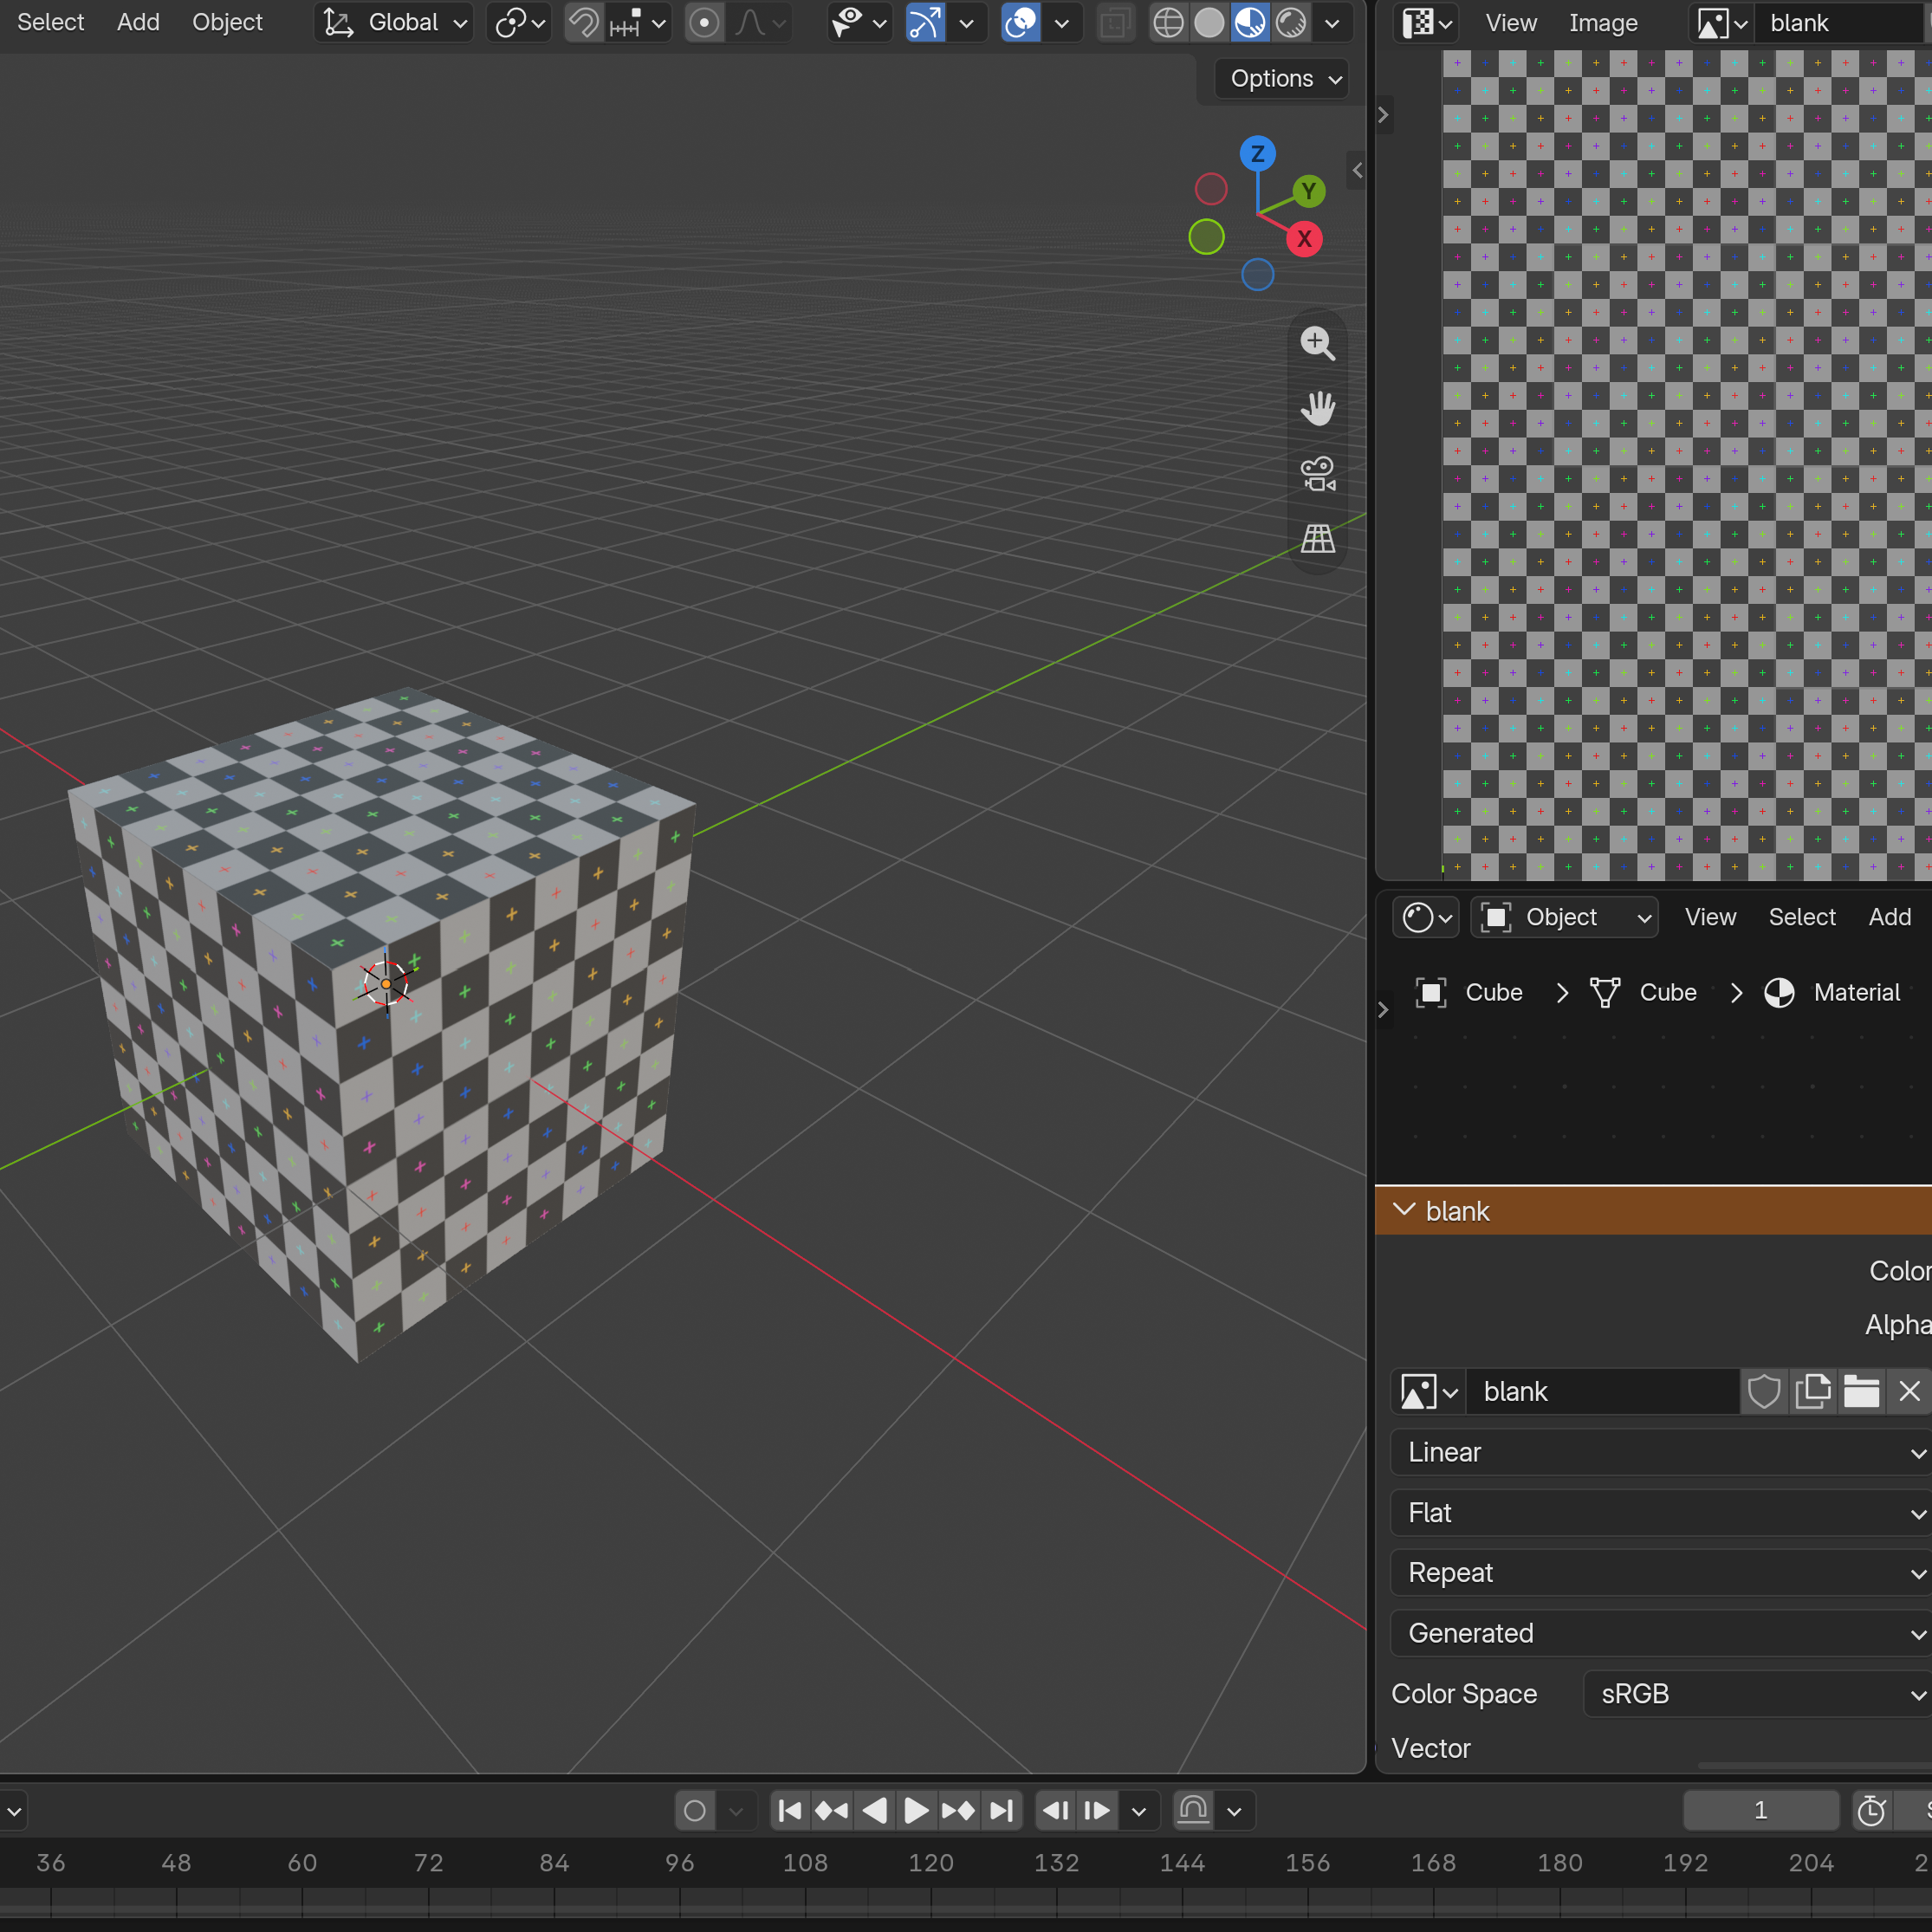
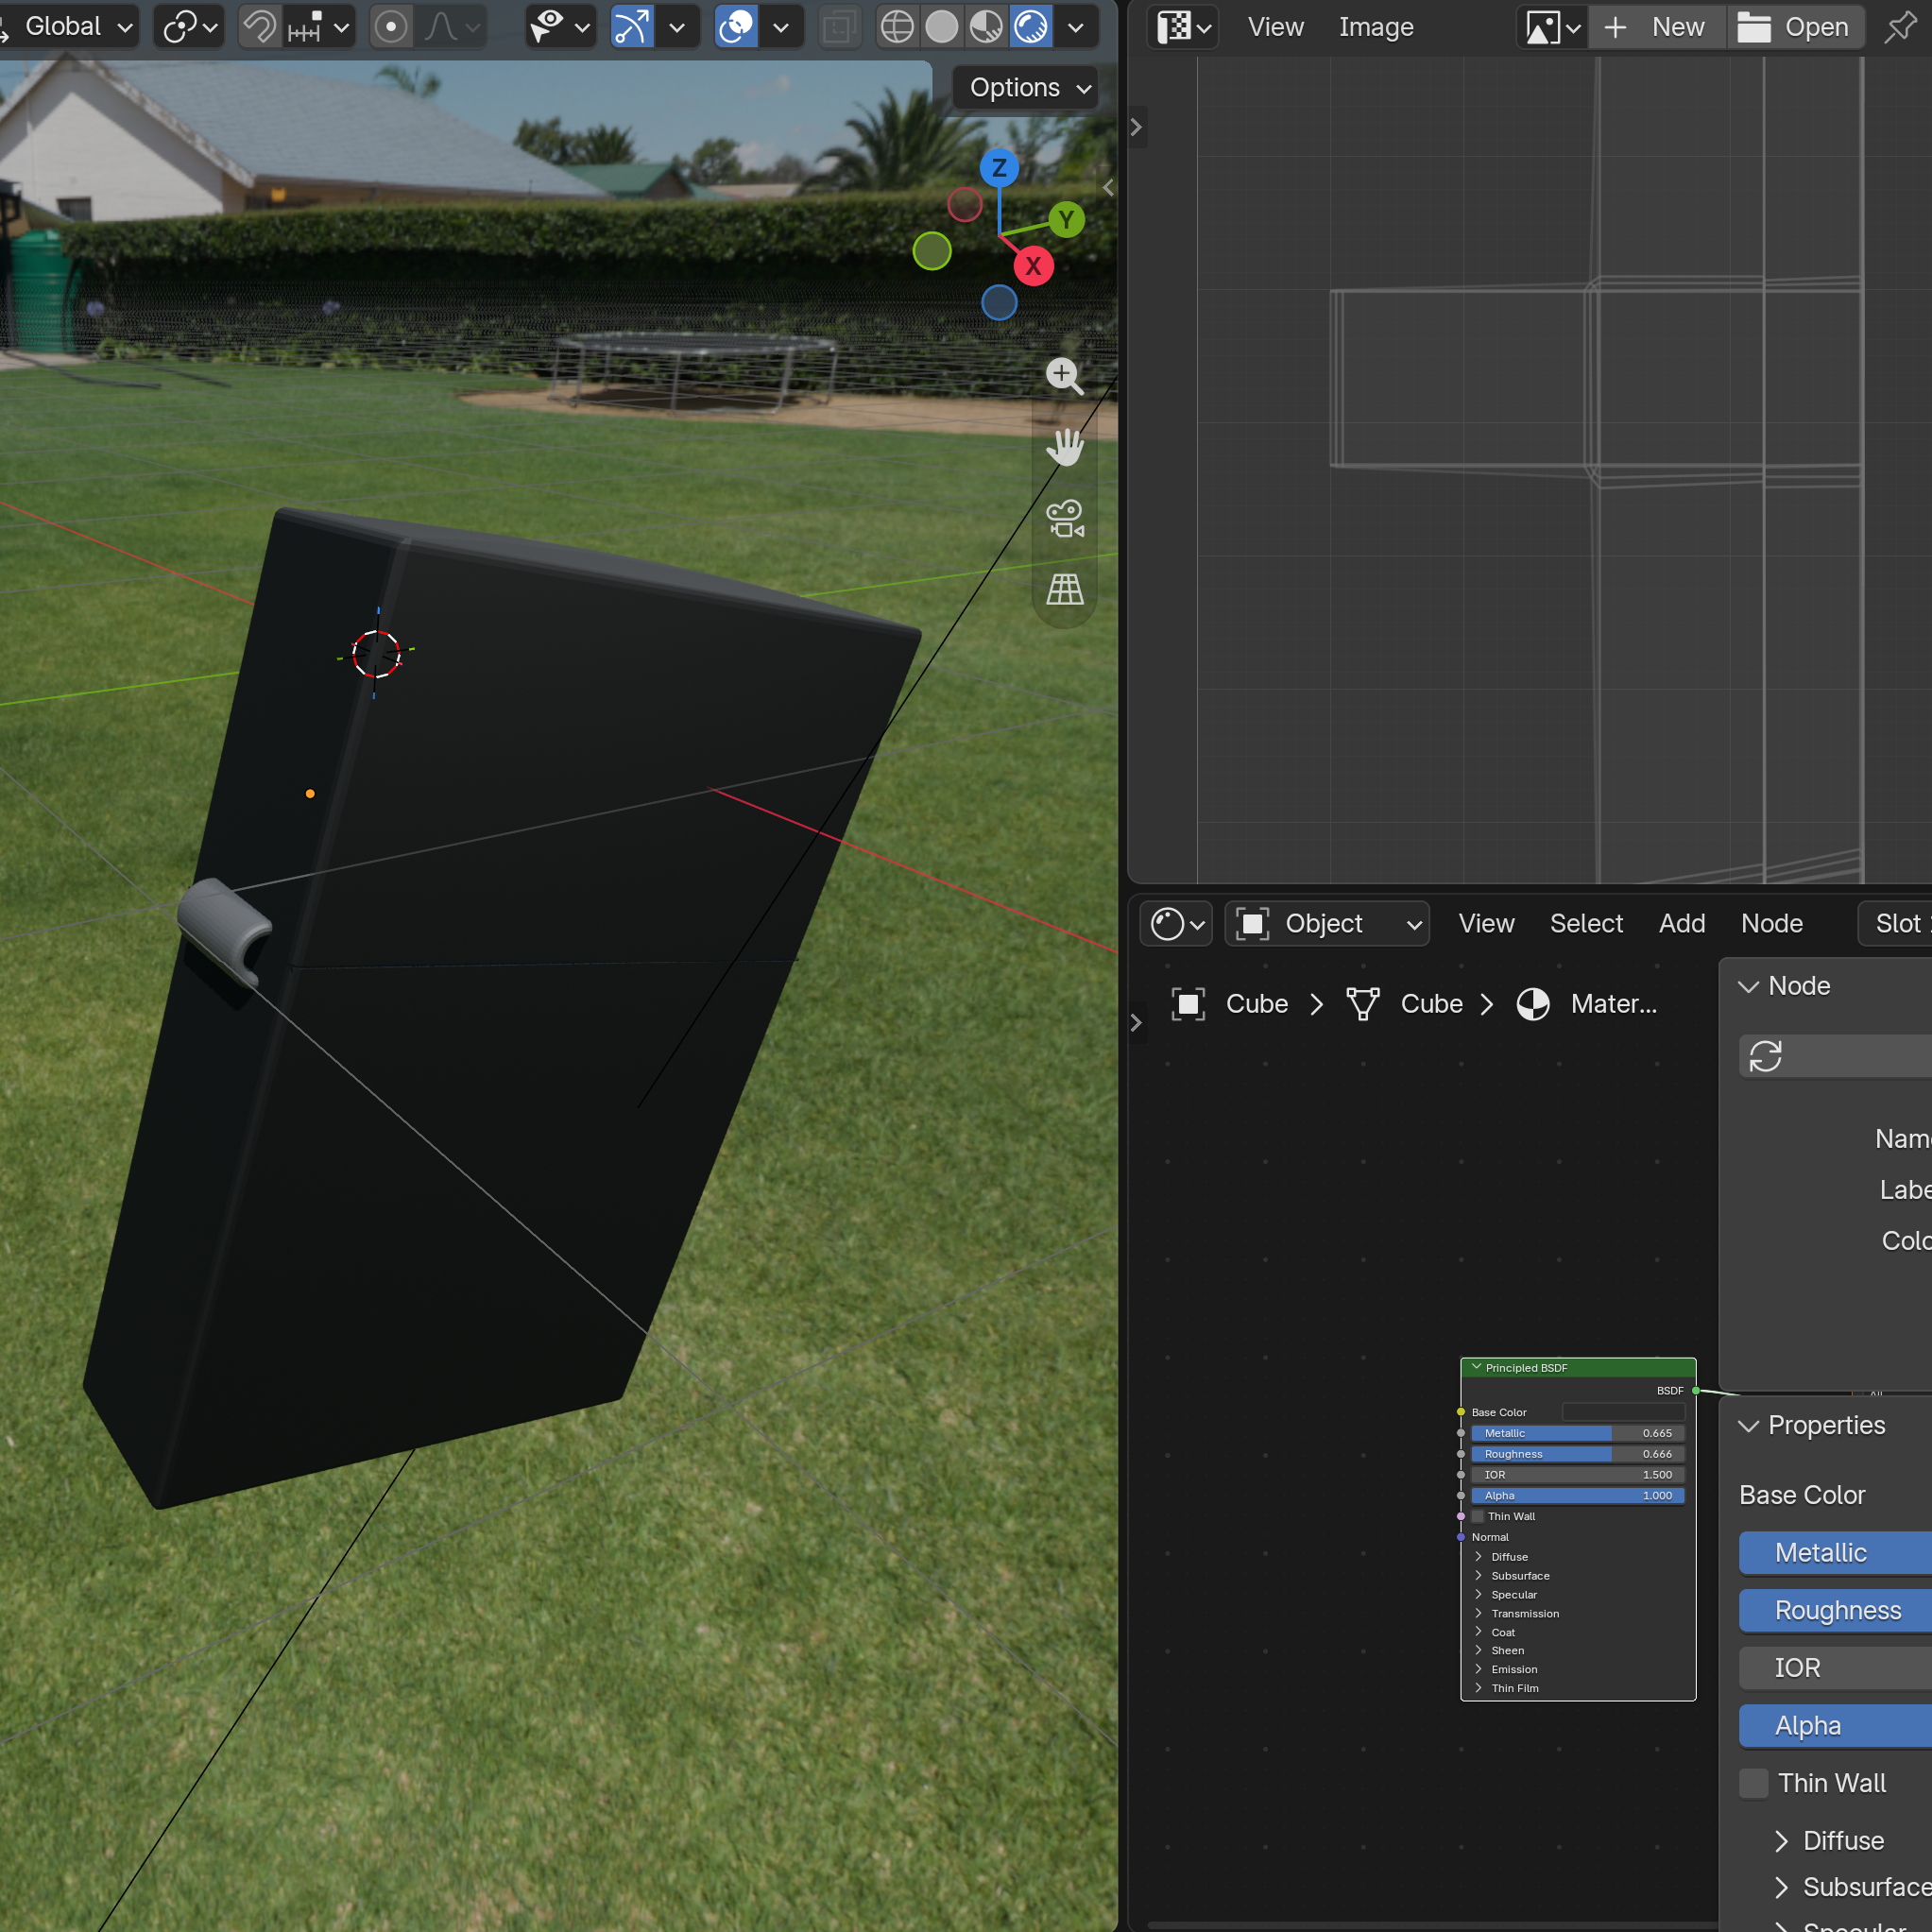
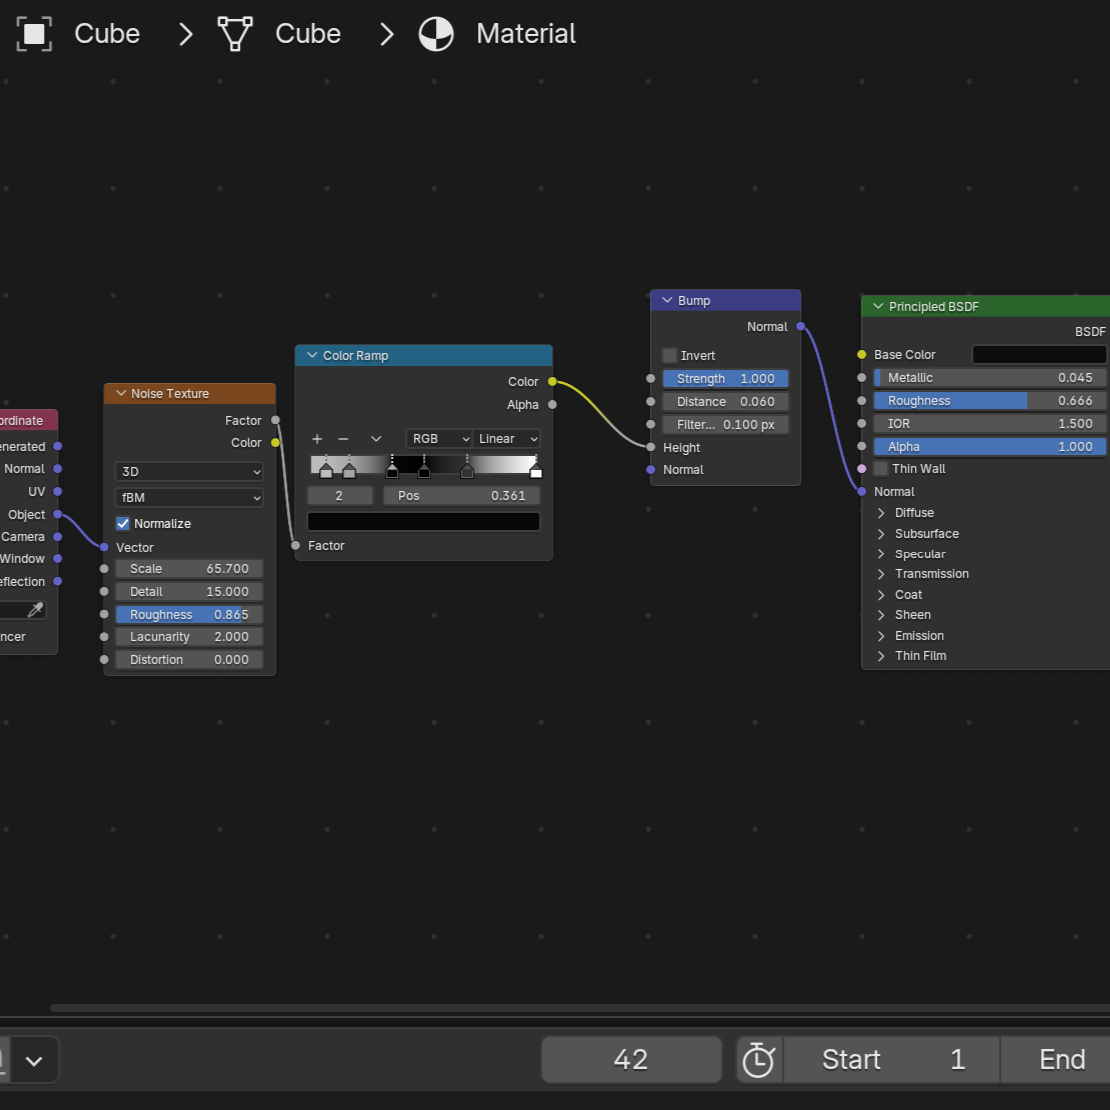
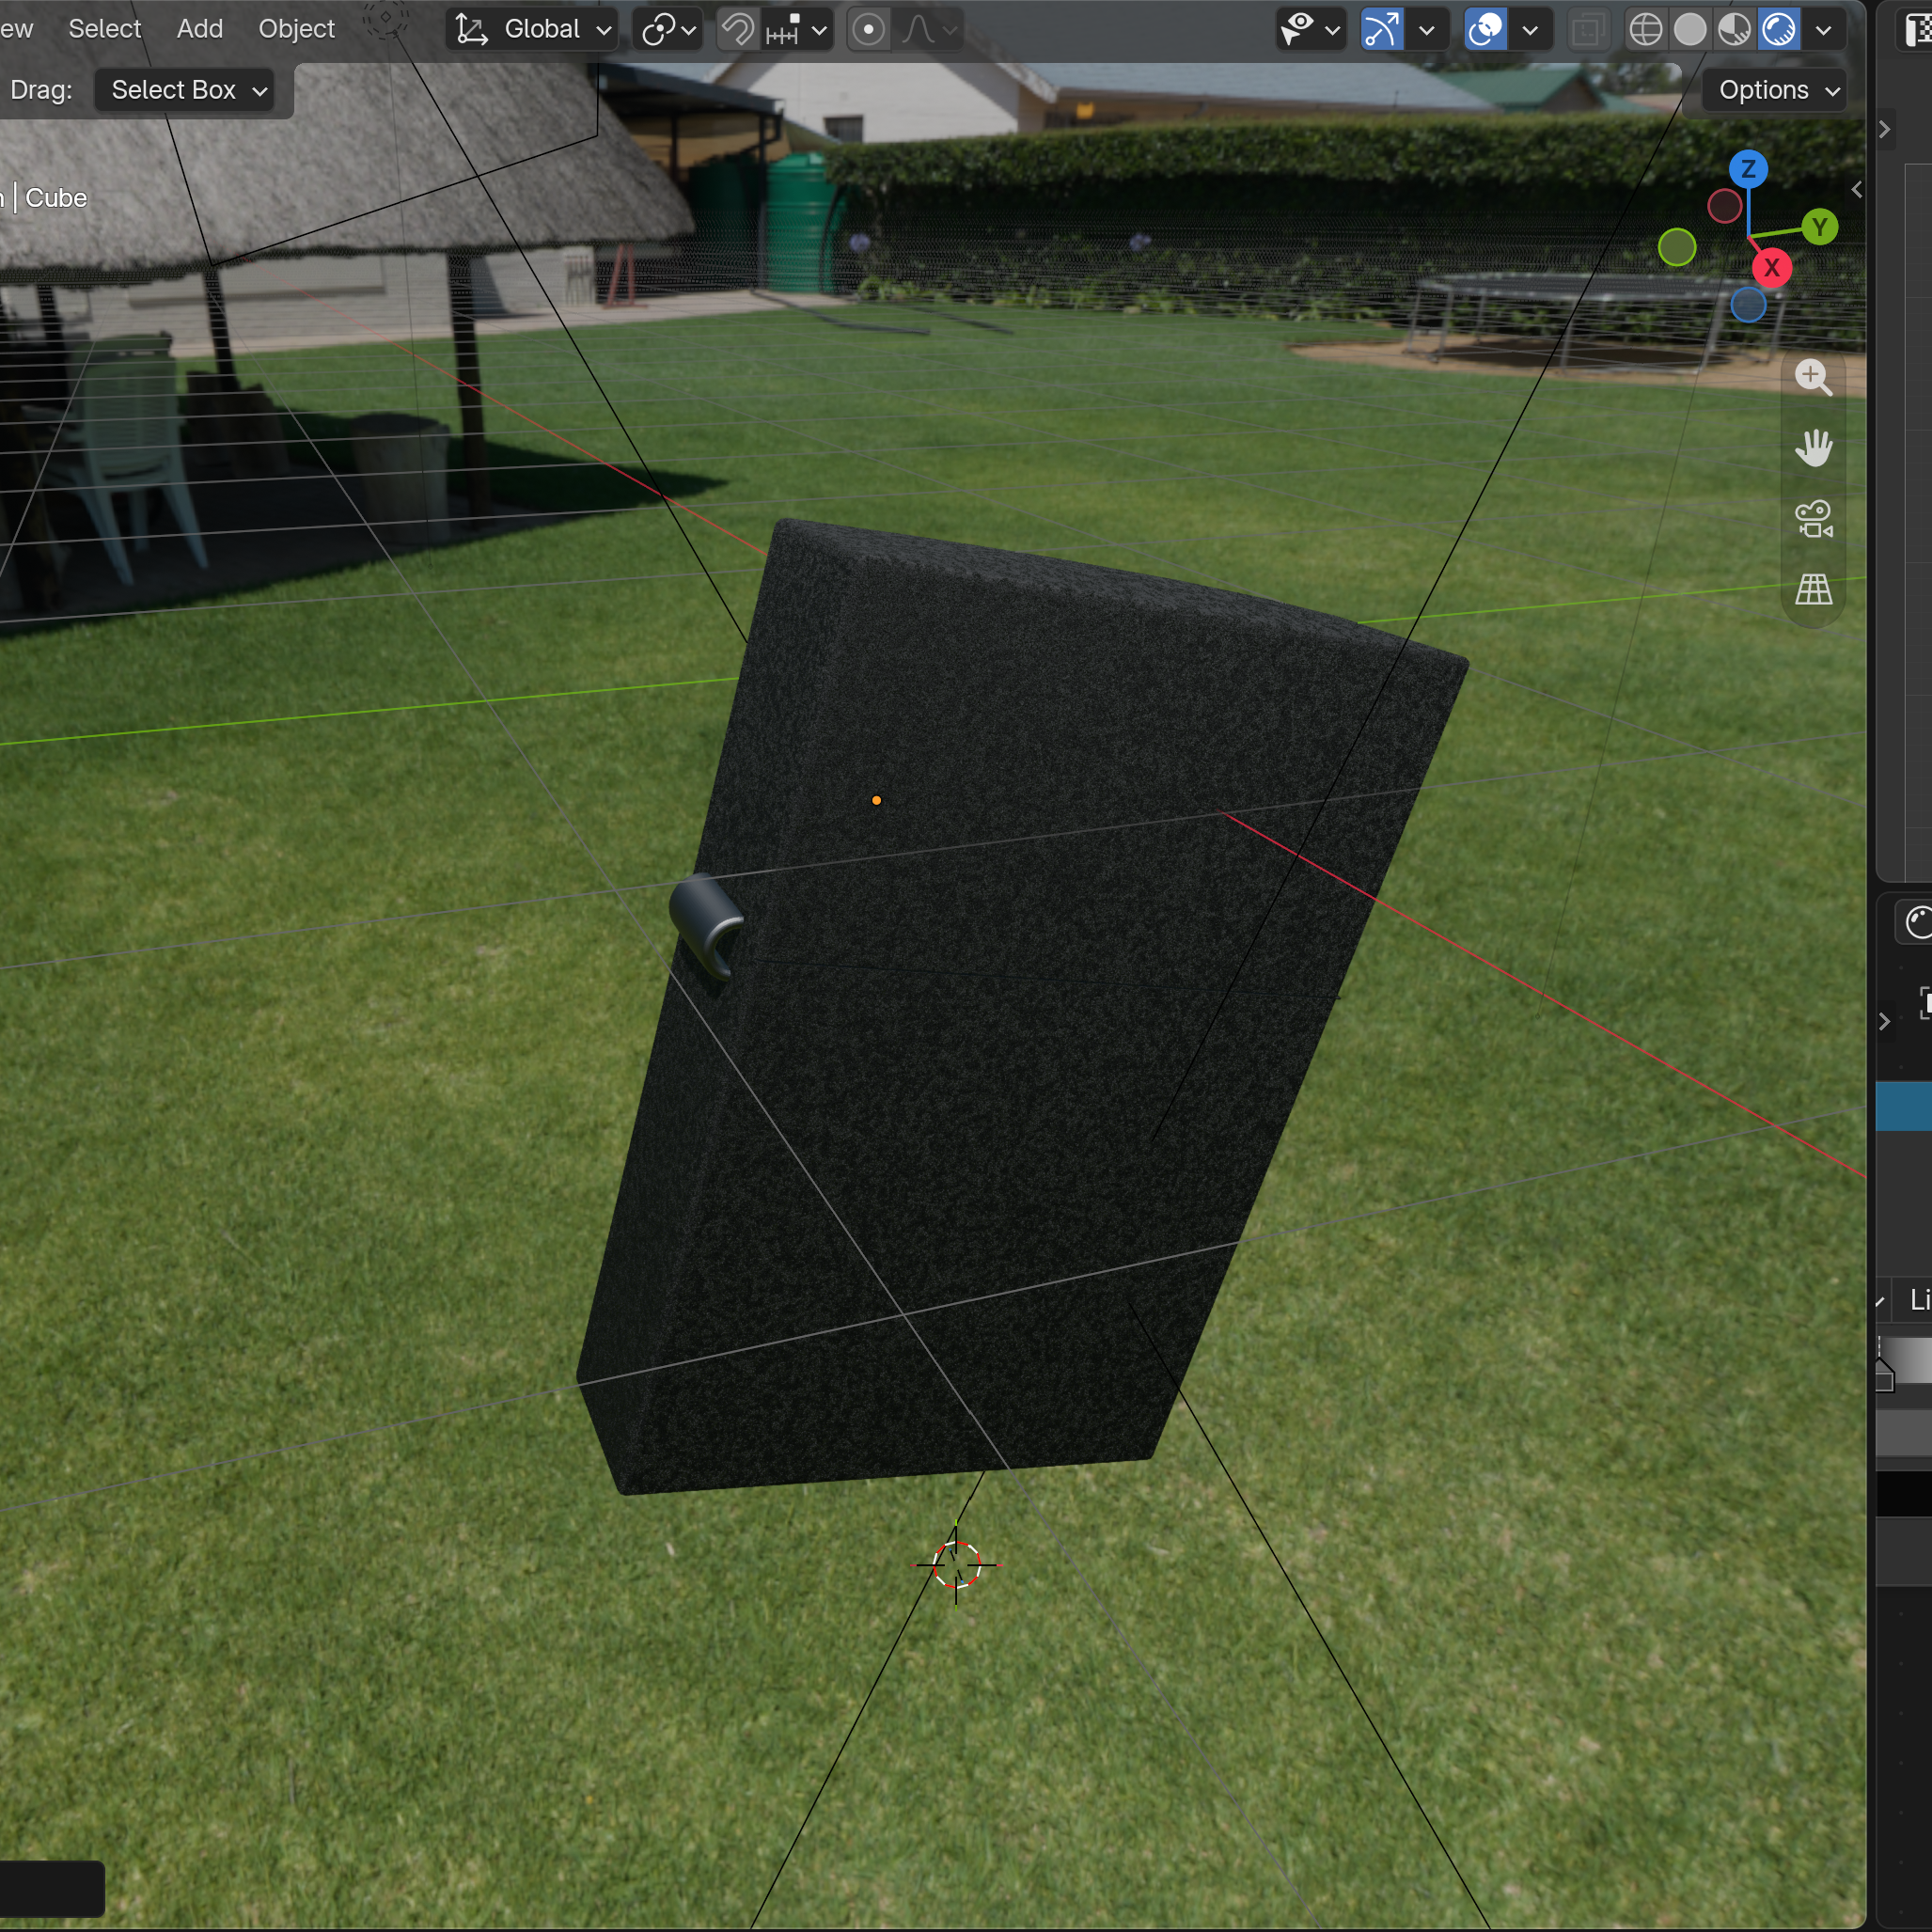
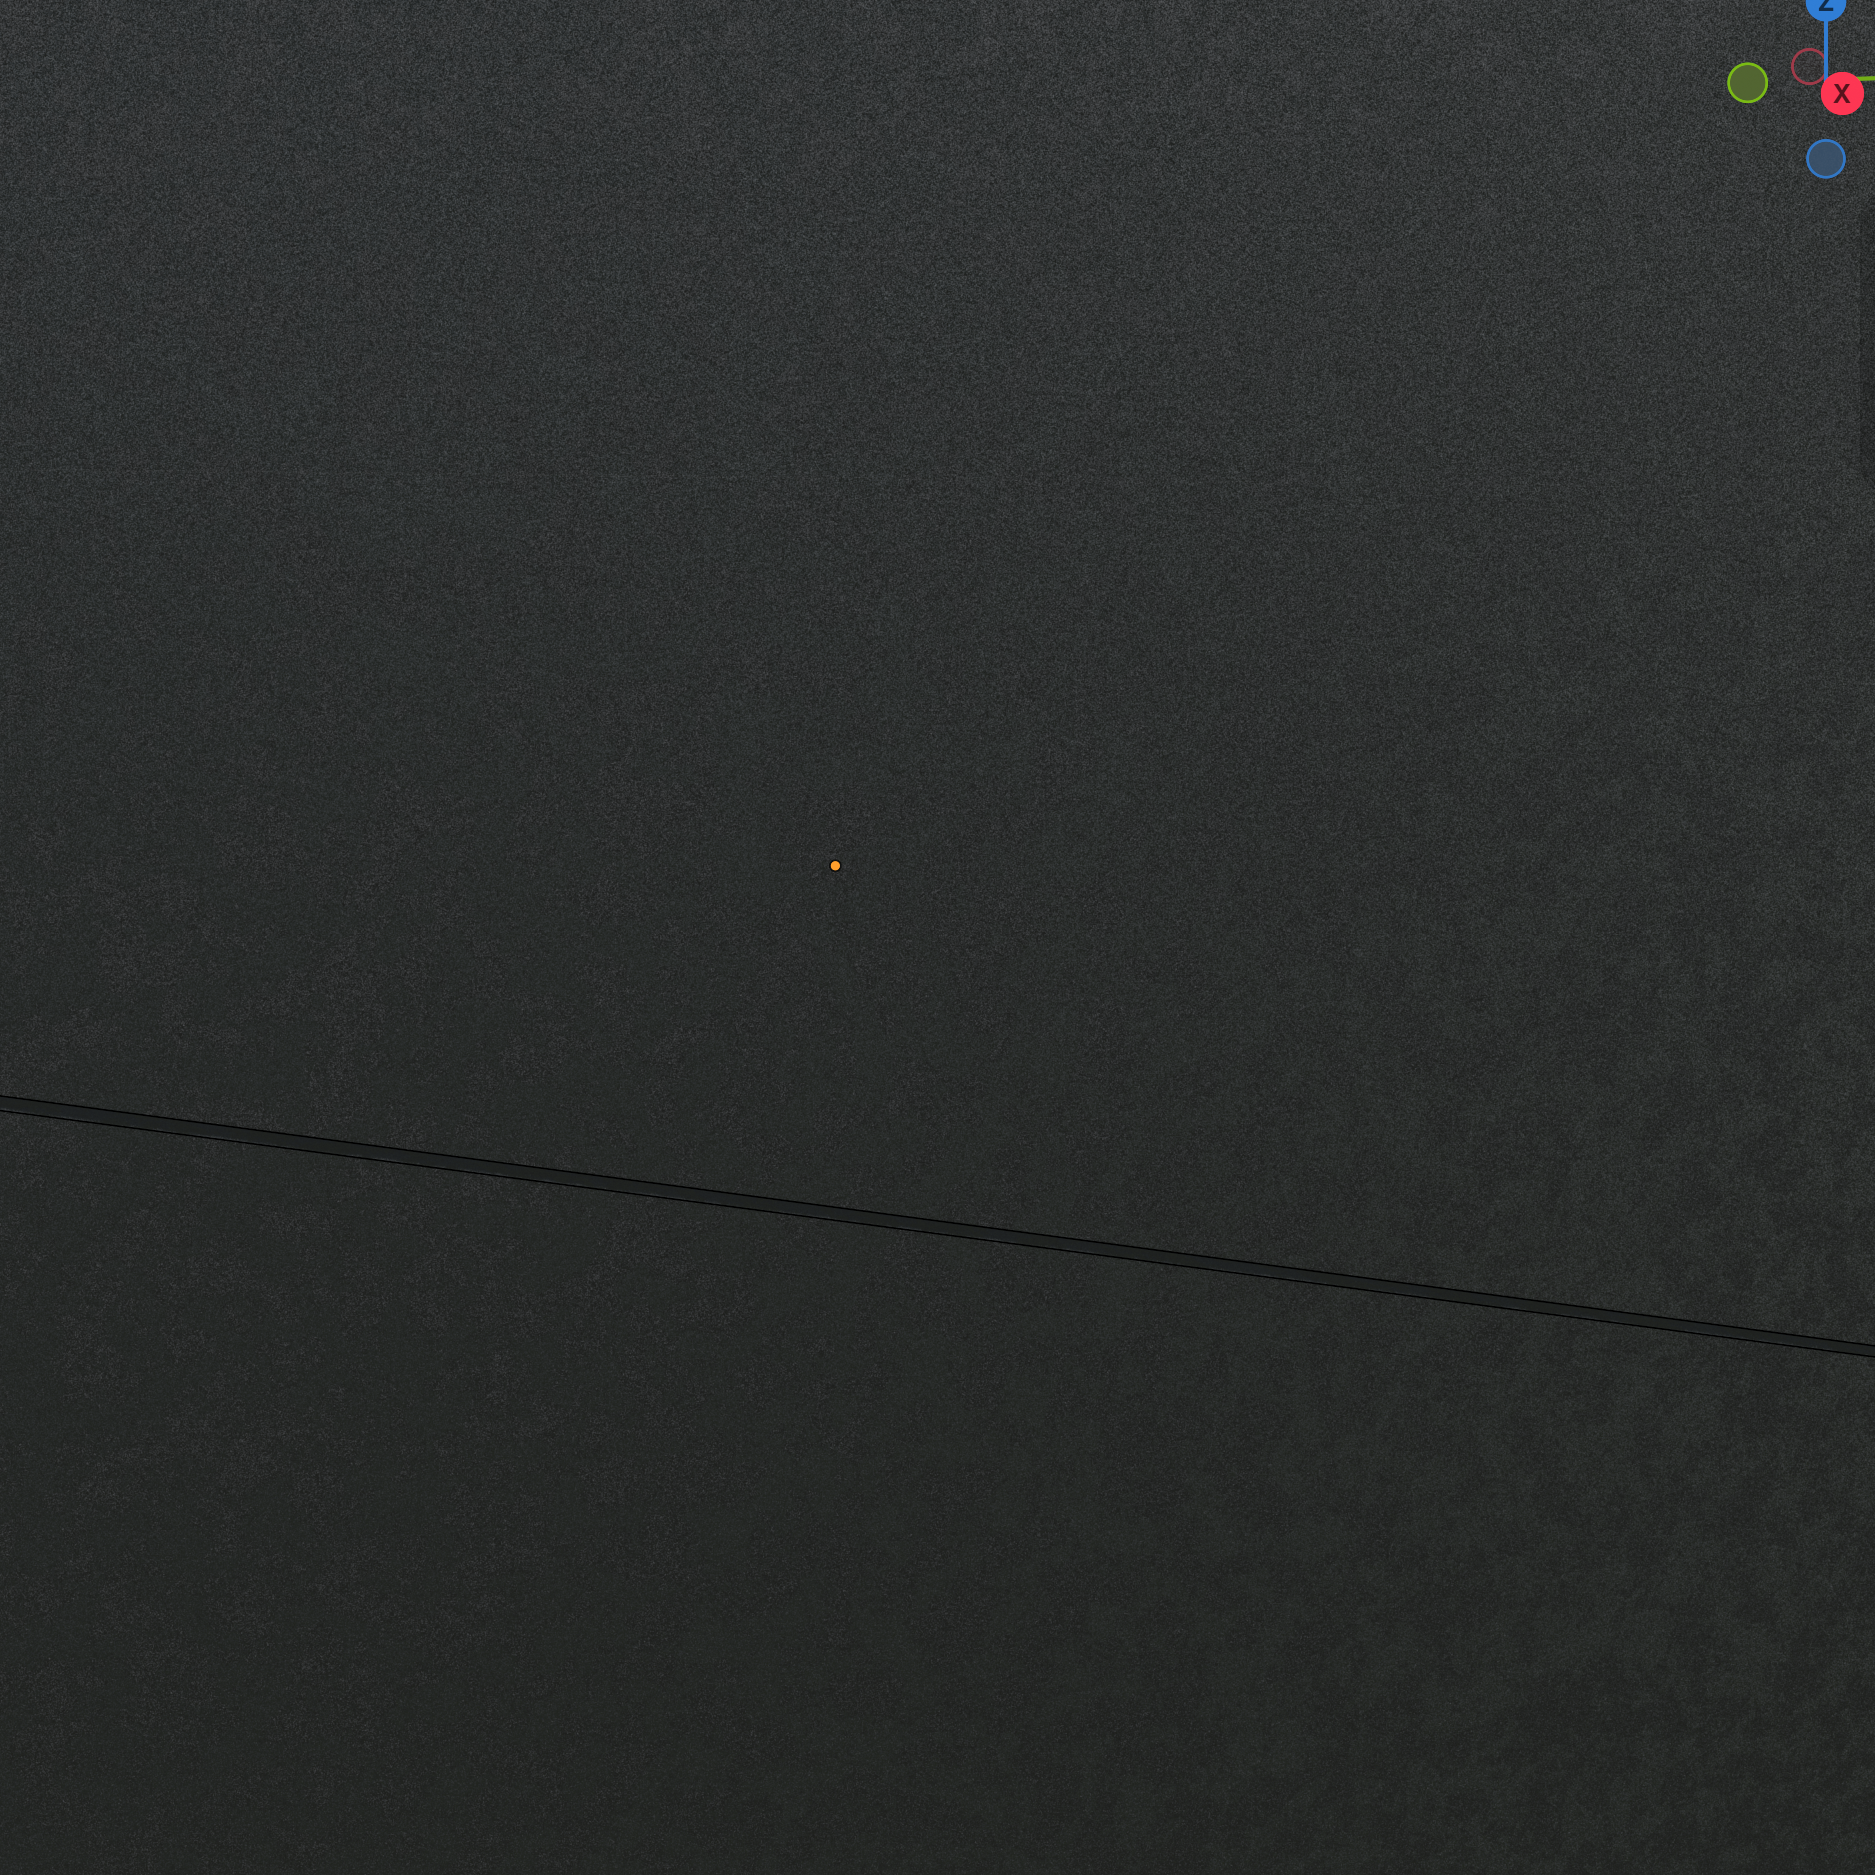
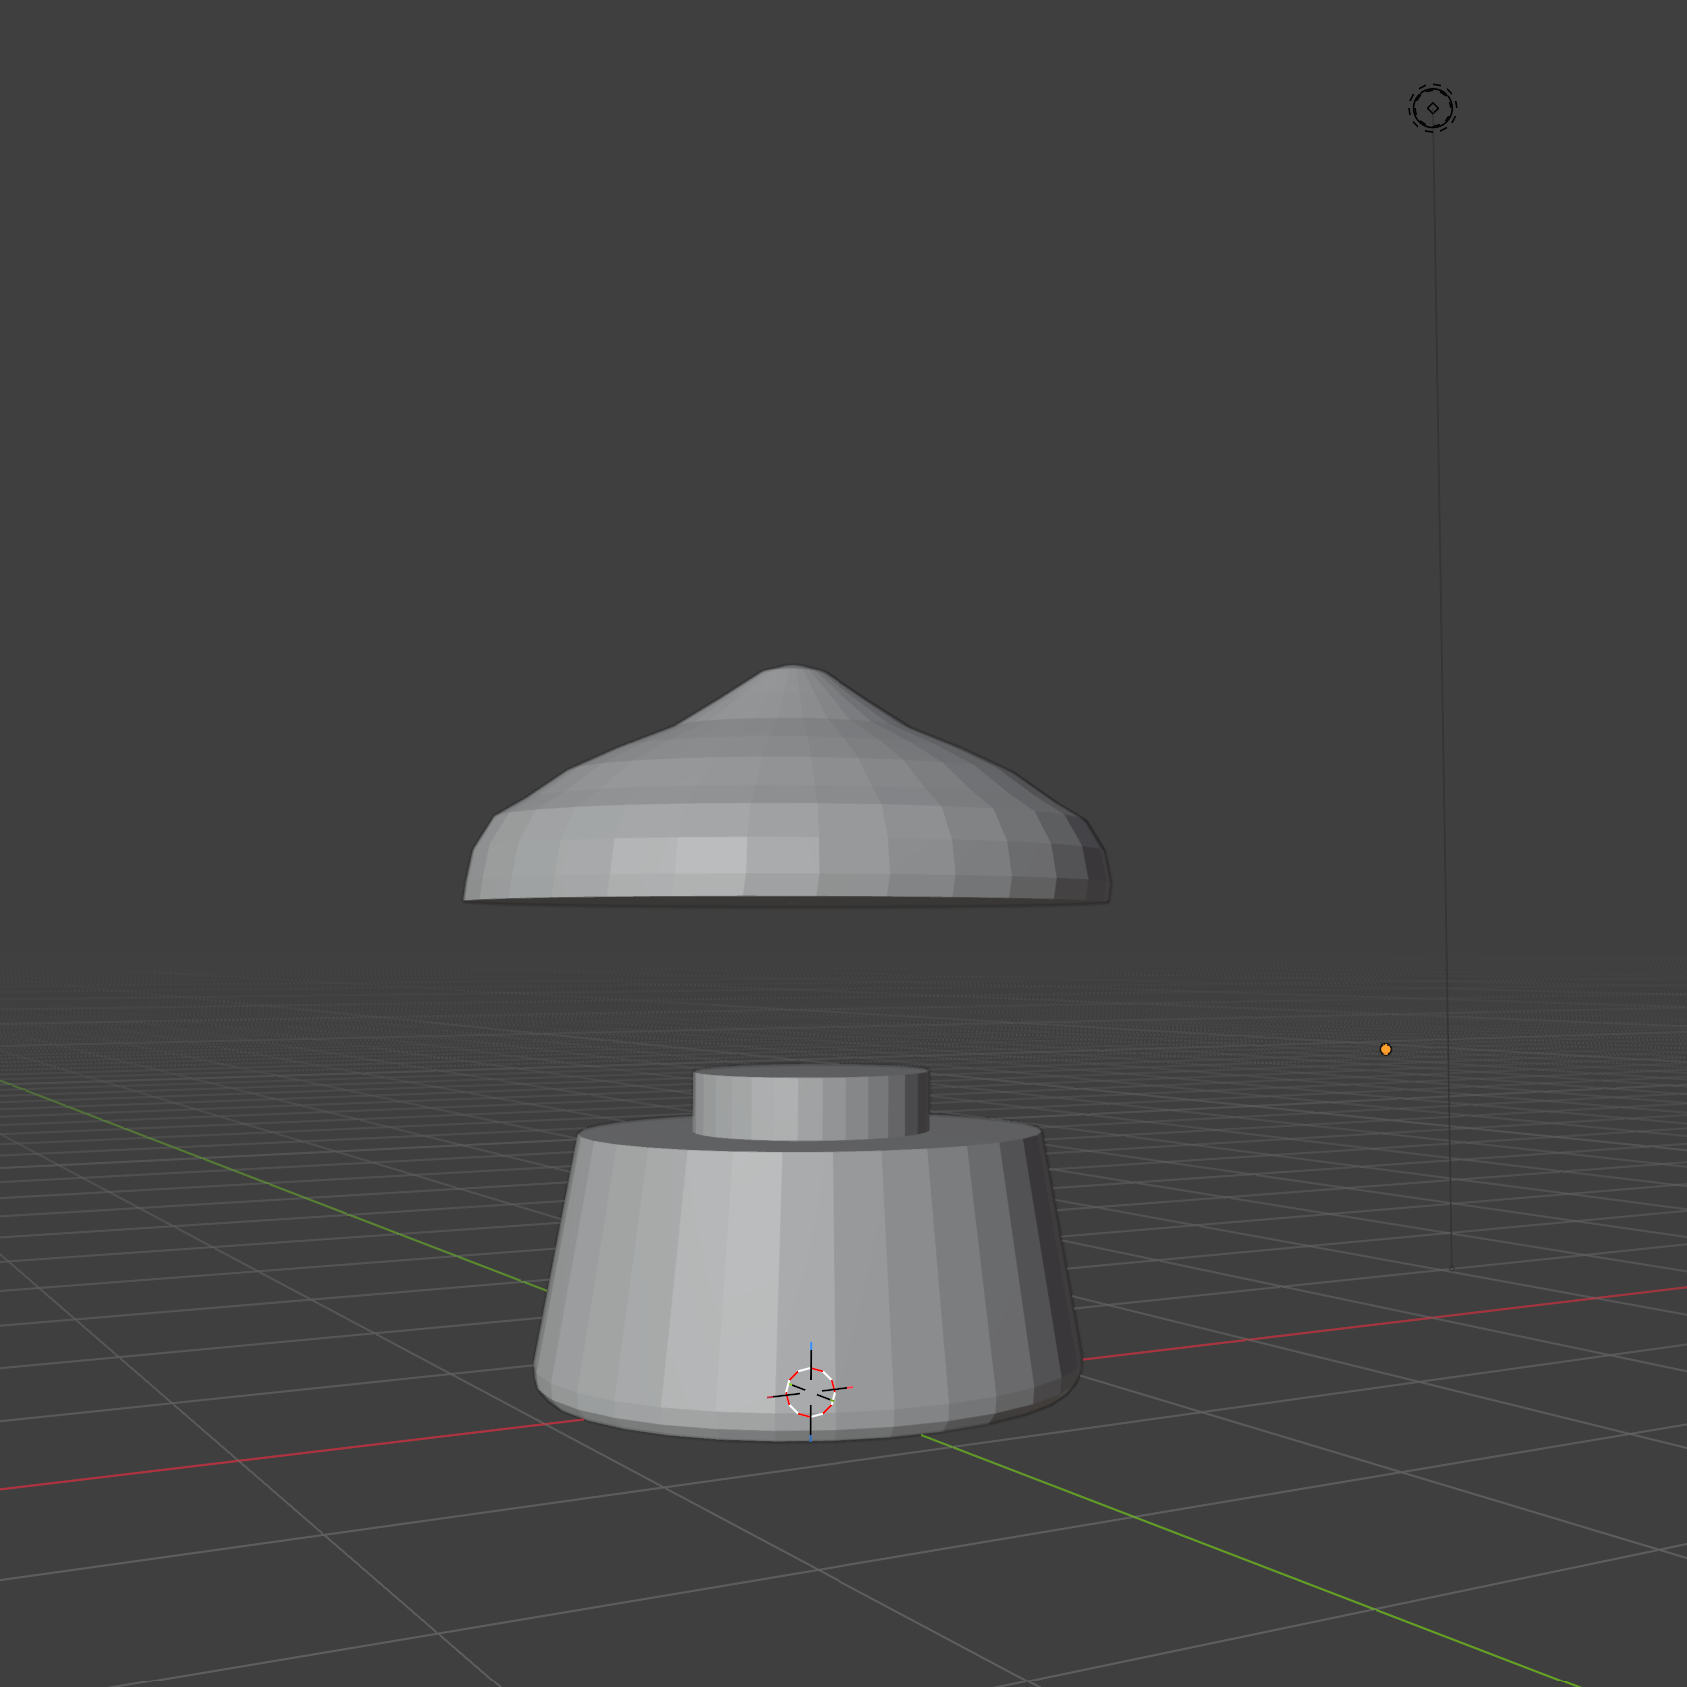
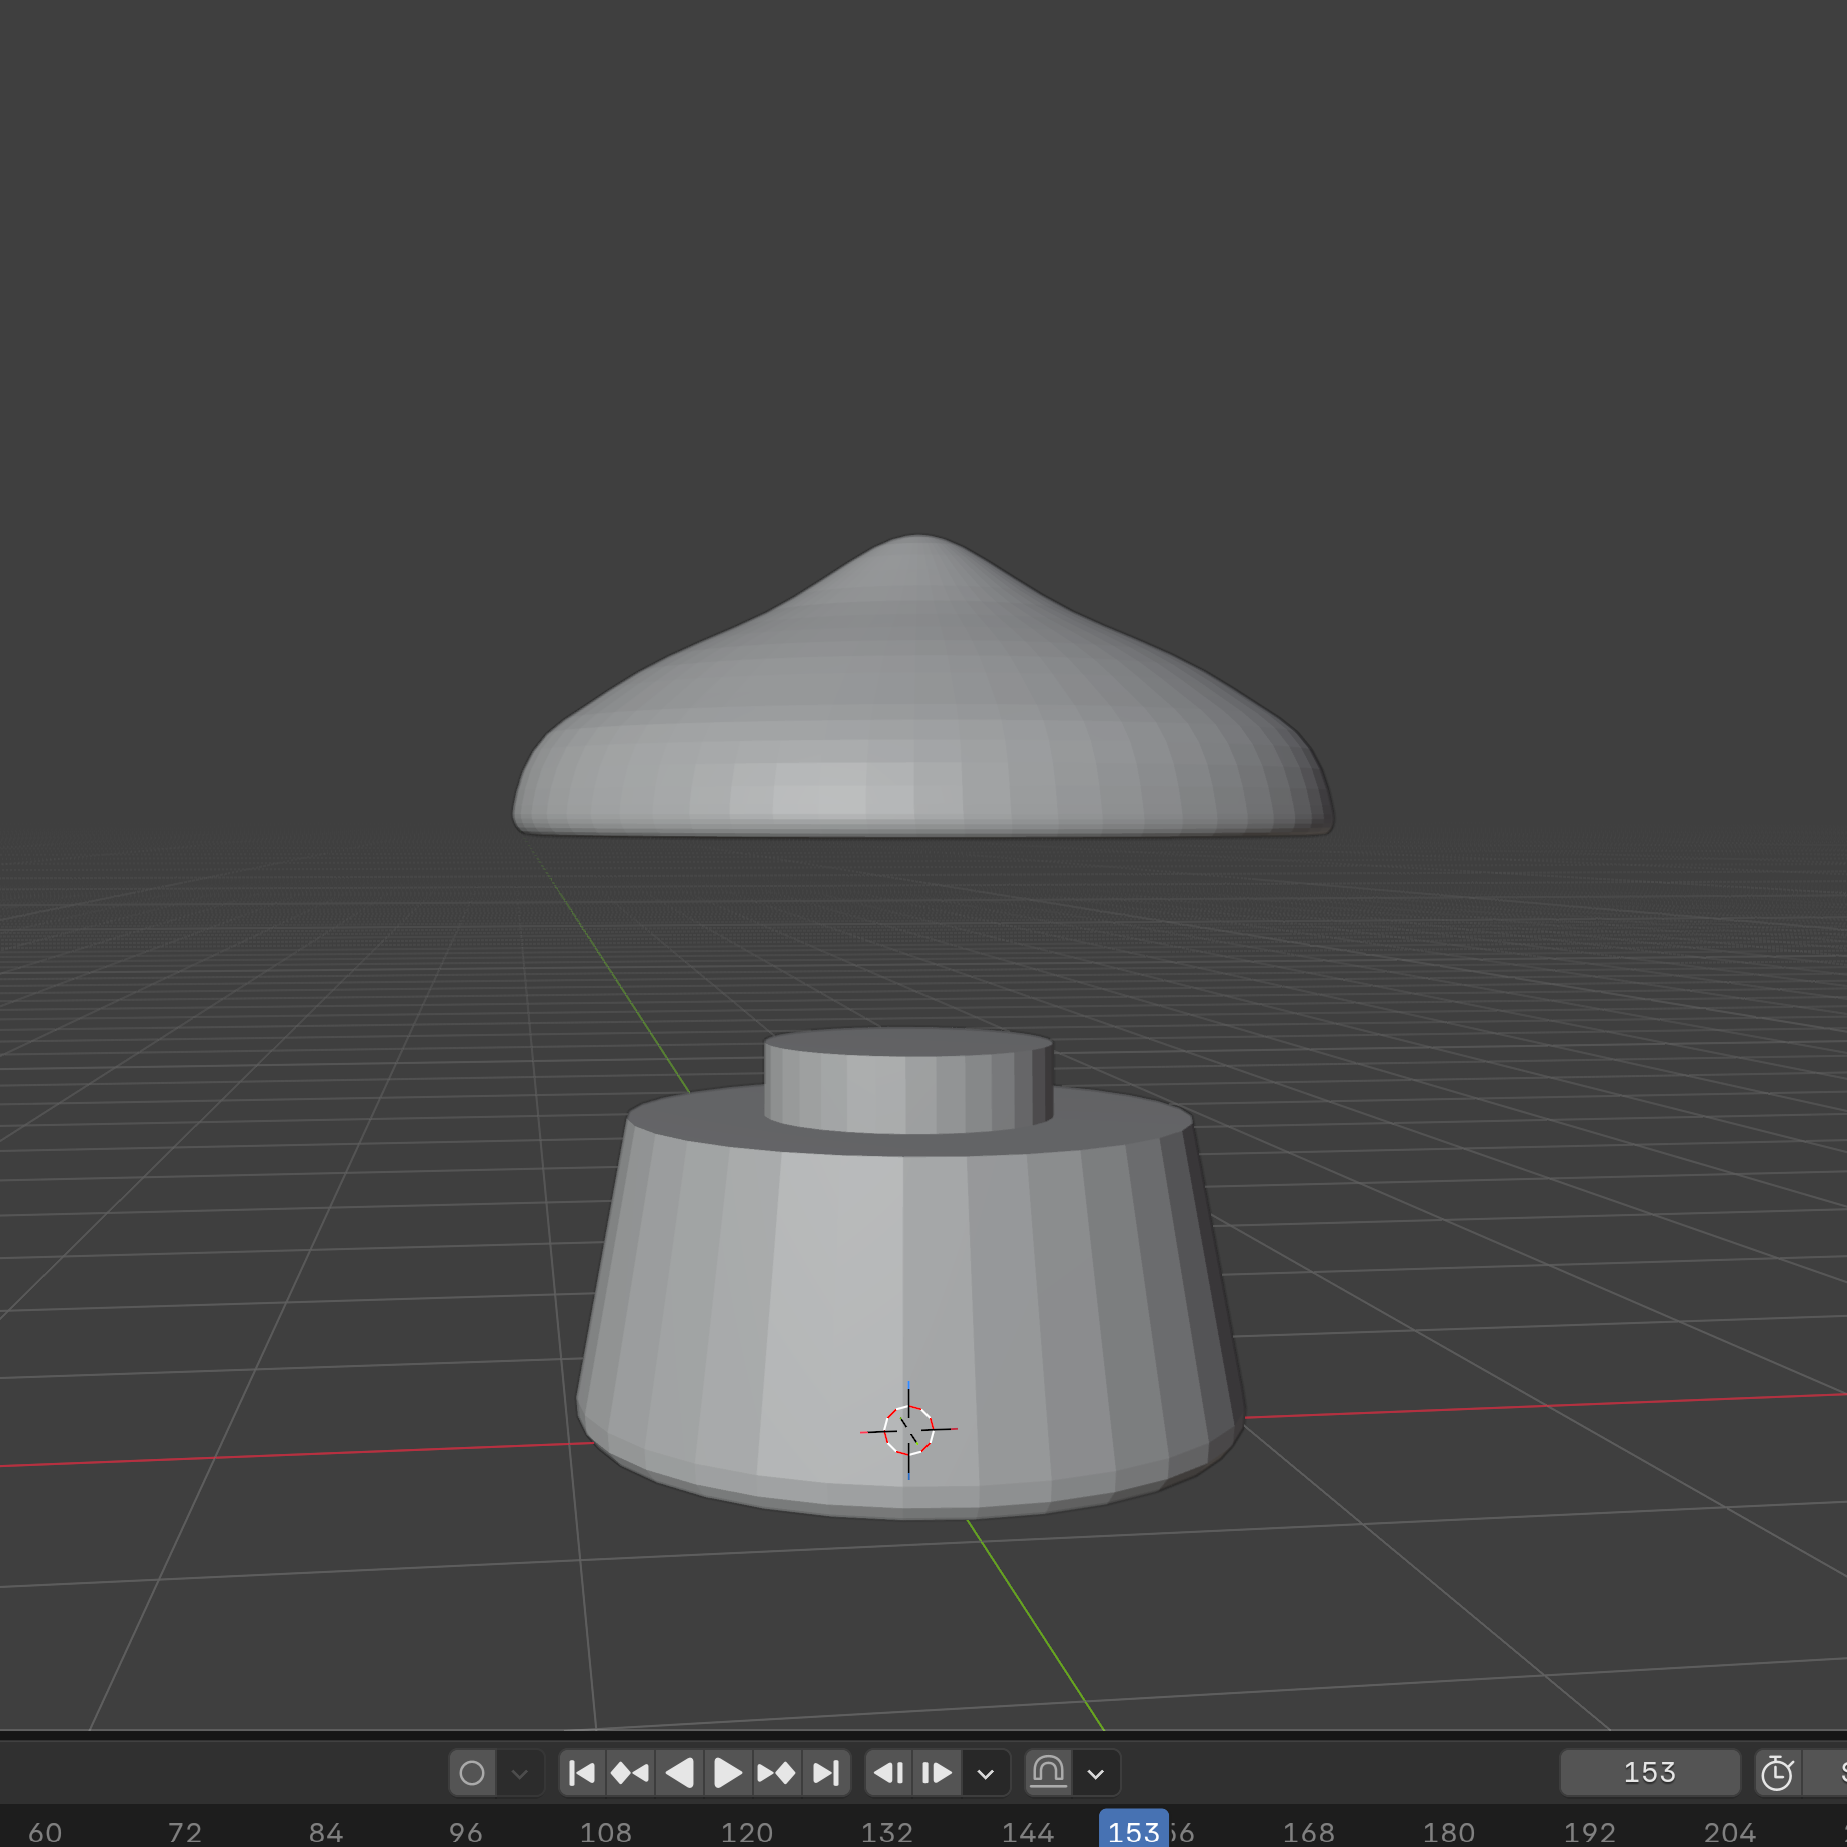
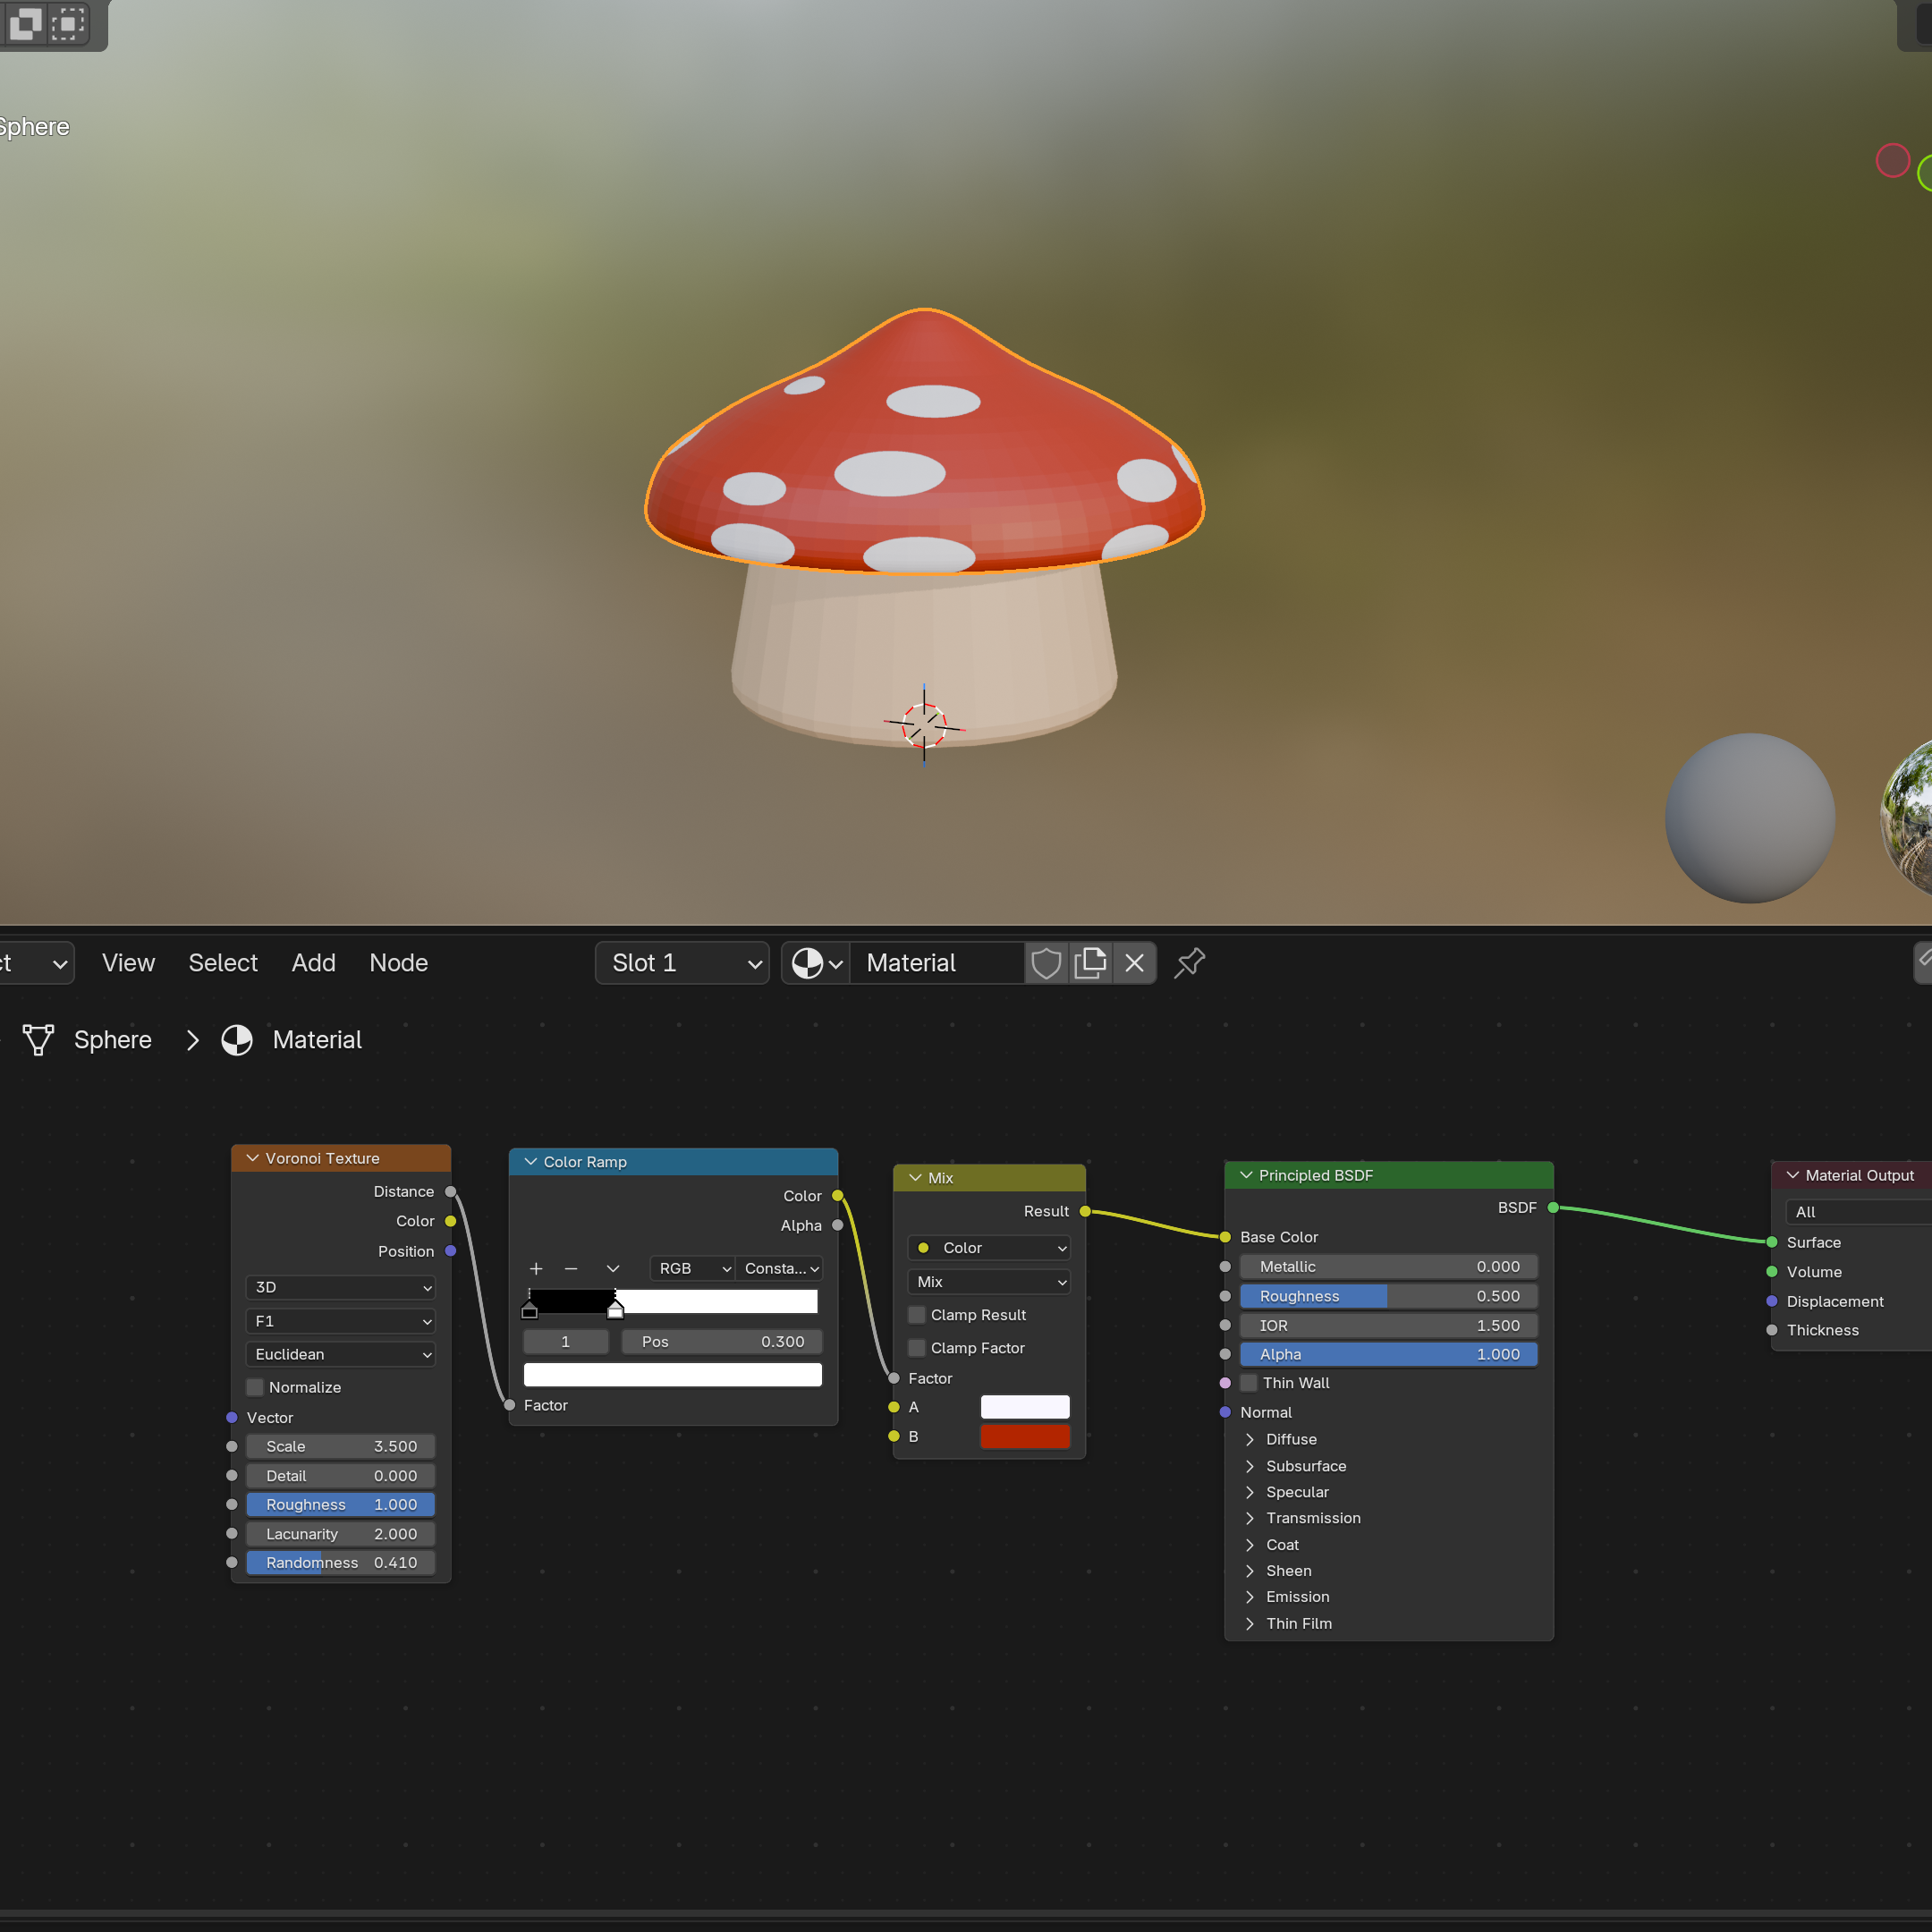
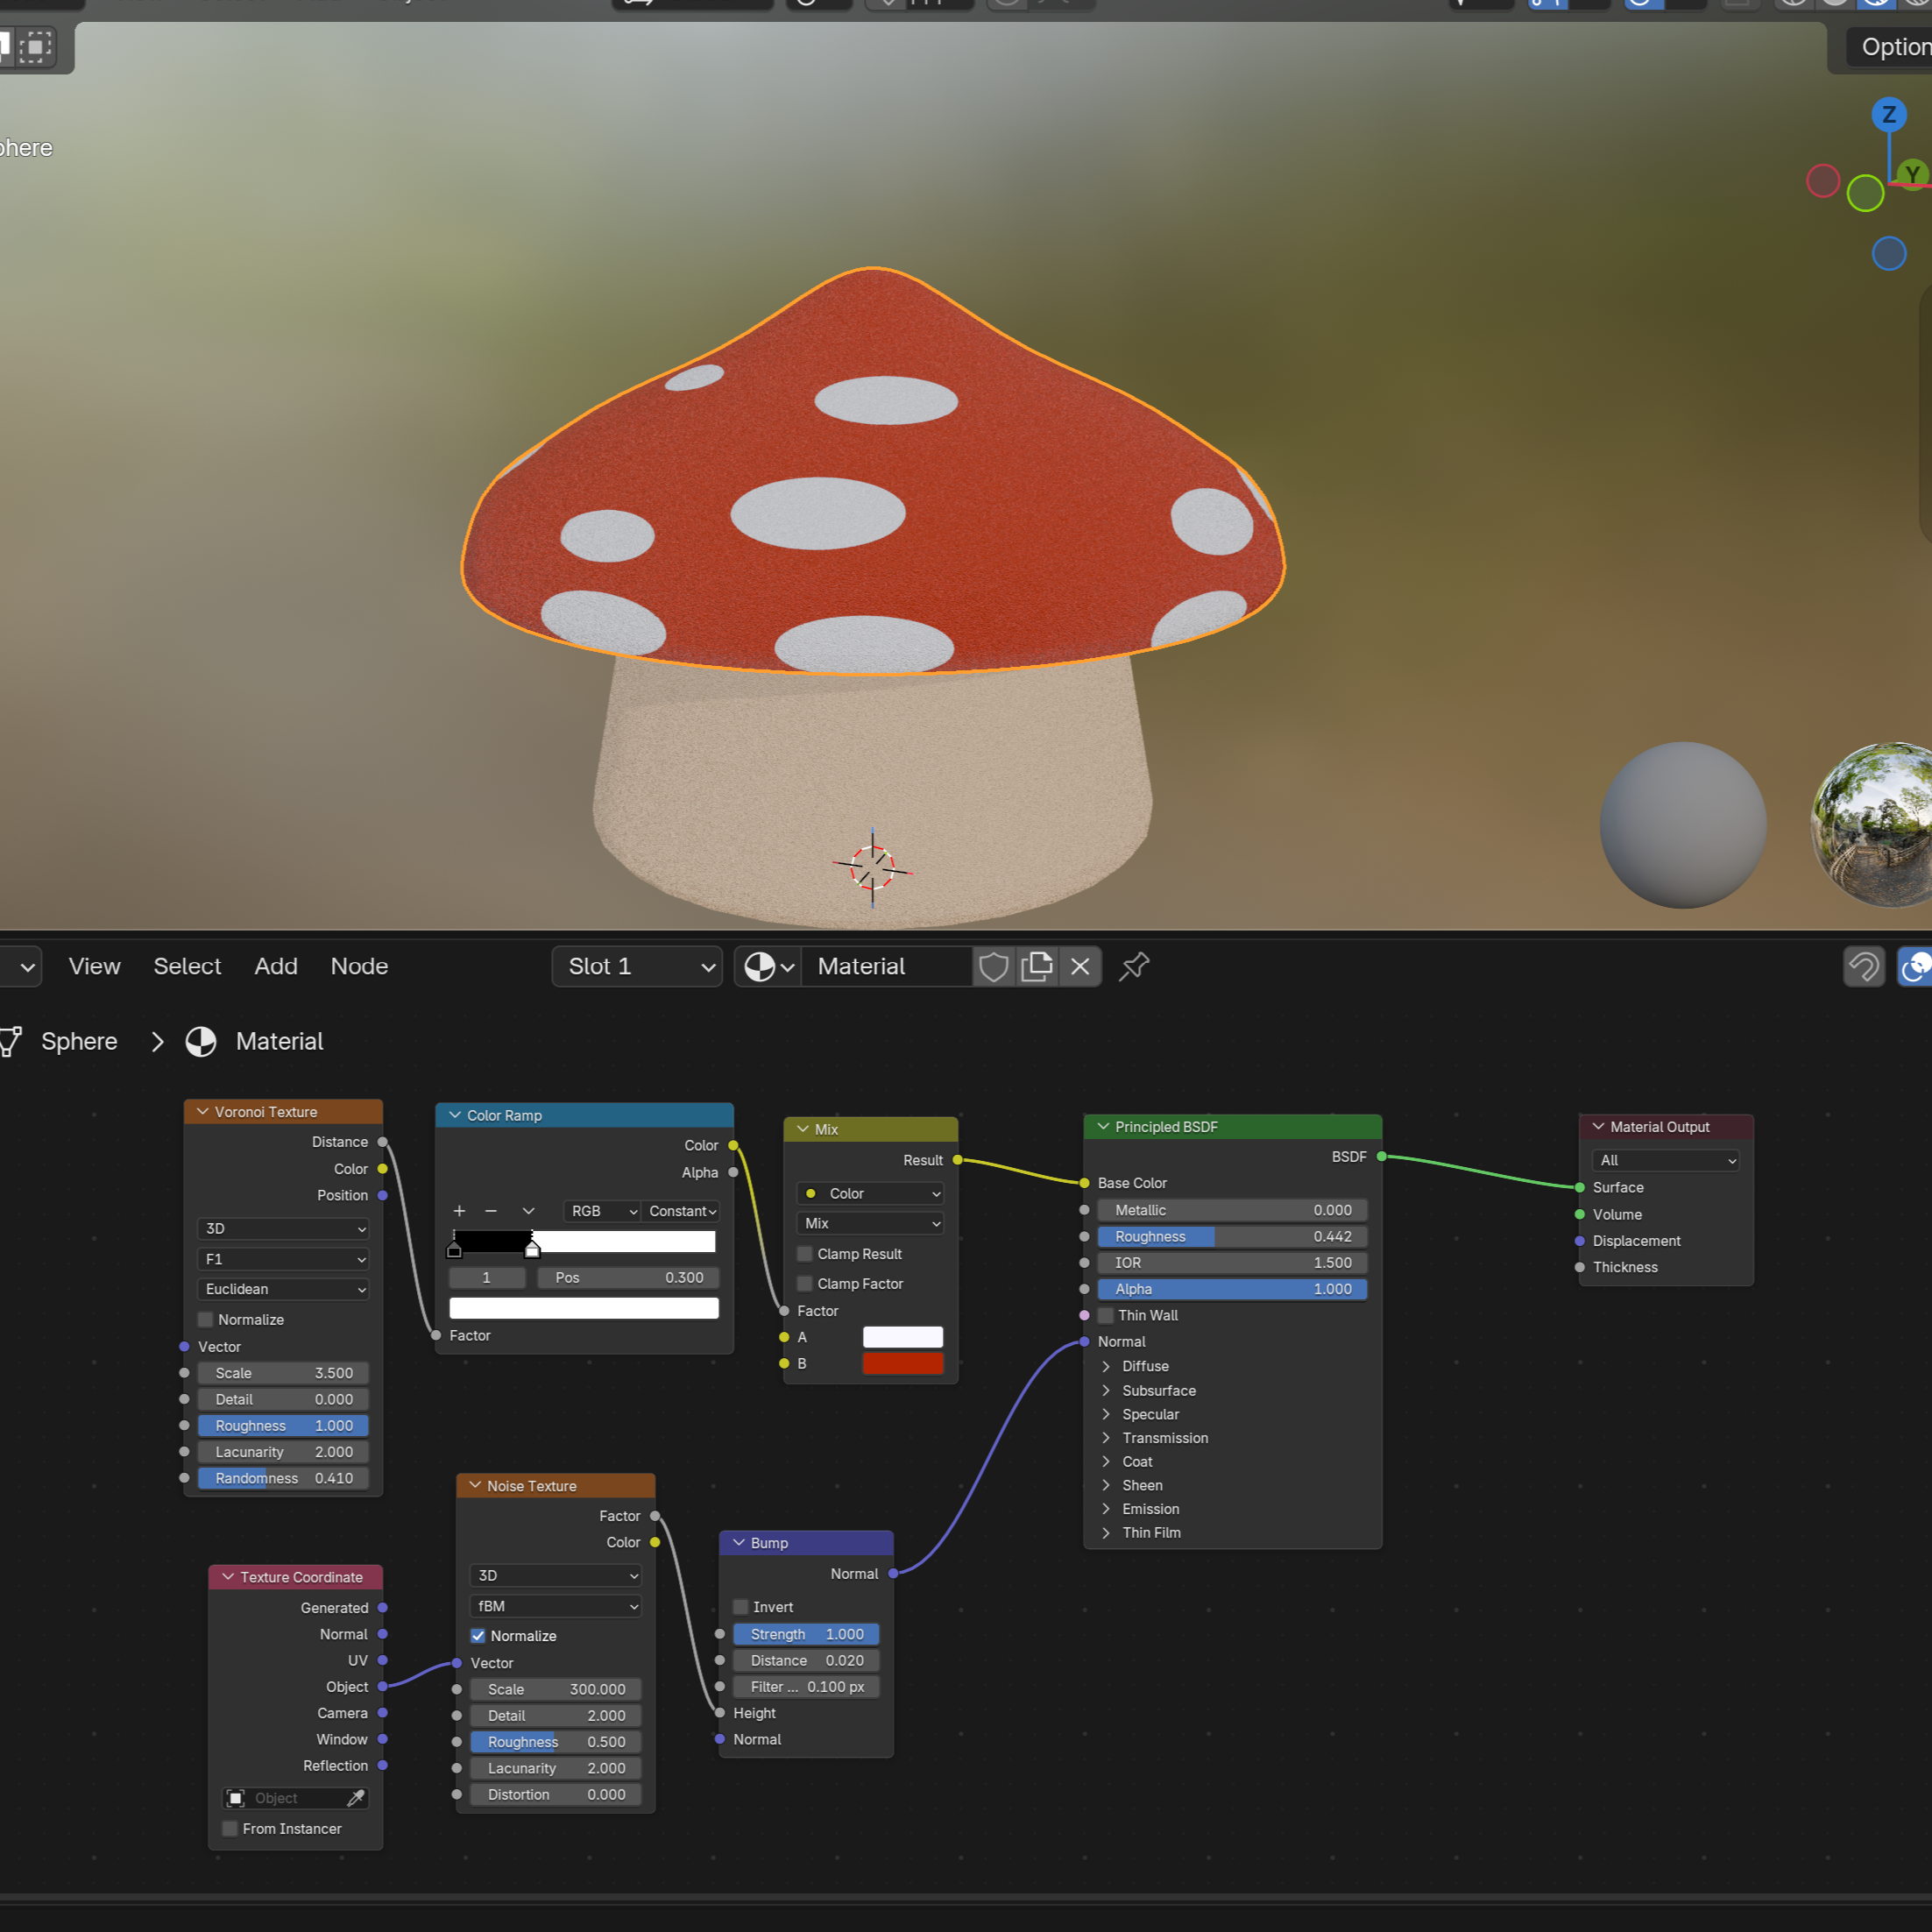
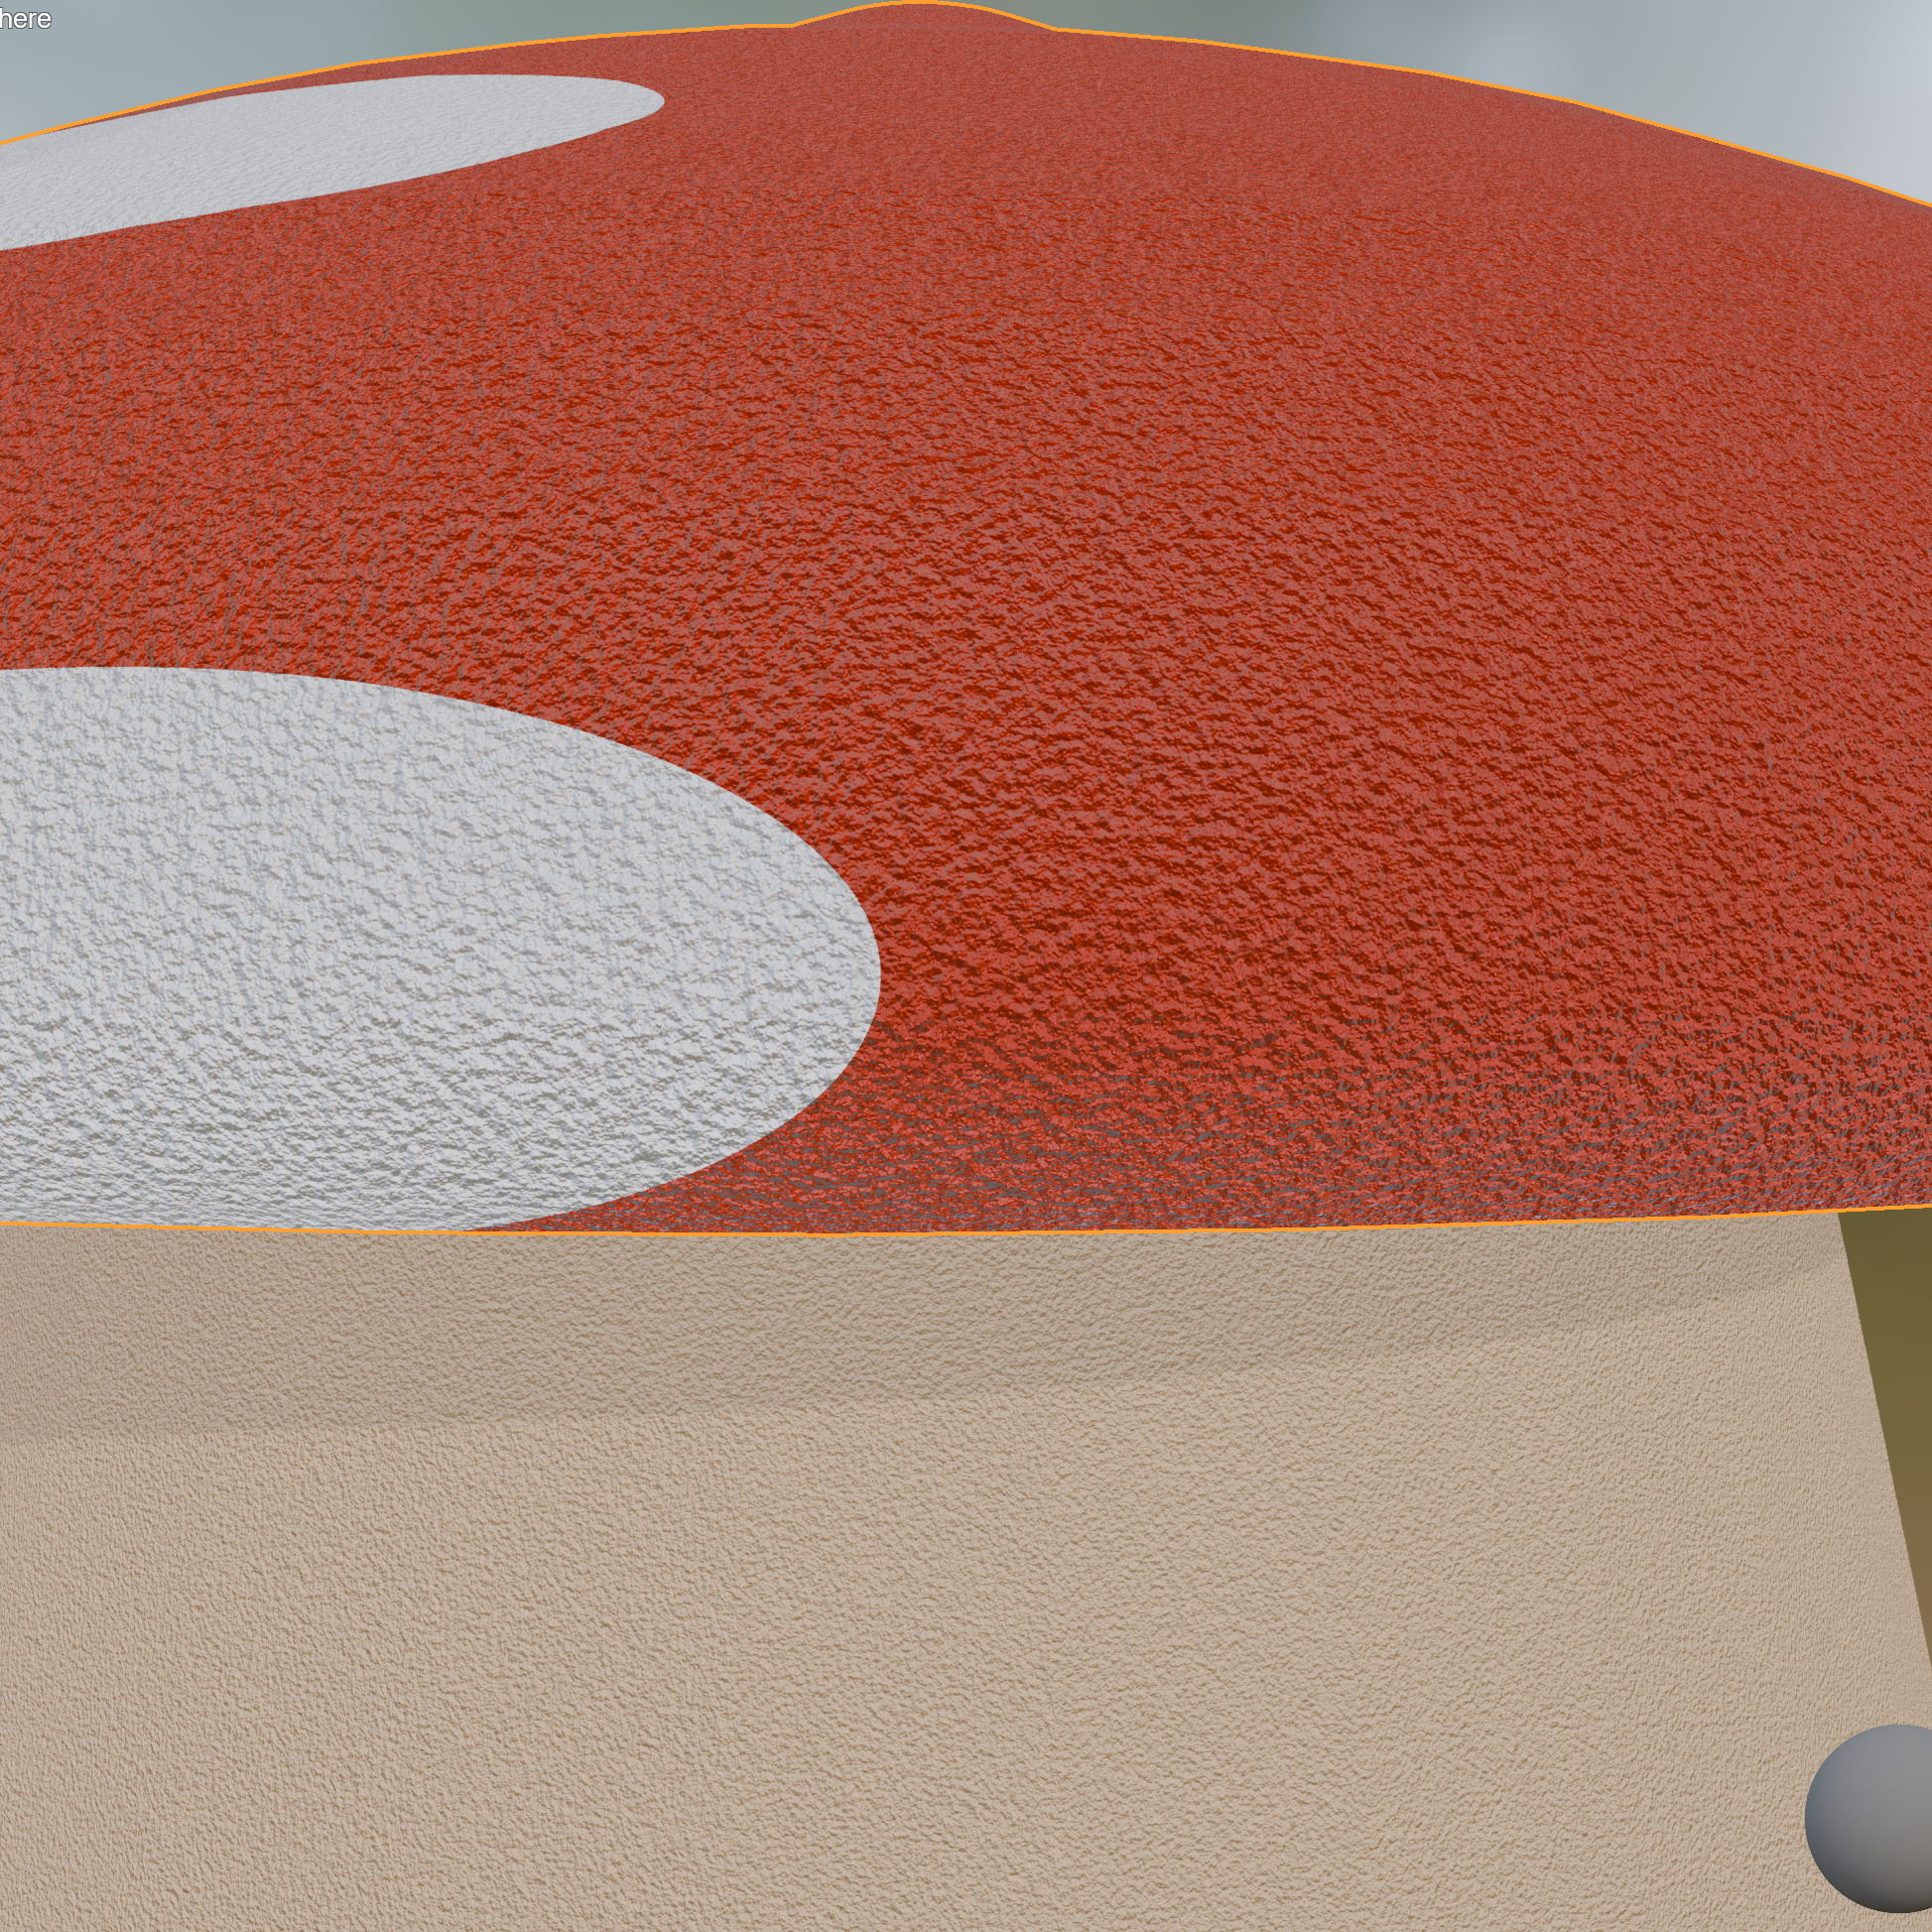
I decided to learn how to use Blender and did a beginners tutorial to learn the basics. Then proceeded to remake the zippo and mushroom beauty blender. I spent most of my time working on the zippo to get used to the software. Had a little trouble trying to make the hinge work but eventually got it using a torus. My first two subdivision modifiers did not work and the third time I tried it worked, finally know how subdivision works. I spent a lot of time on UV mapping and this was the hardest stuff so far, I ended up leaving it out and will come back trying again later. I tried different shader options that you don't need to UV map. Also added some bump mapping to the mushroom to give it more of a texture to look like a sponge.
Design Challenge 2
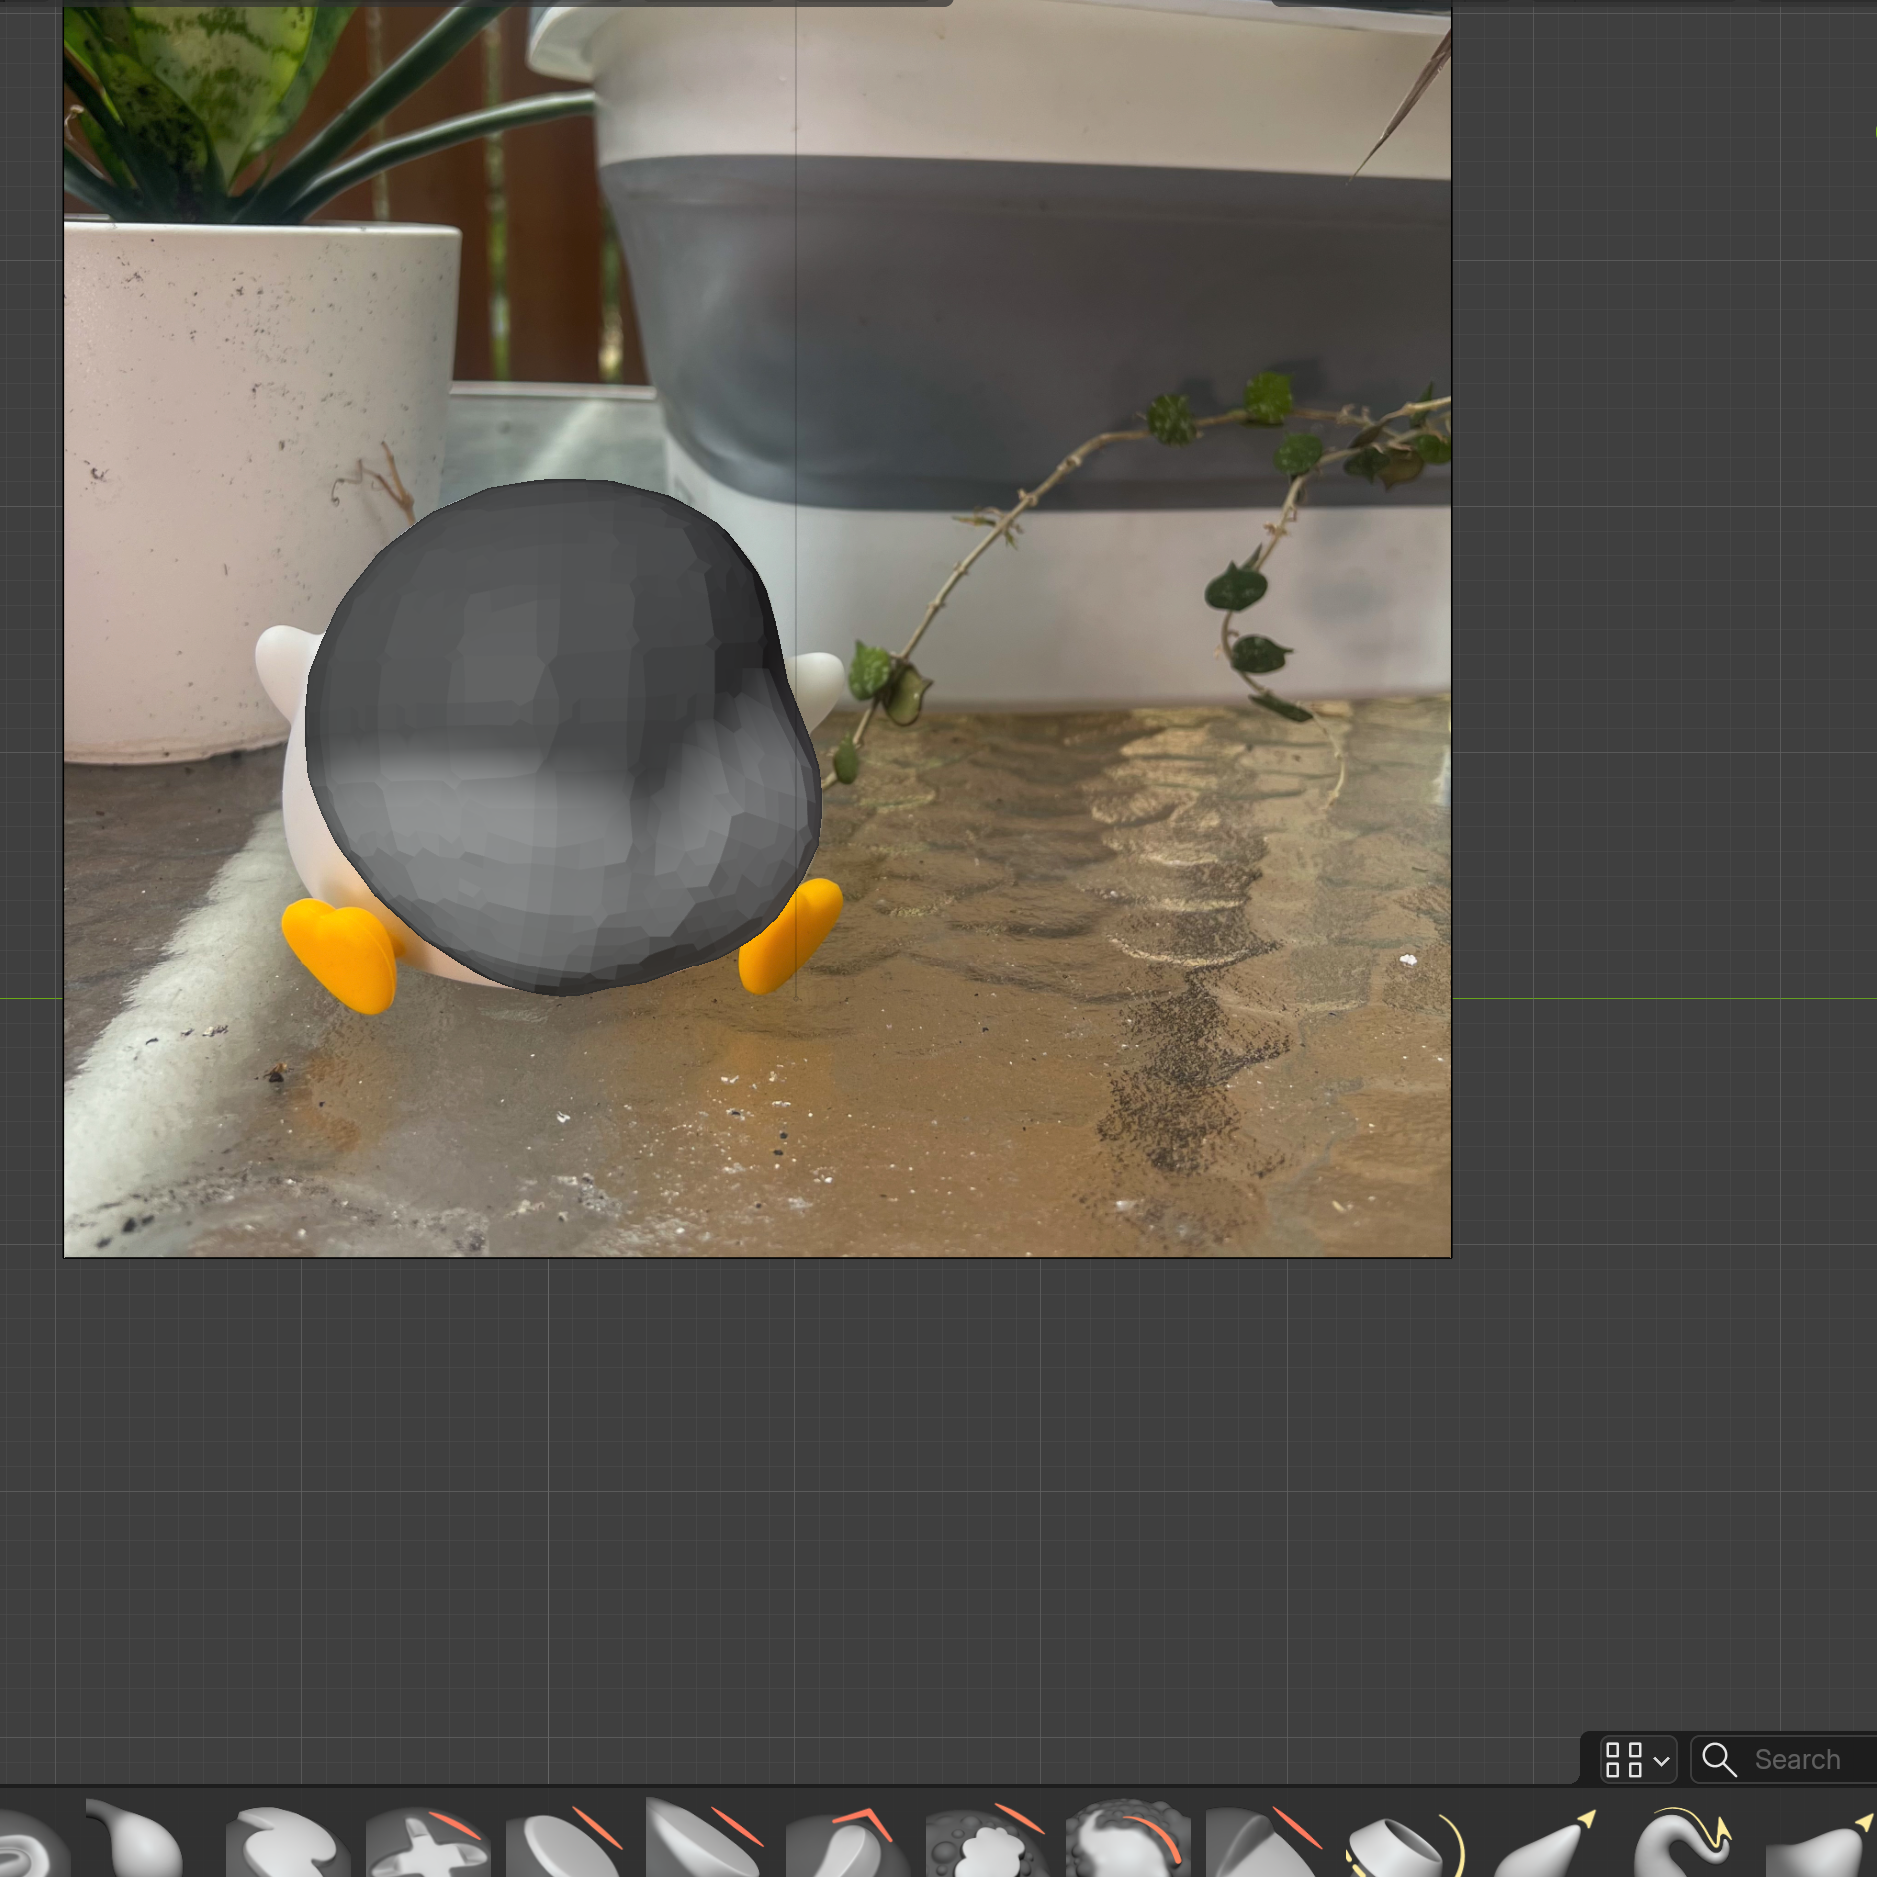
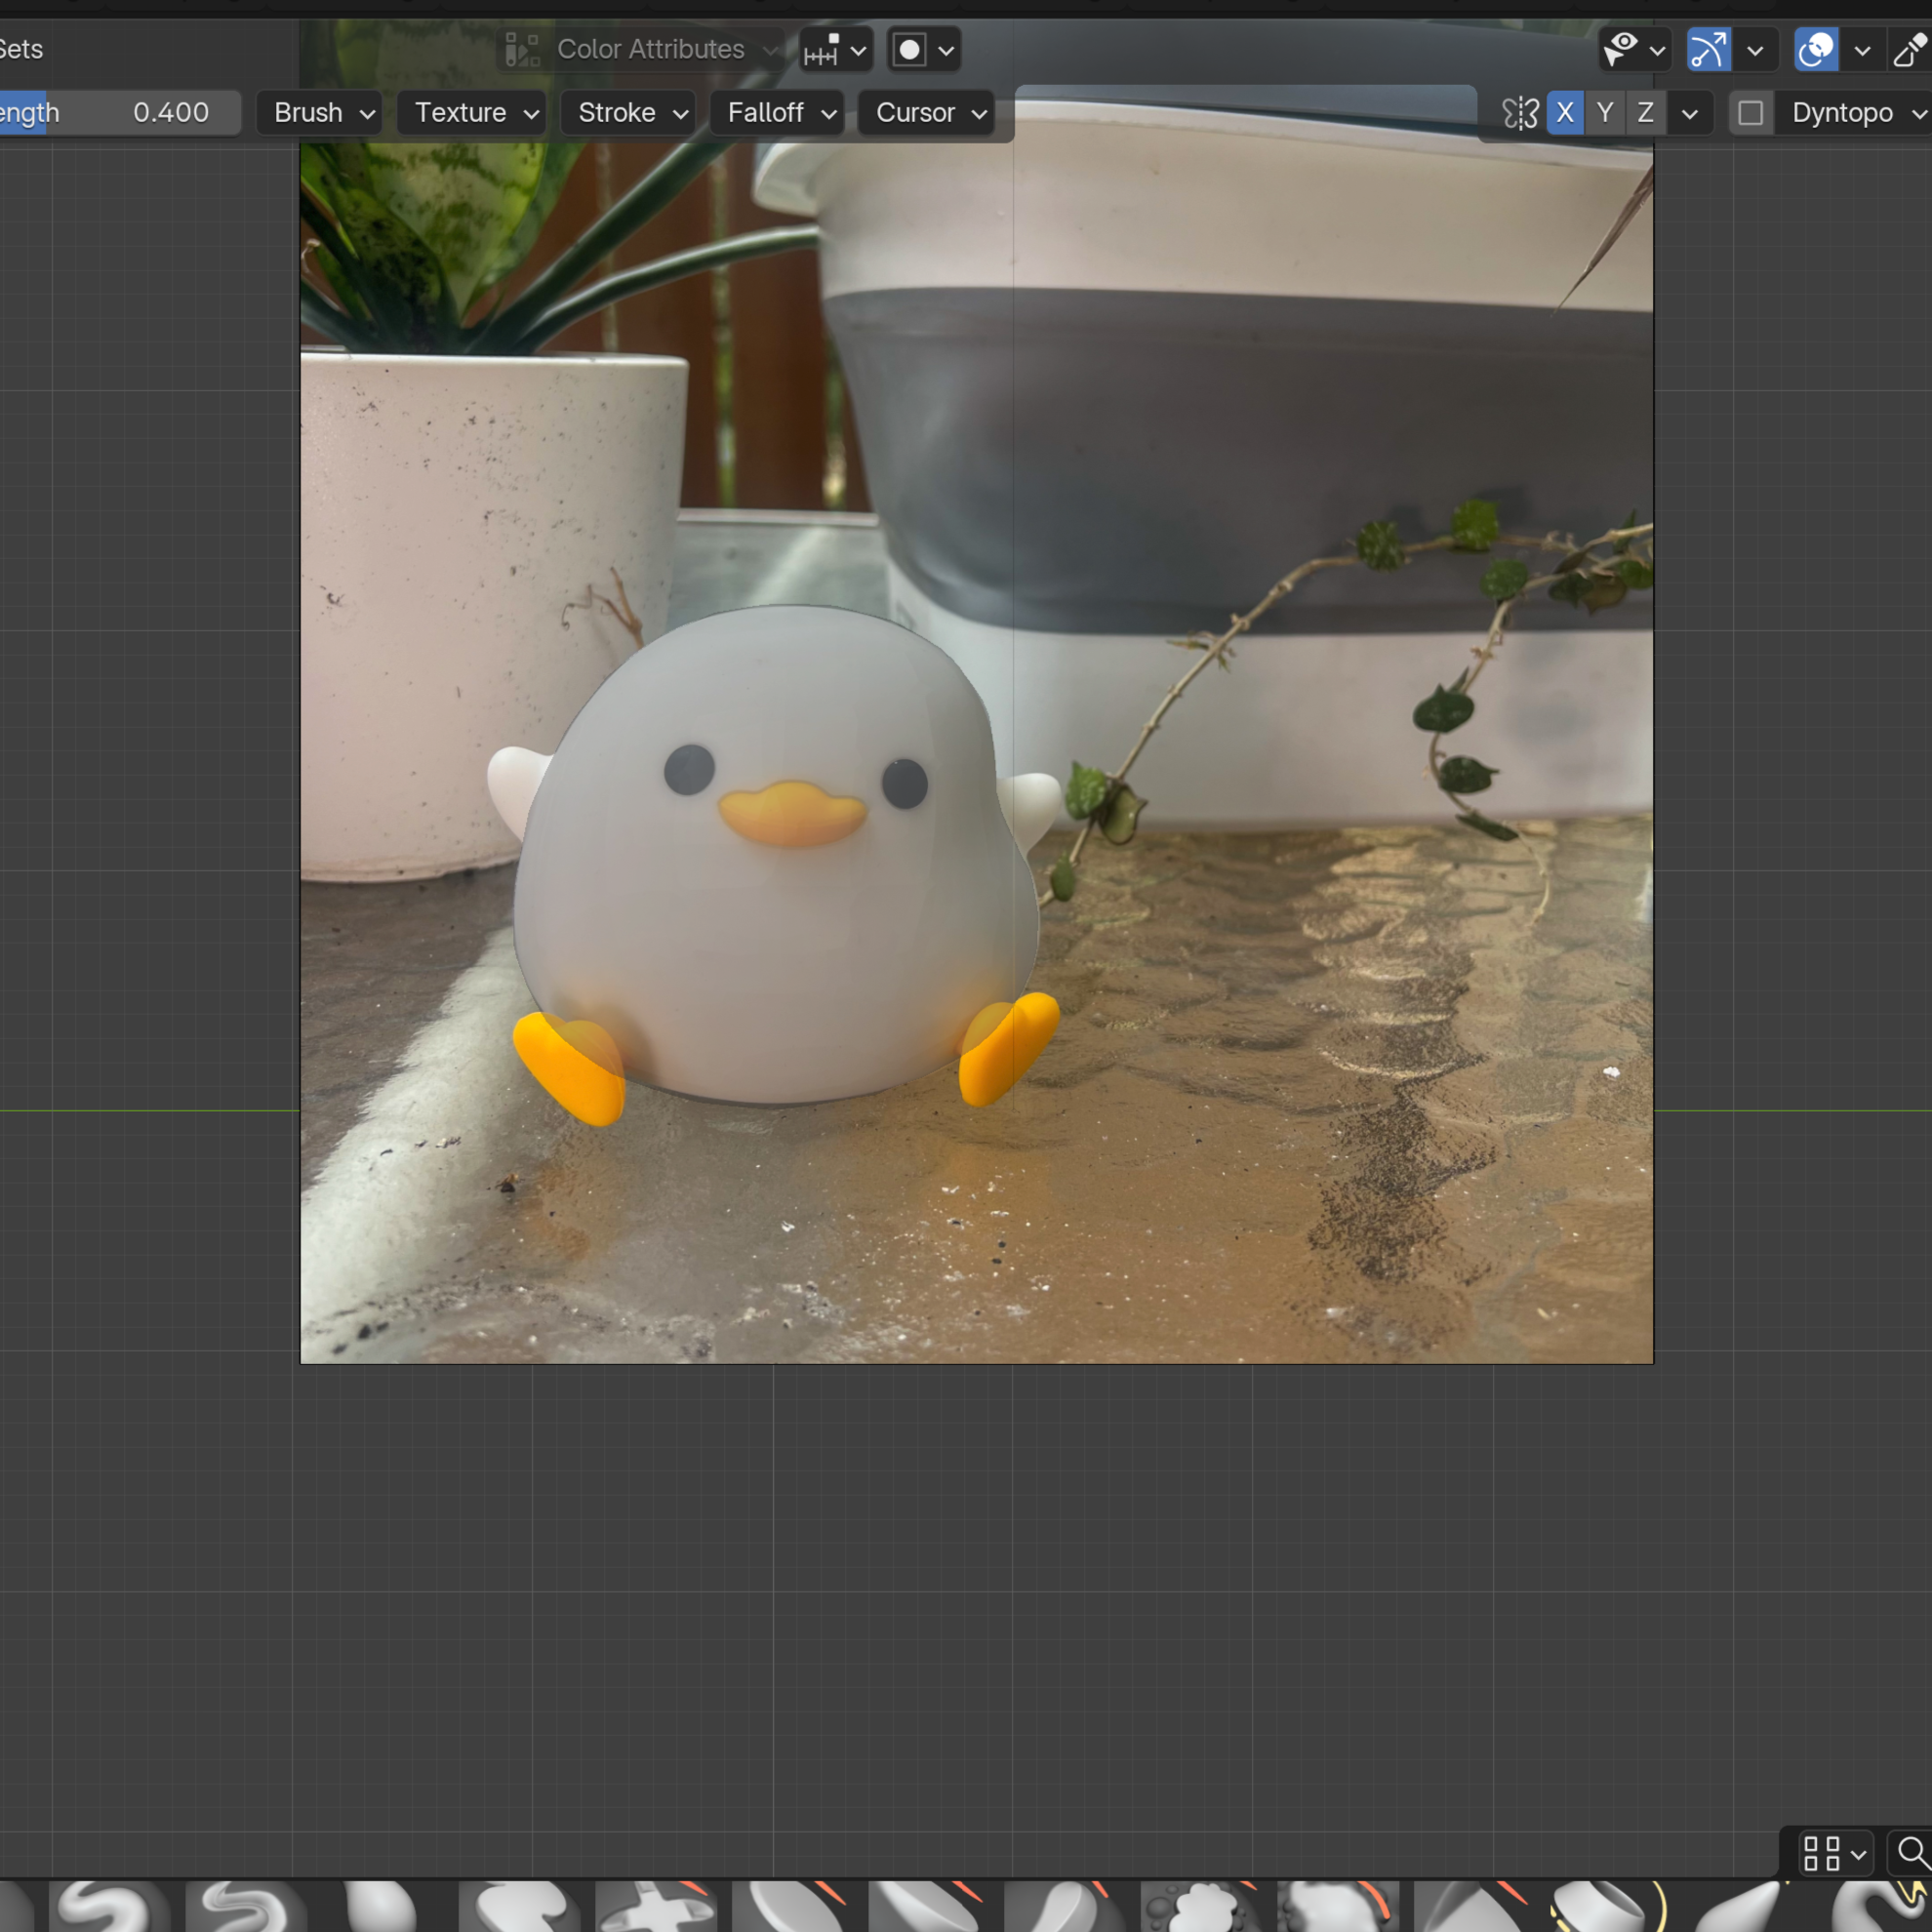
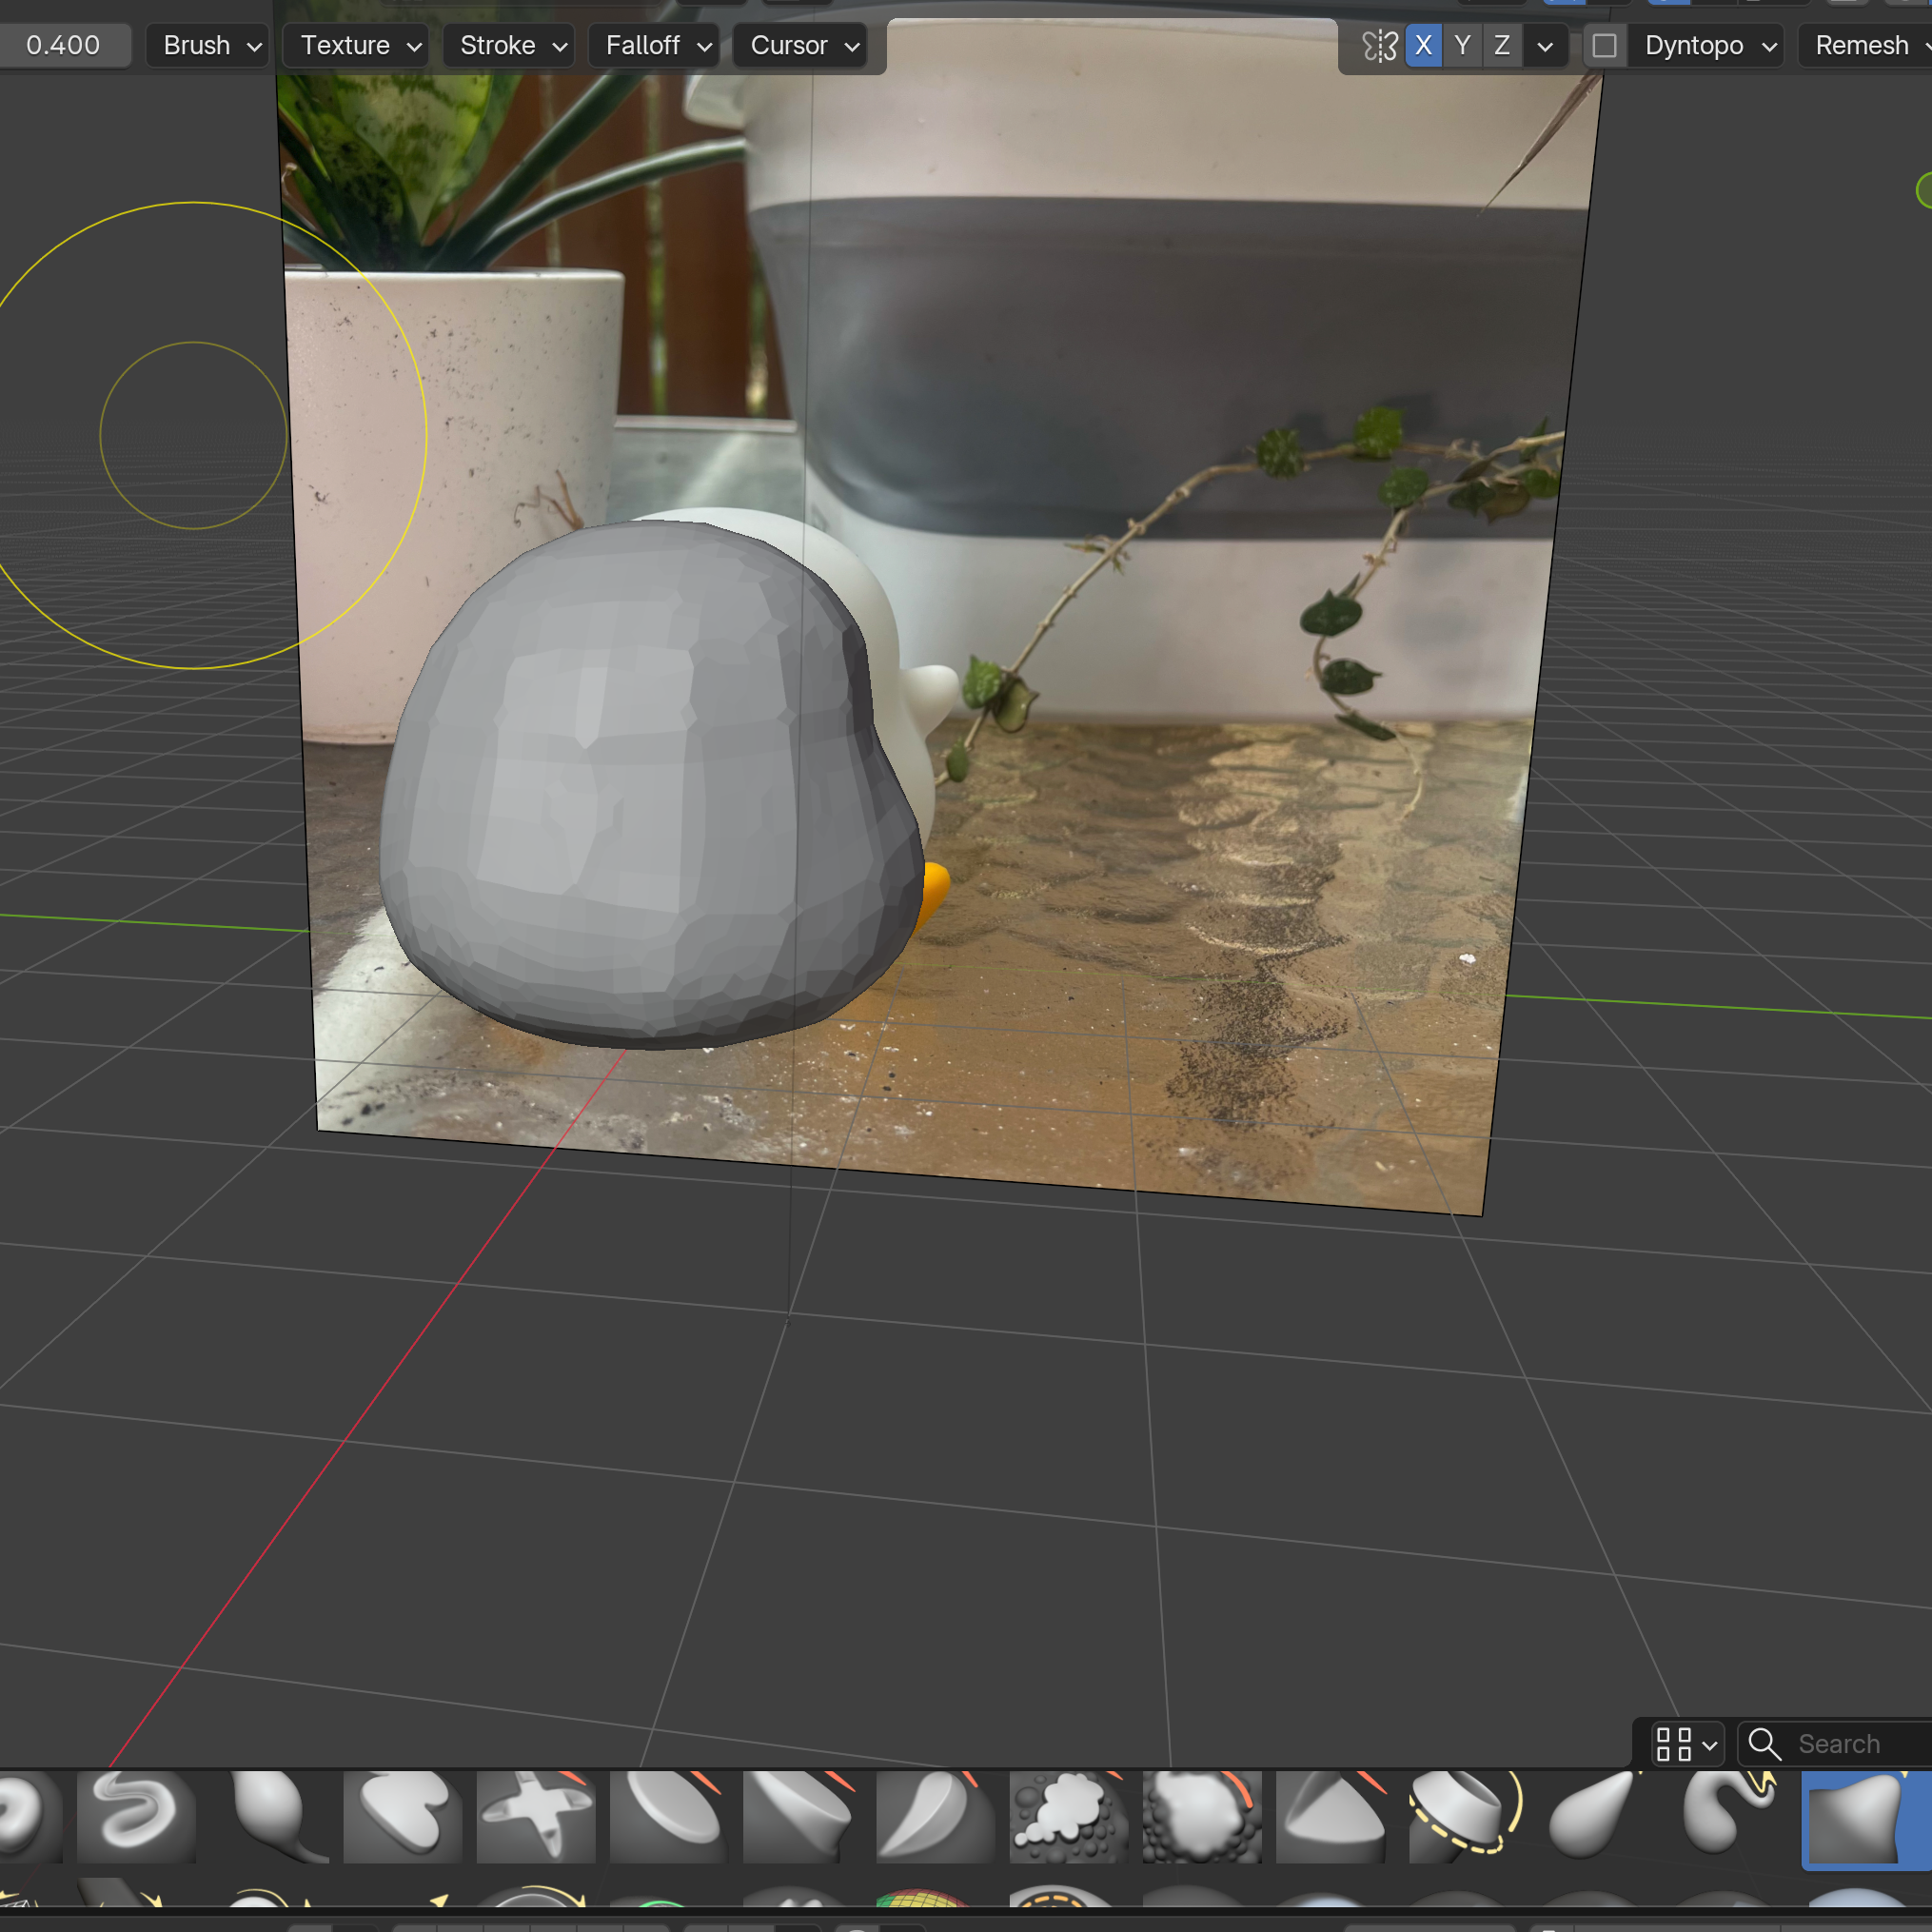
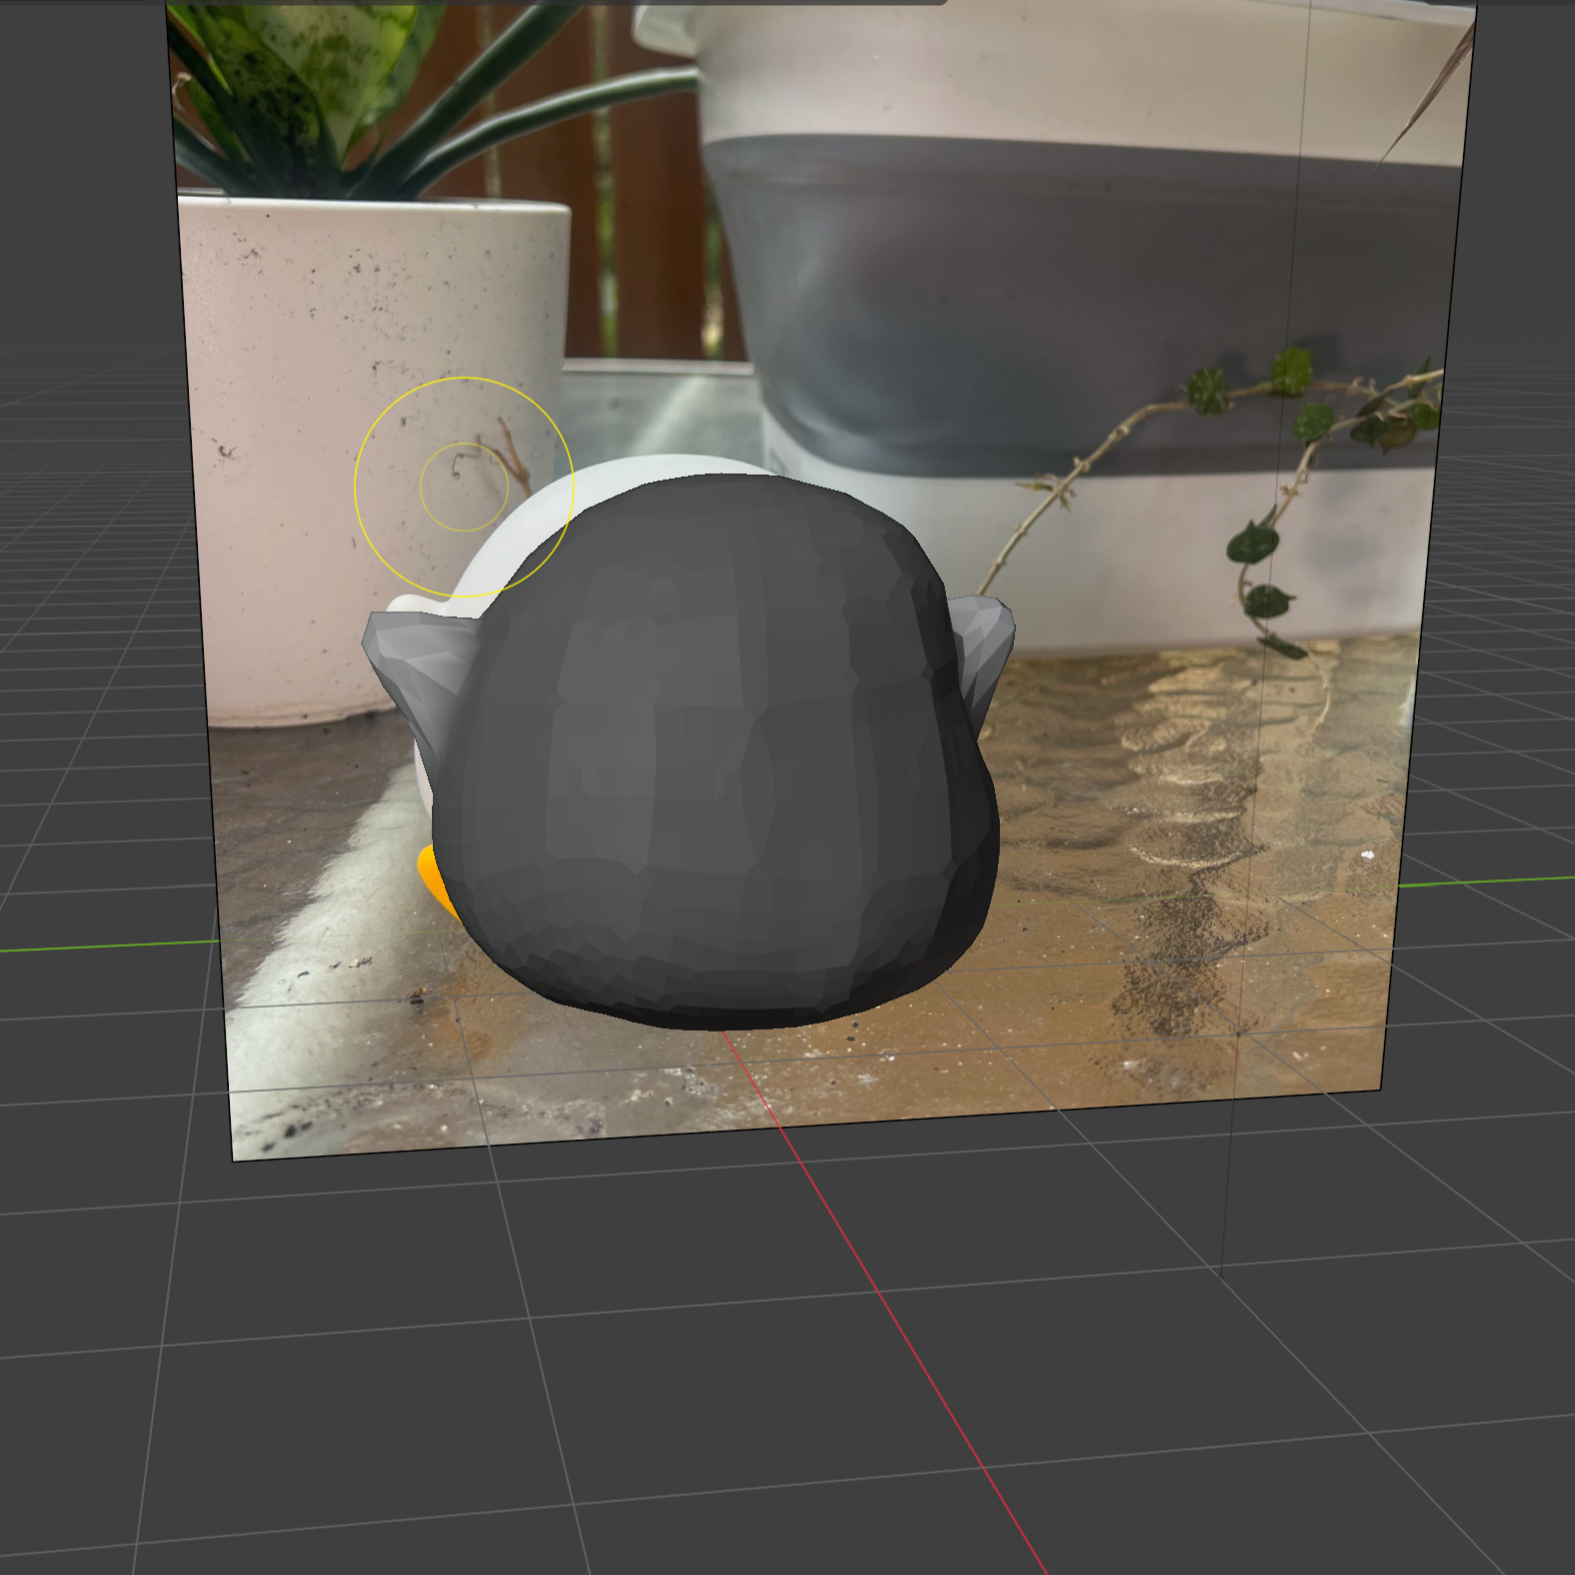
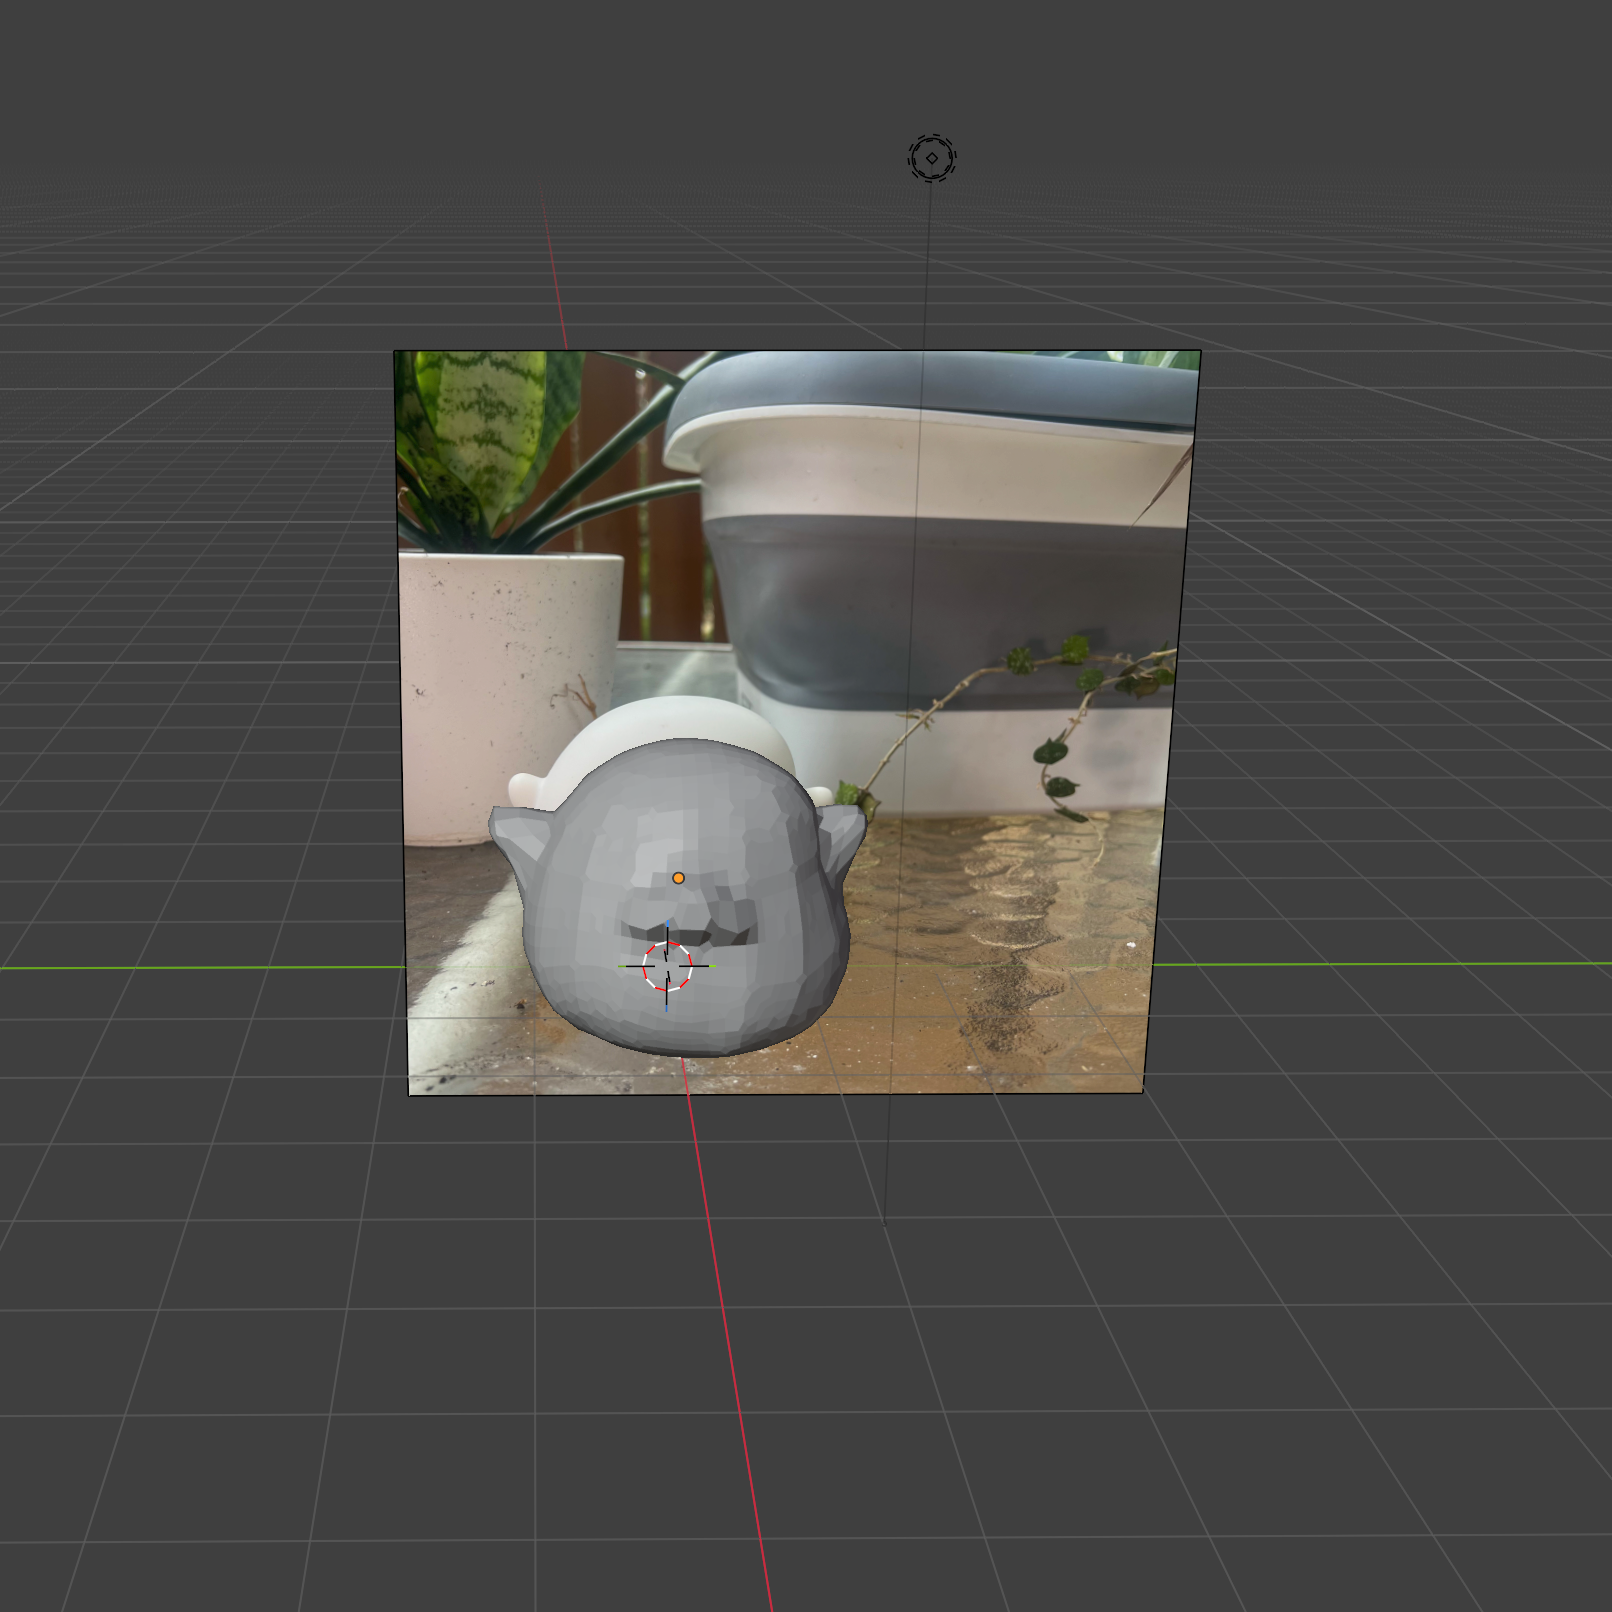
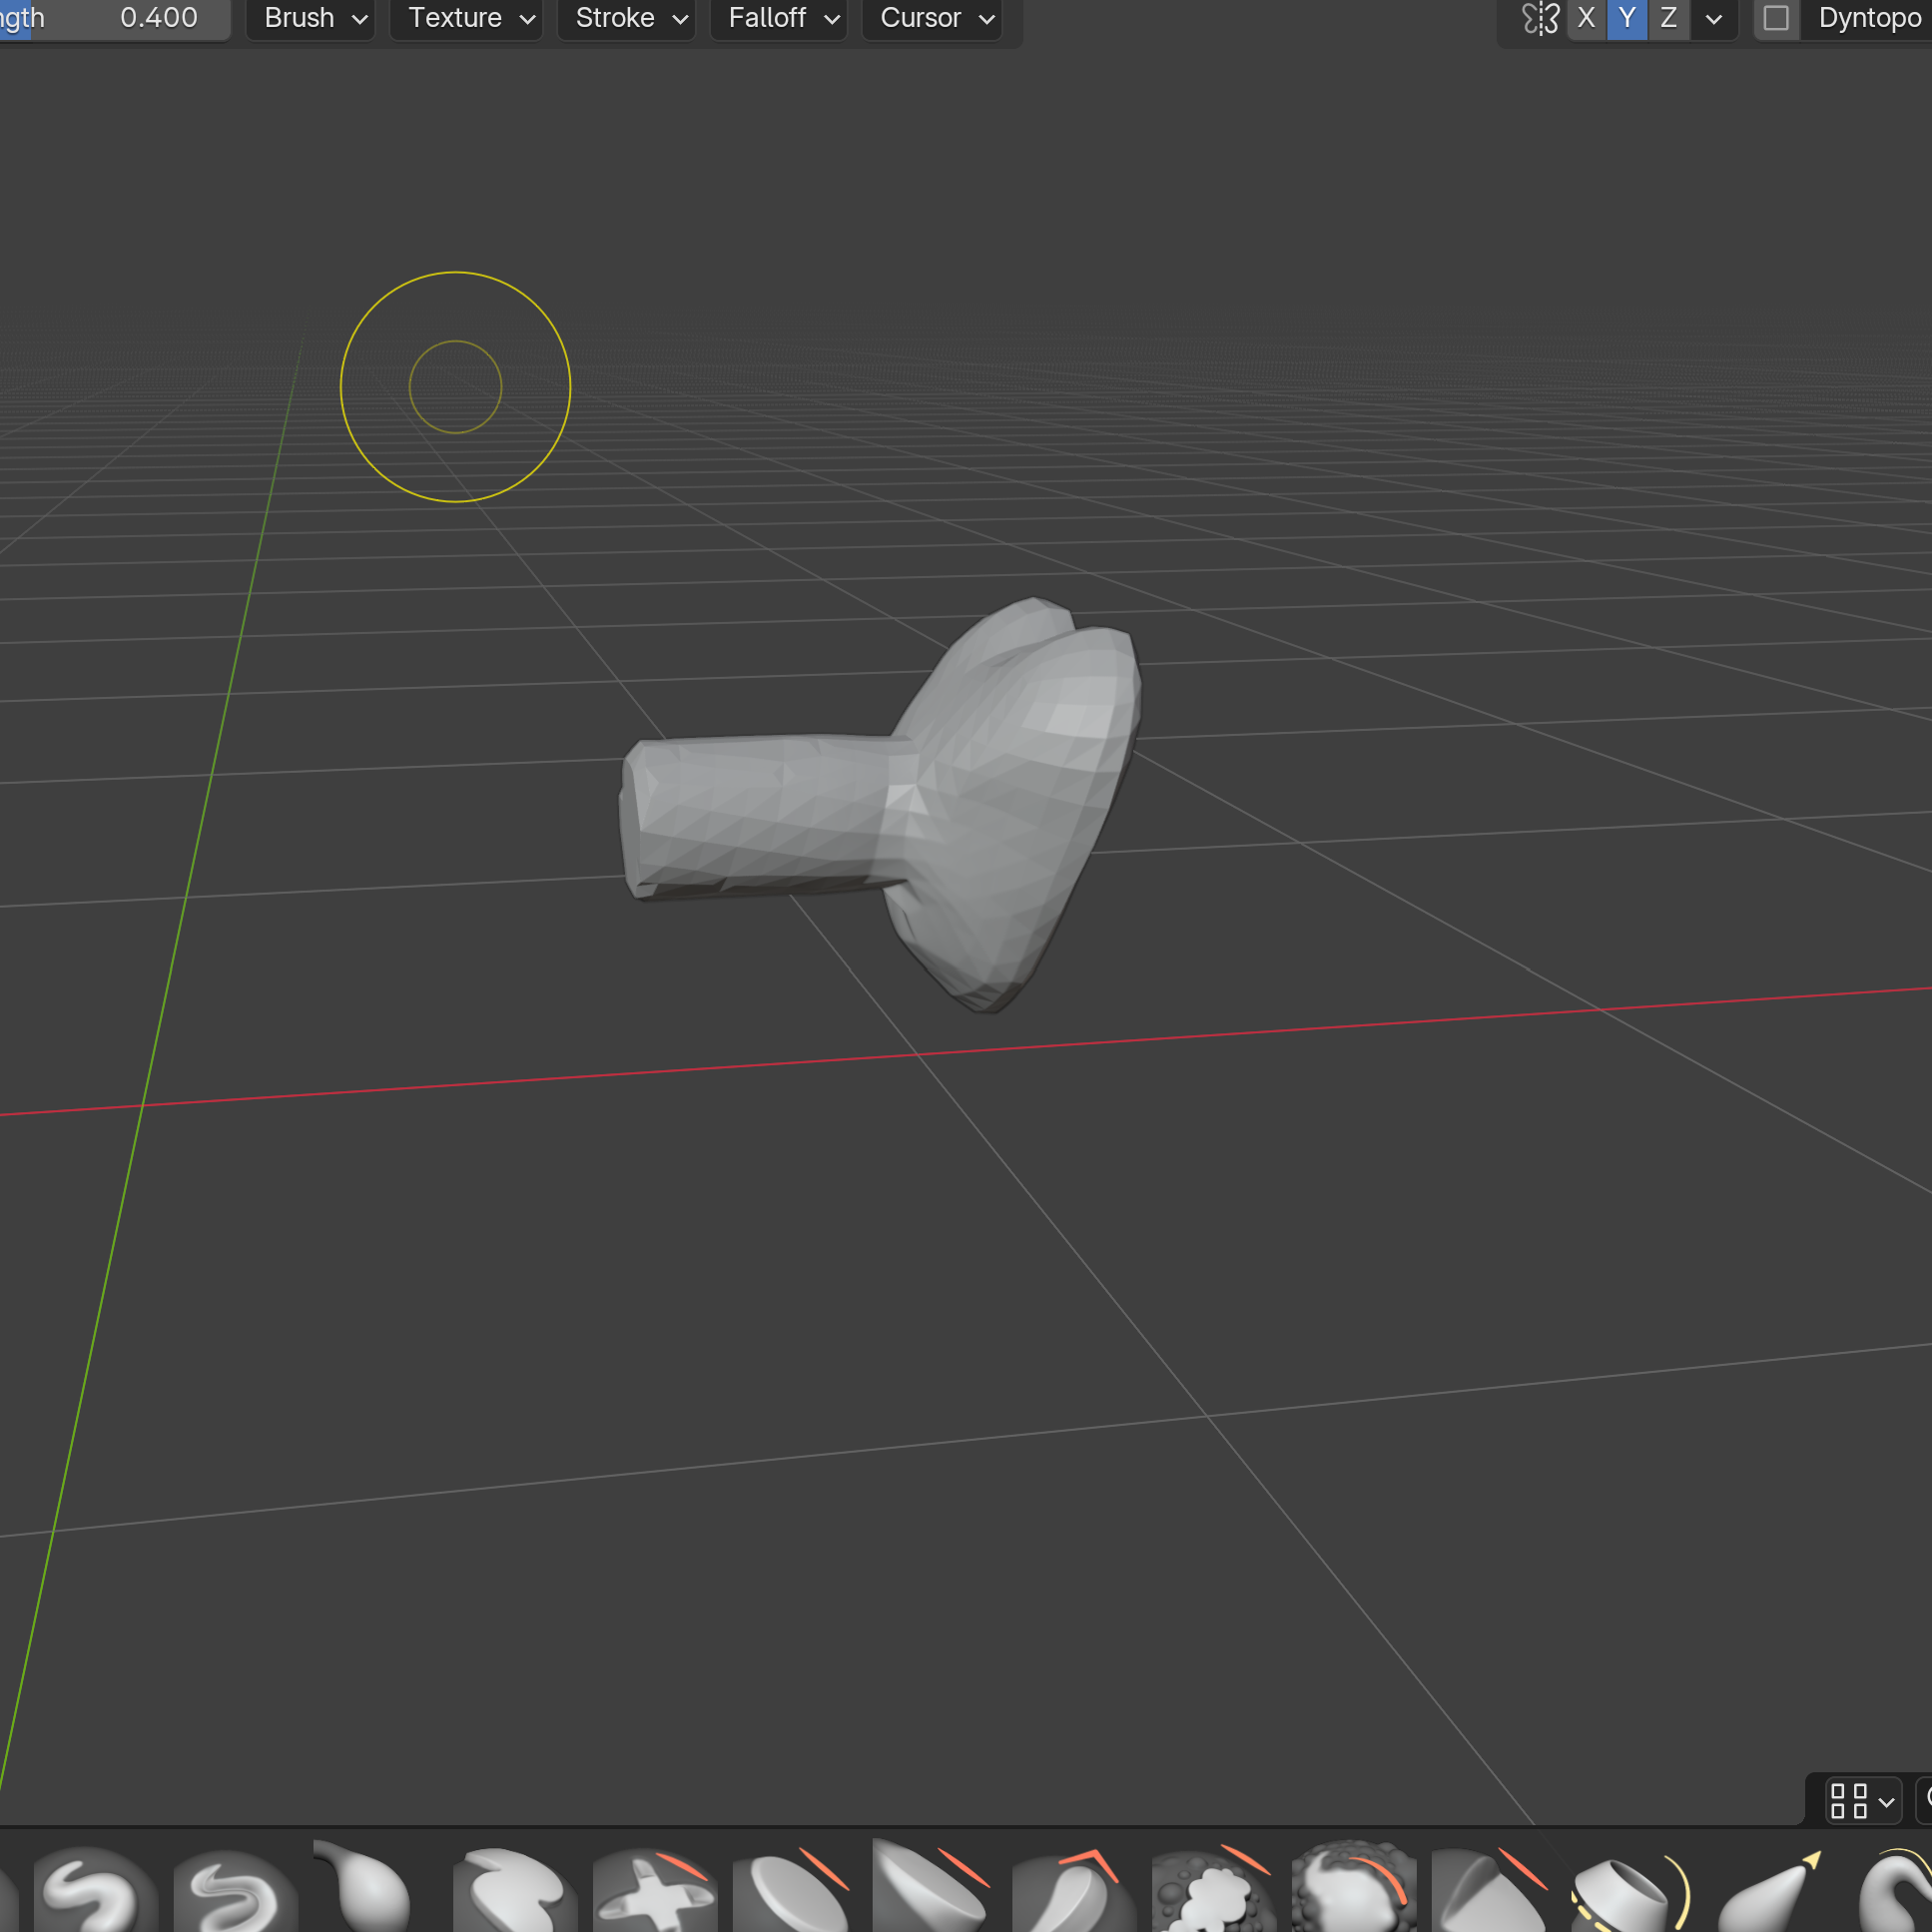
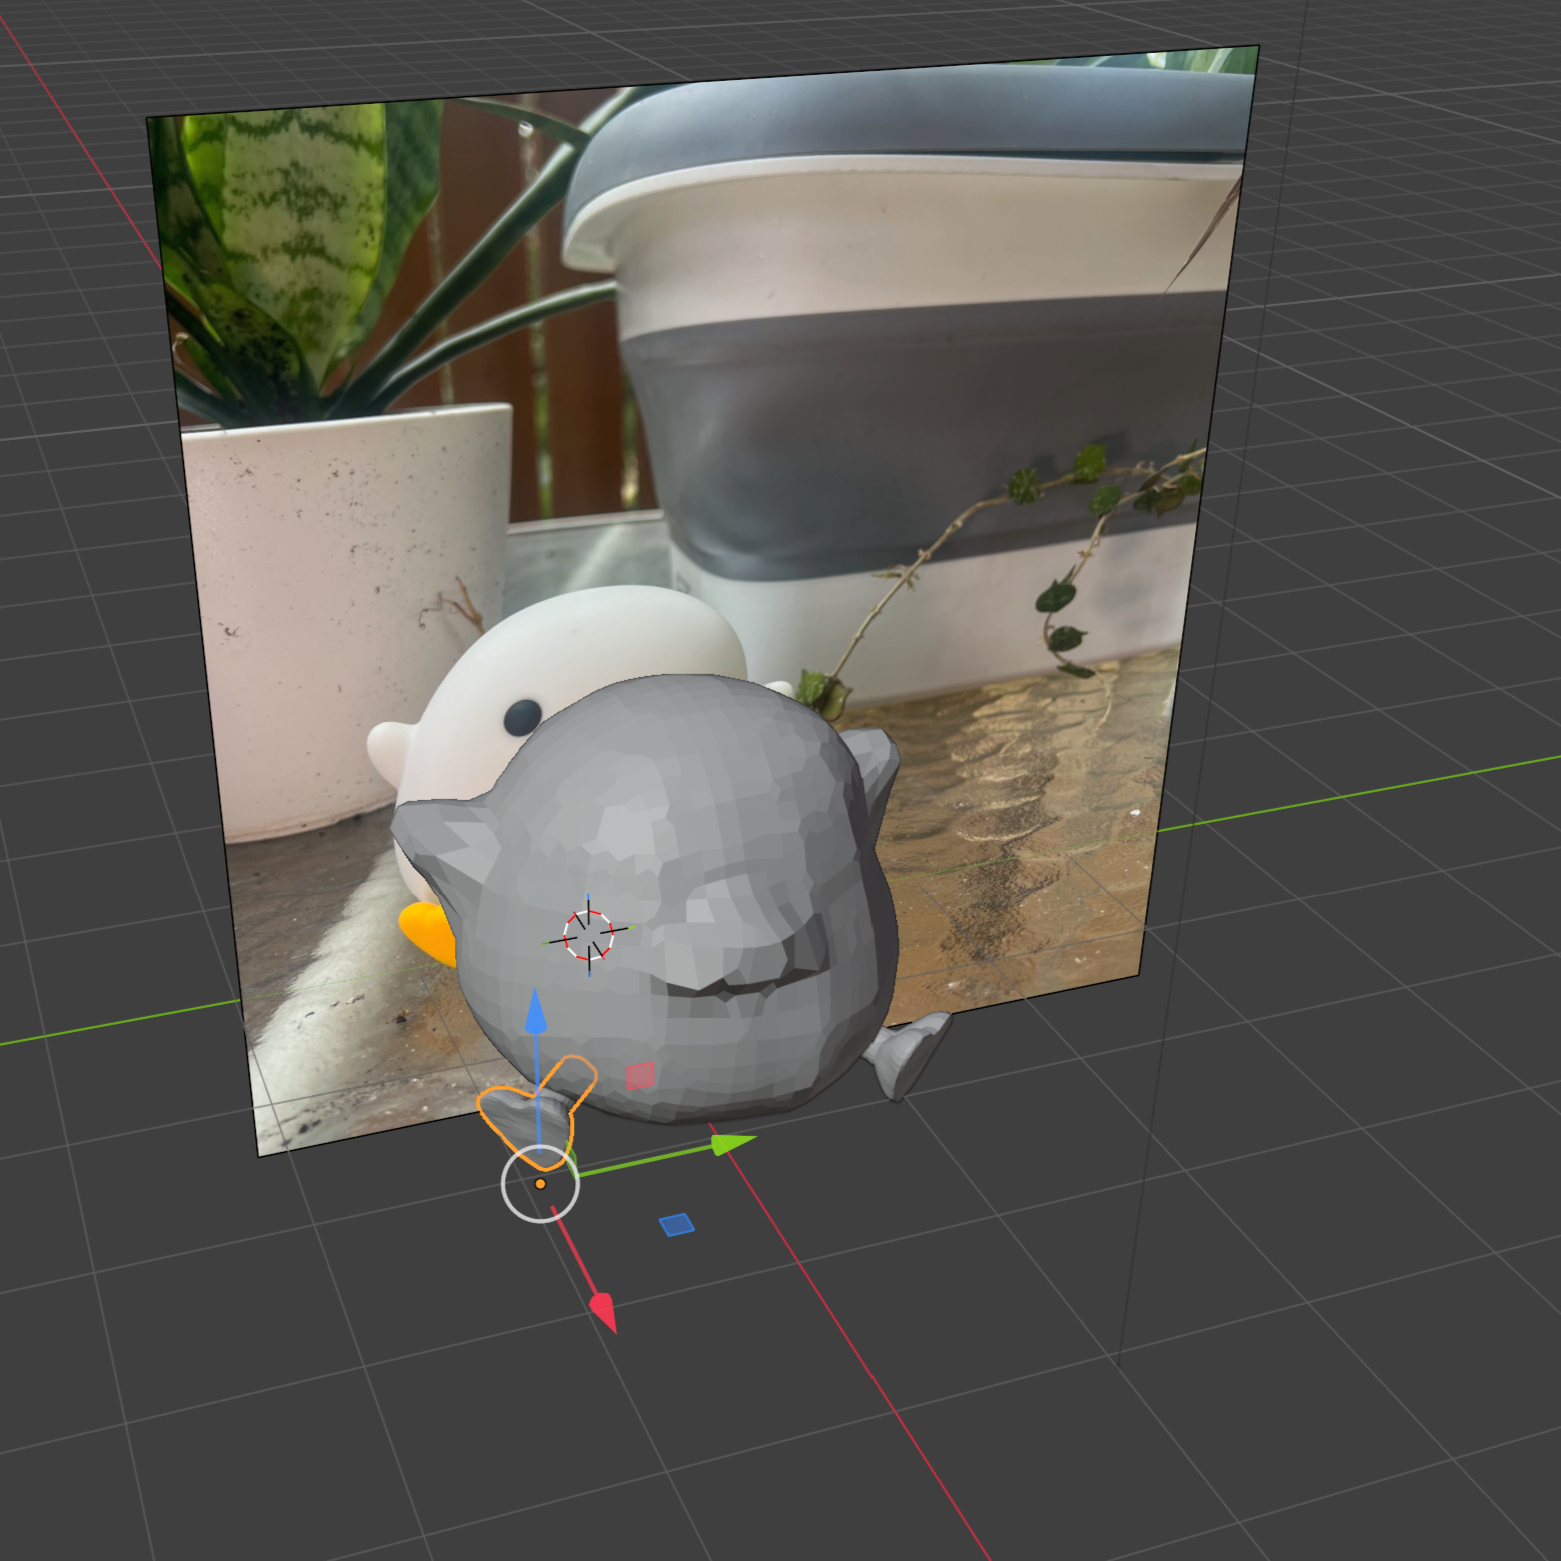
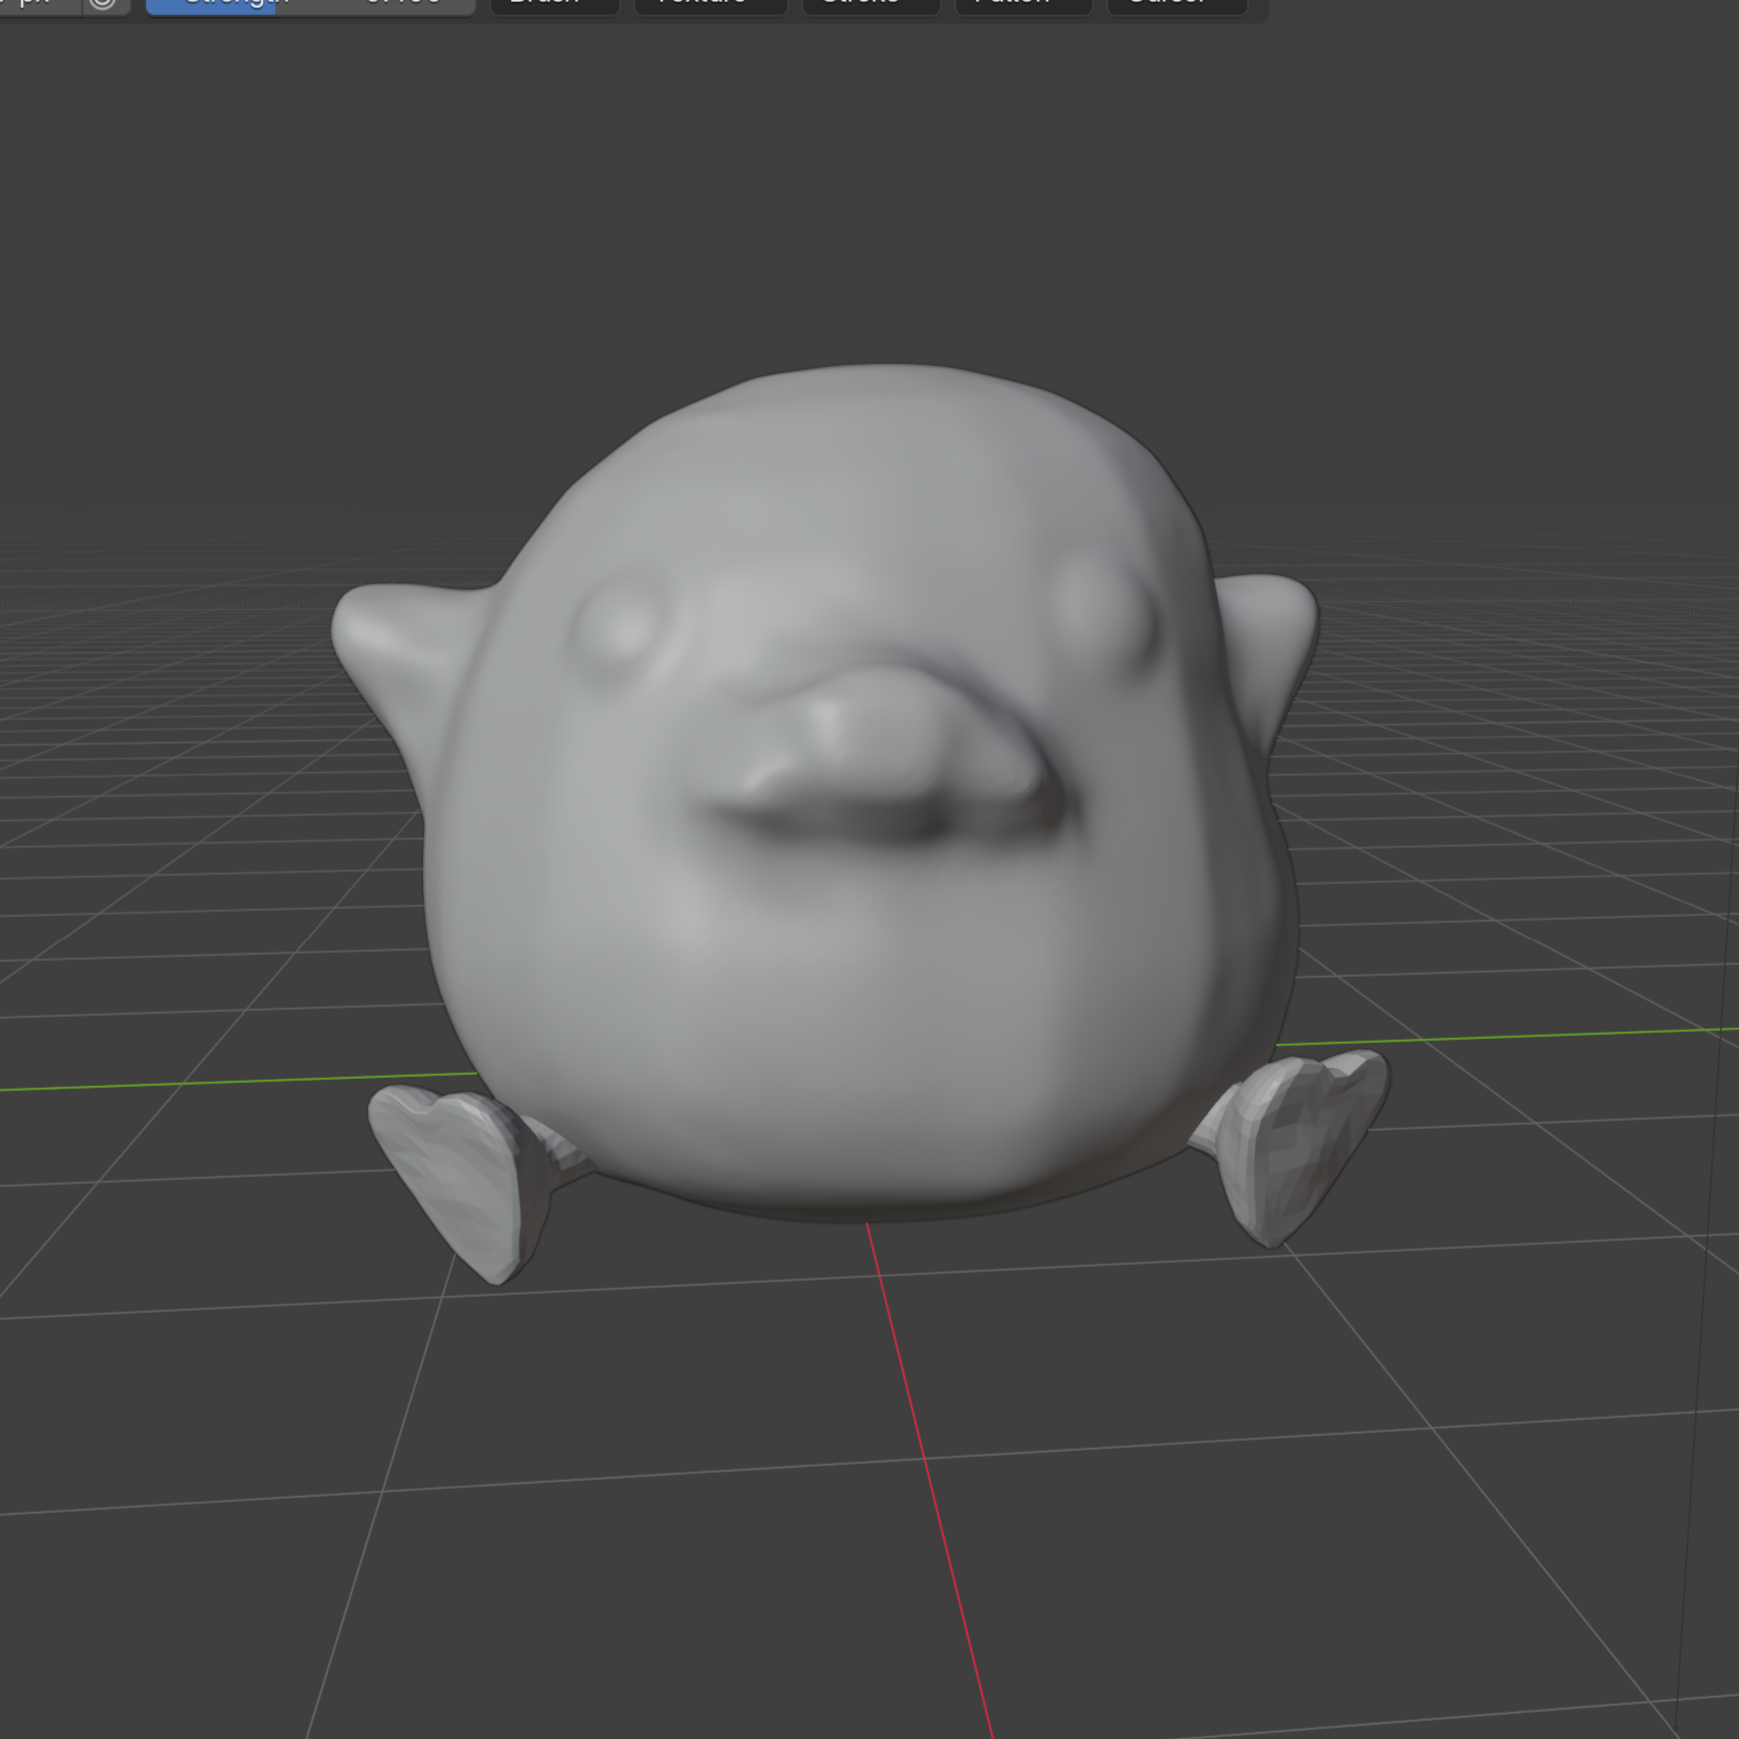
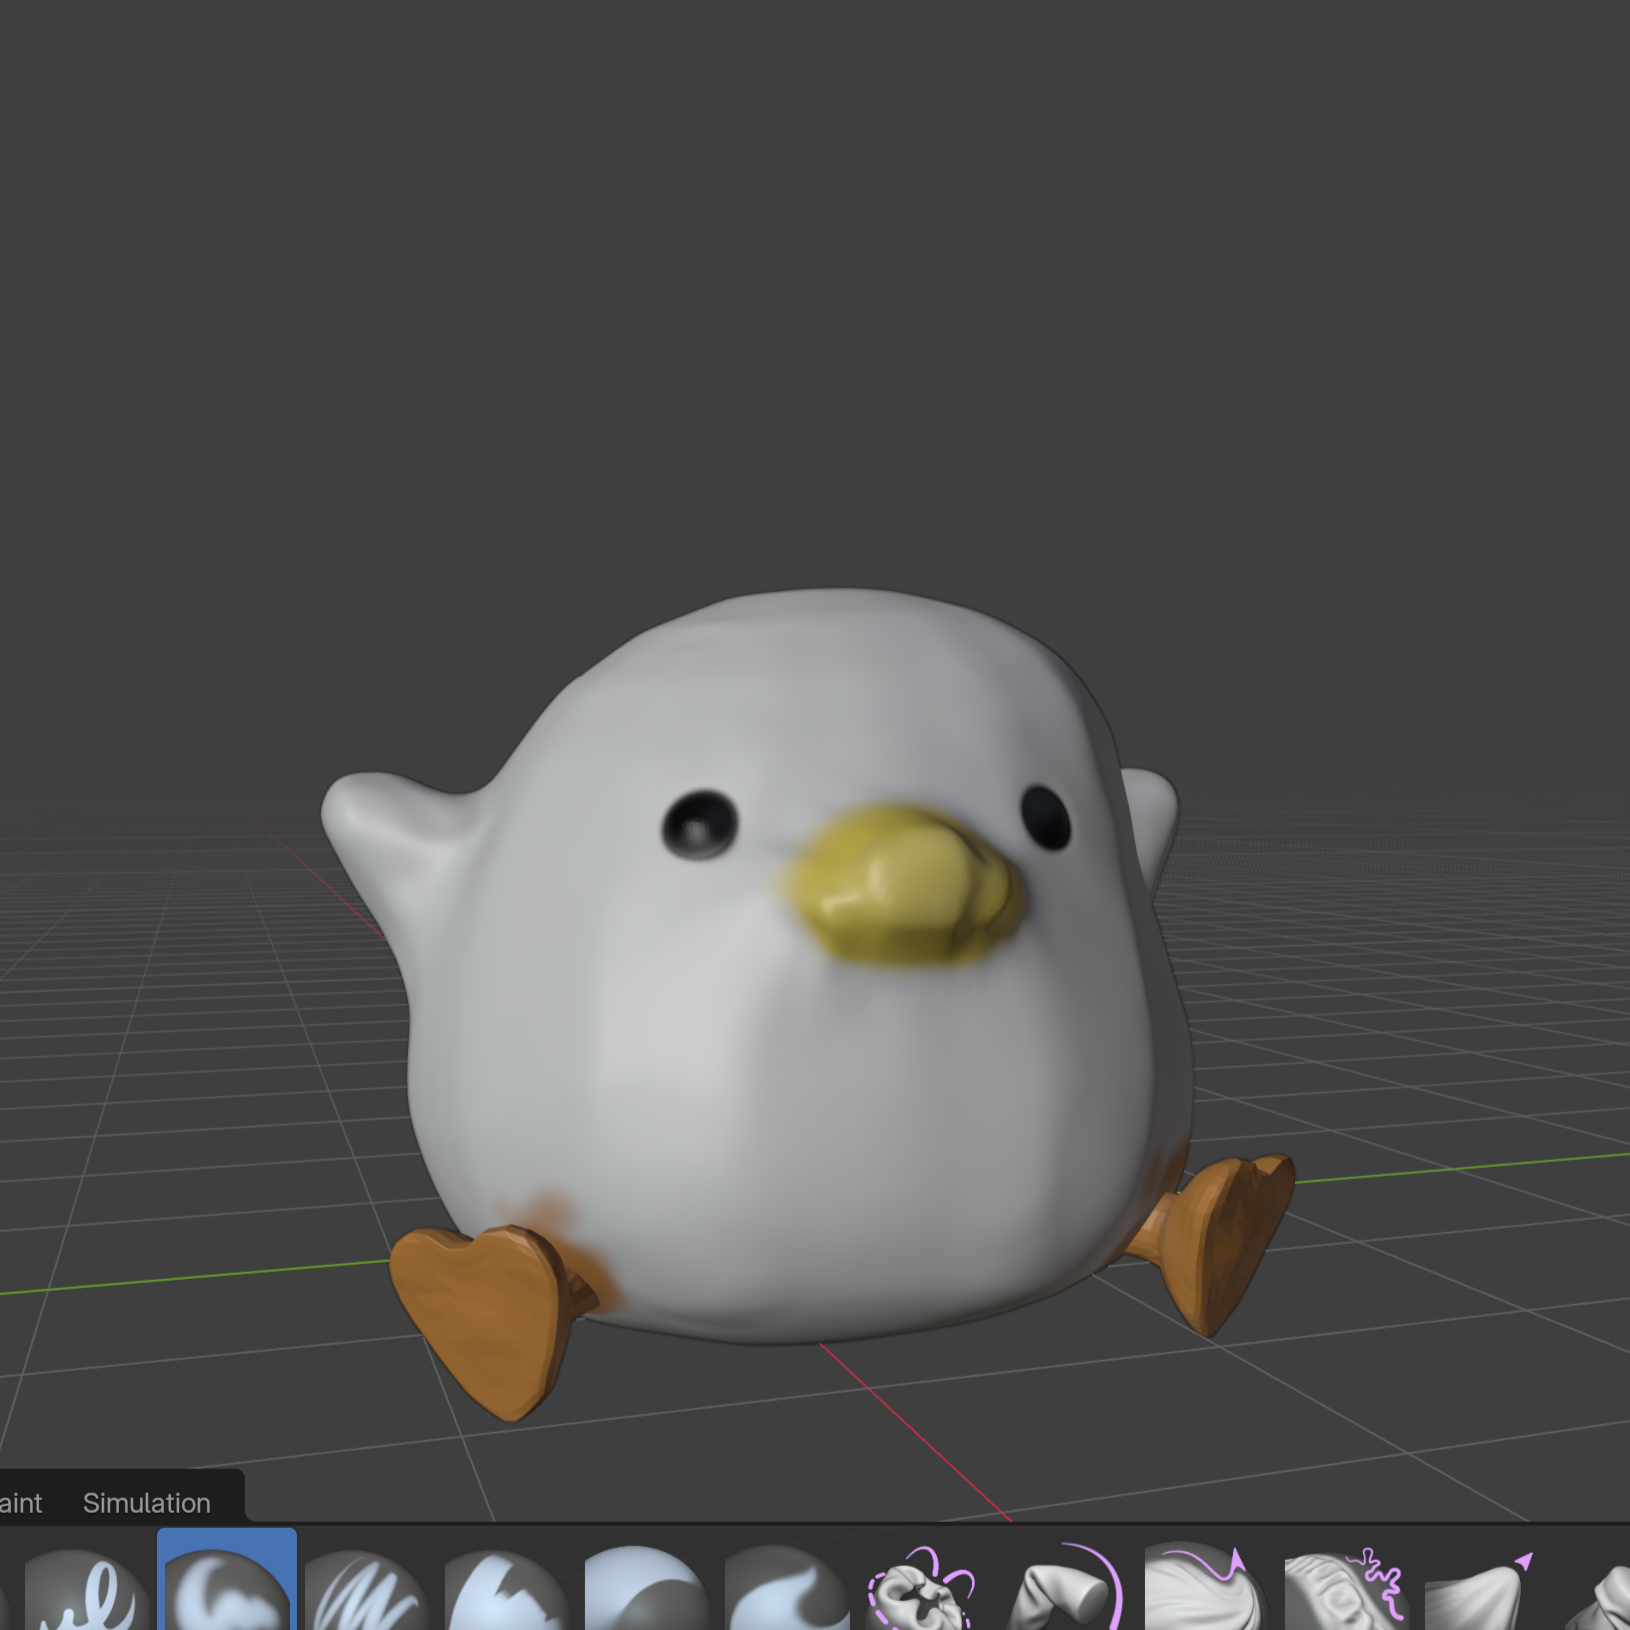
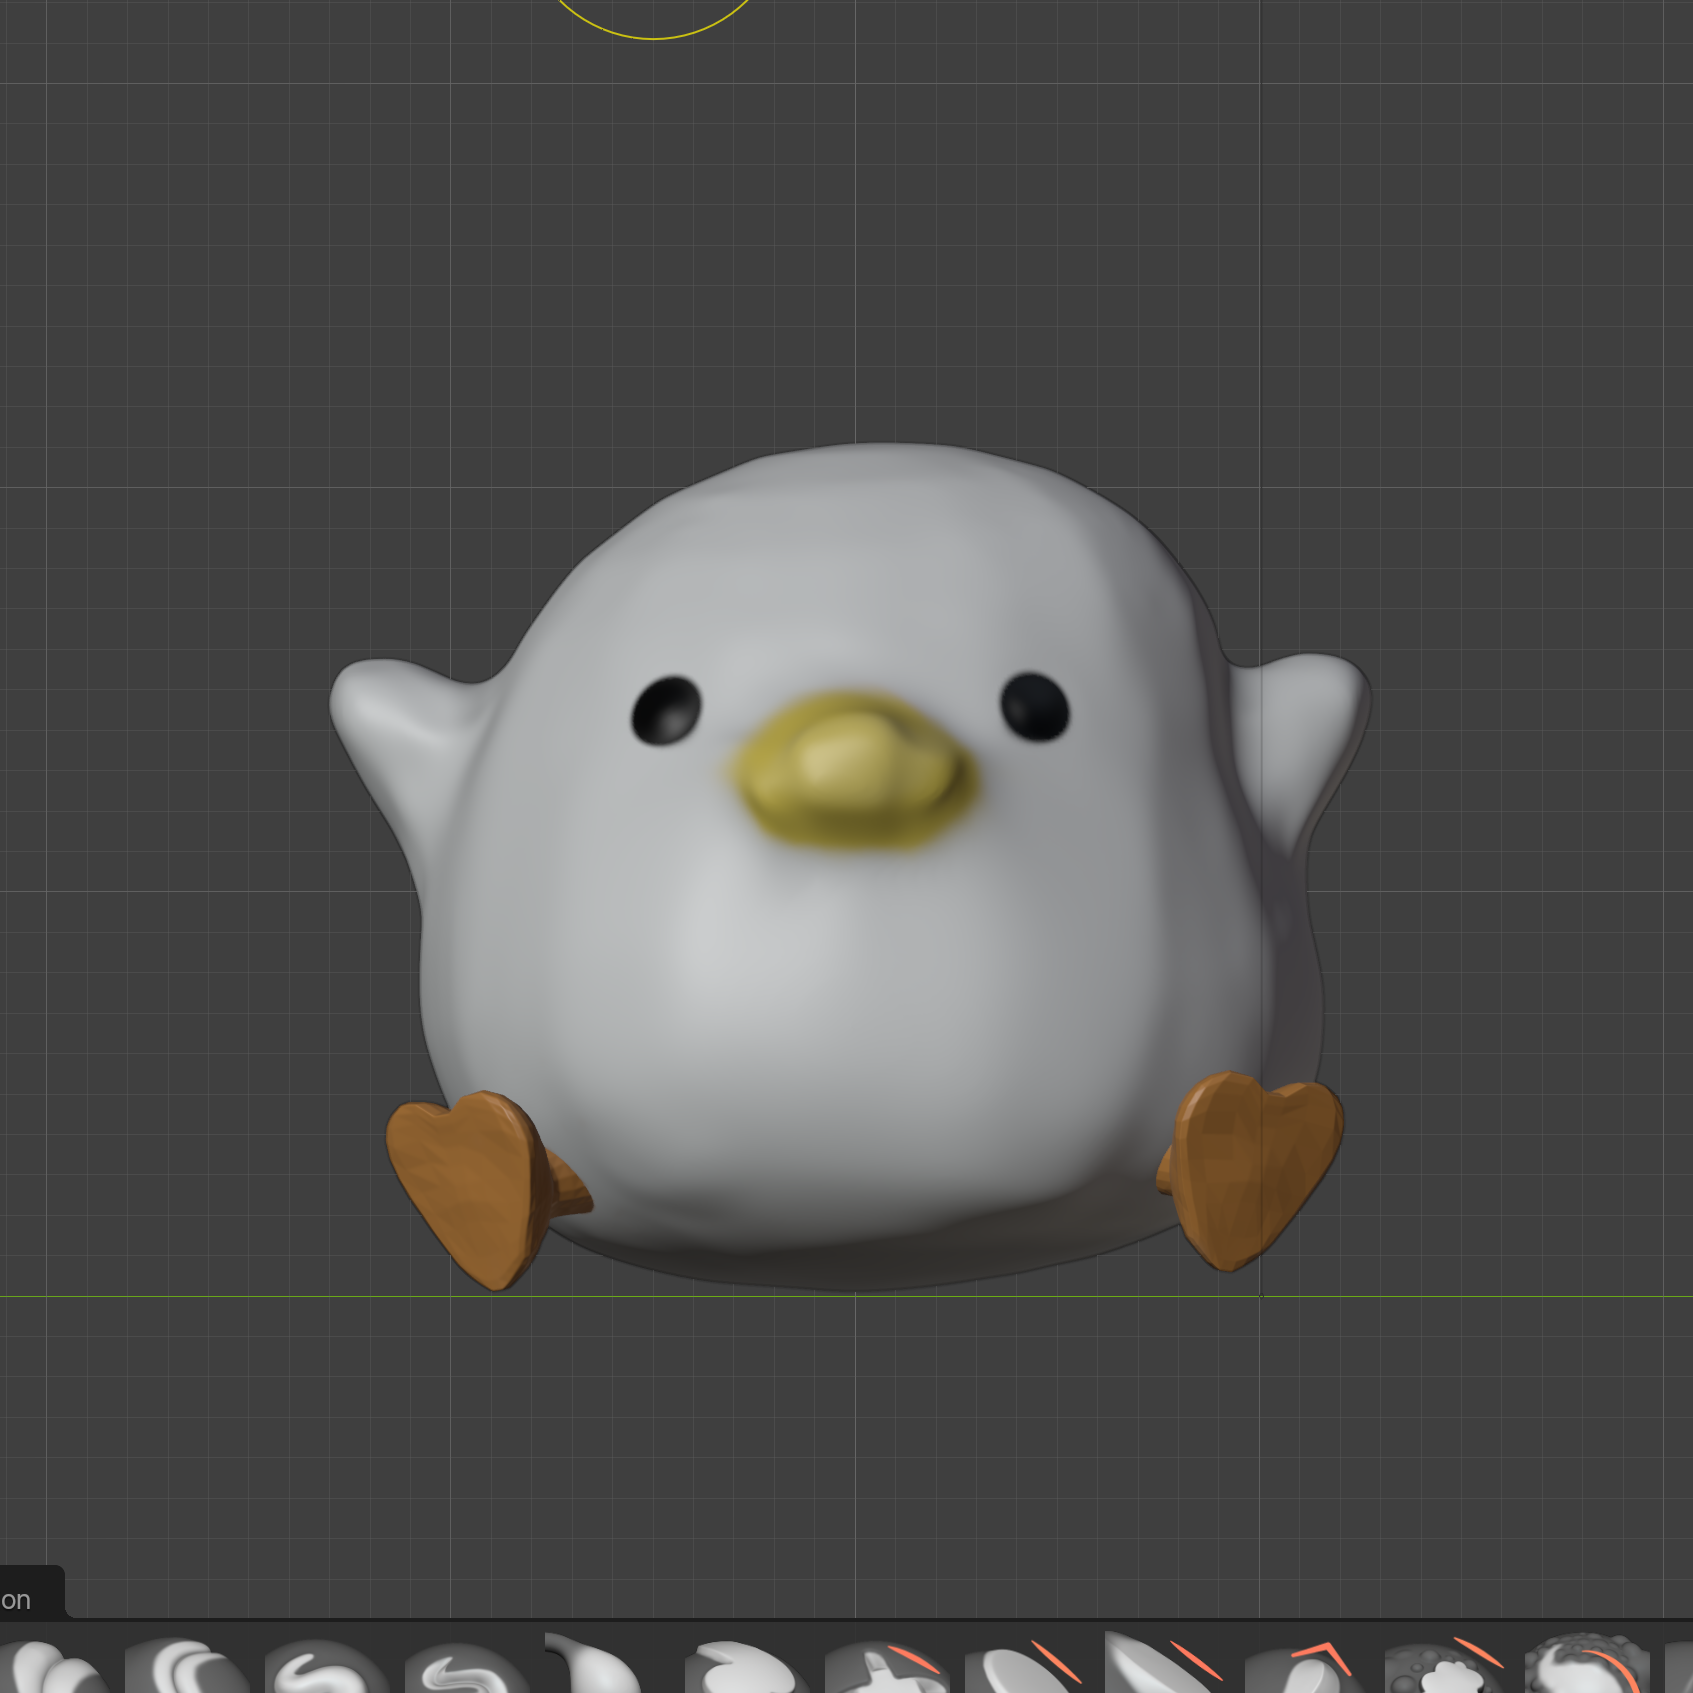
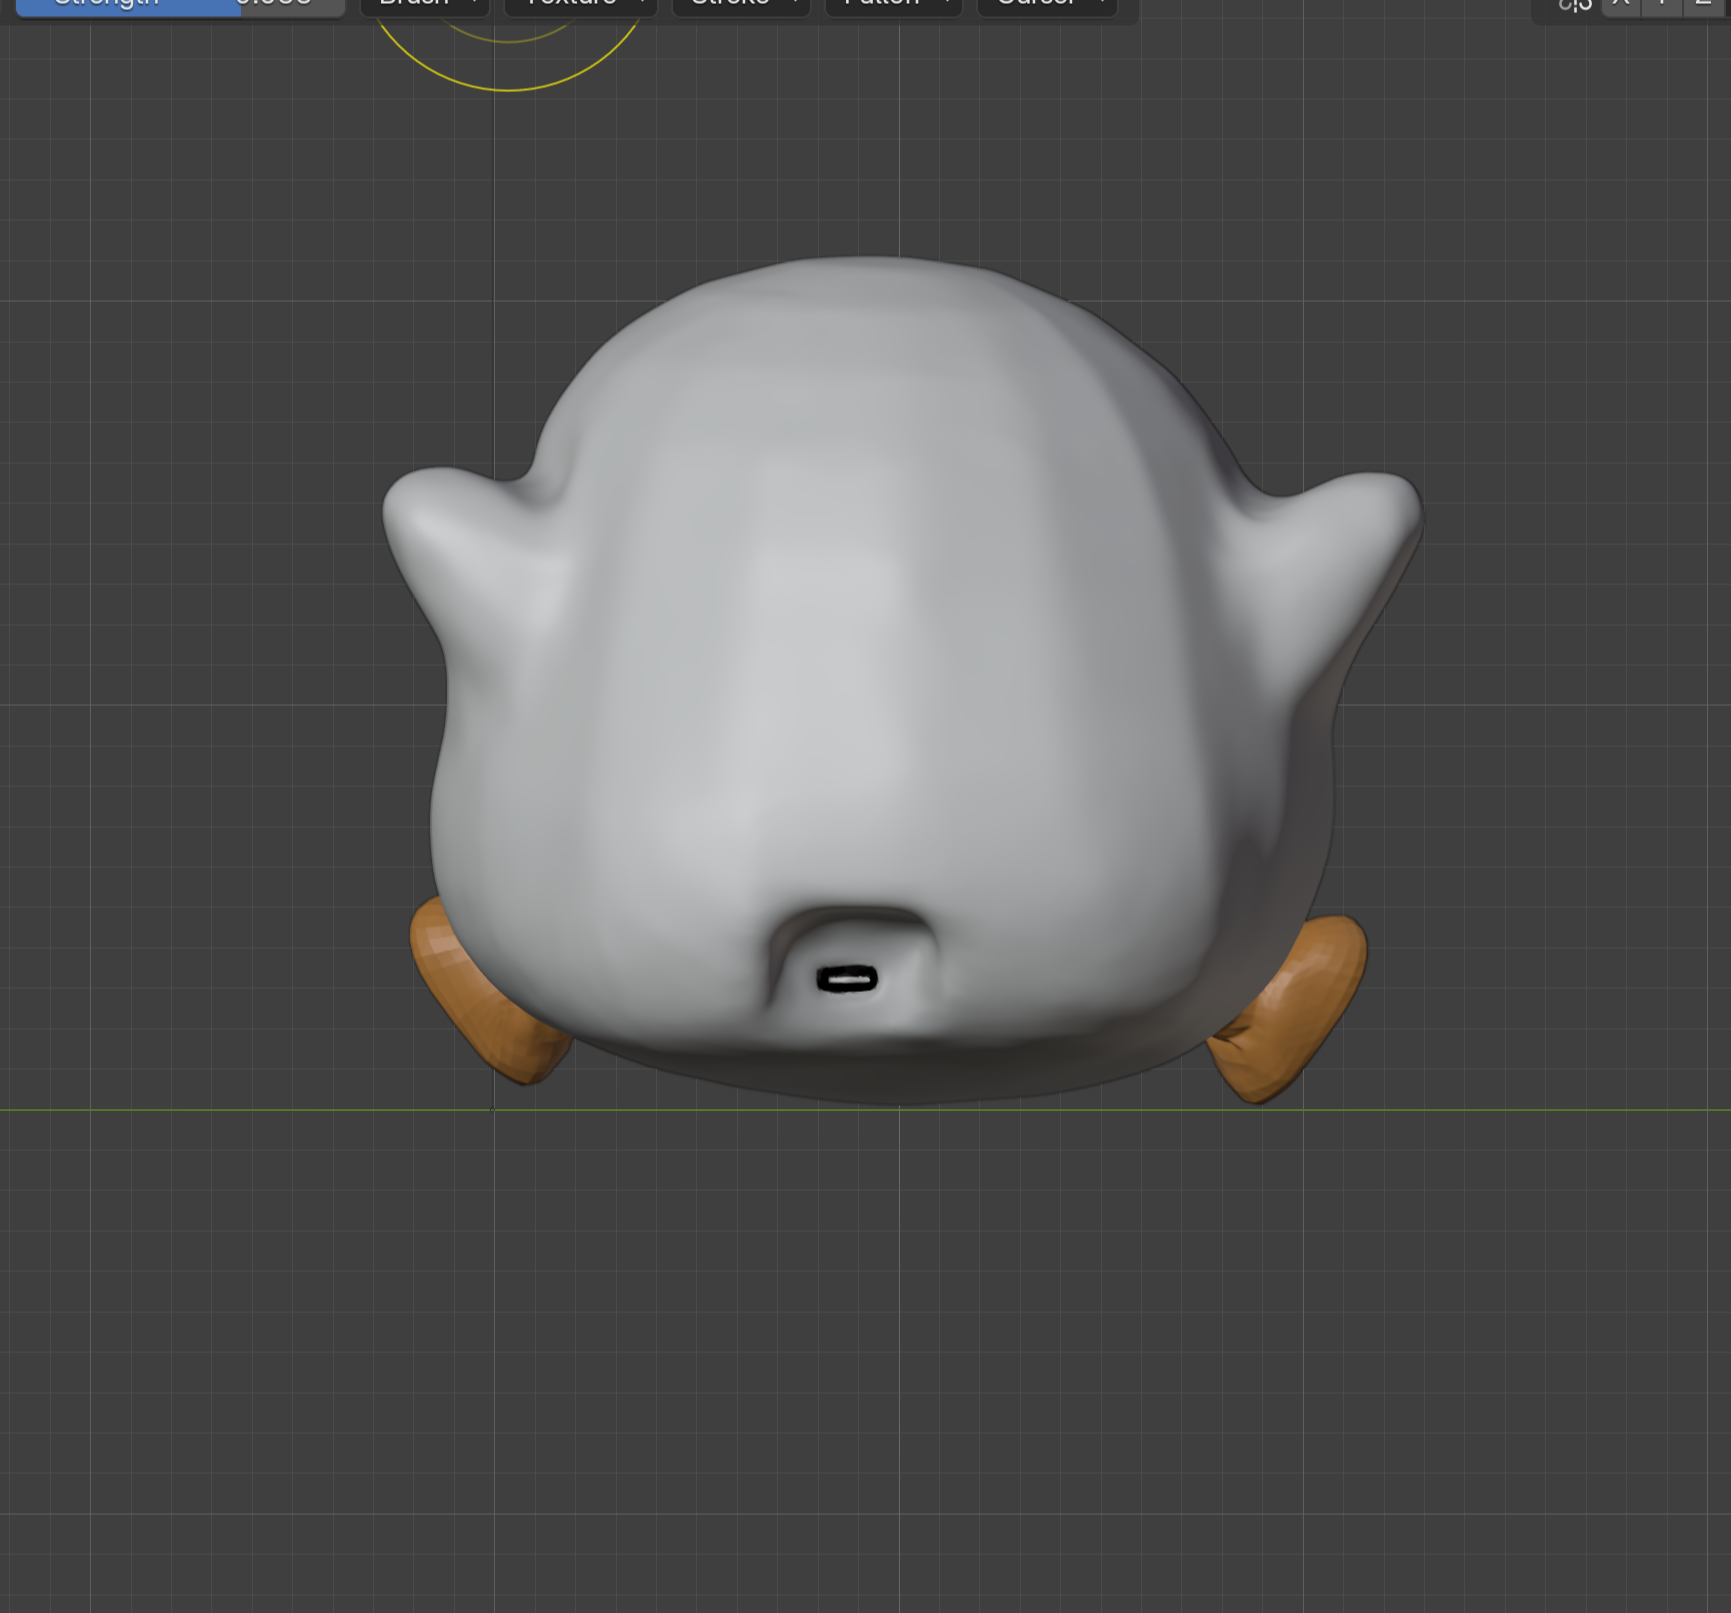
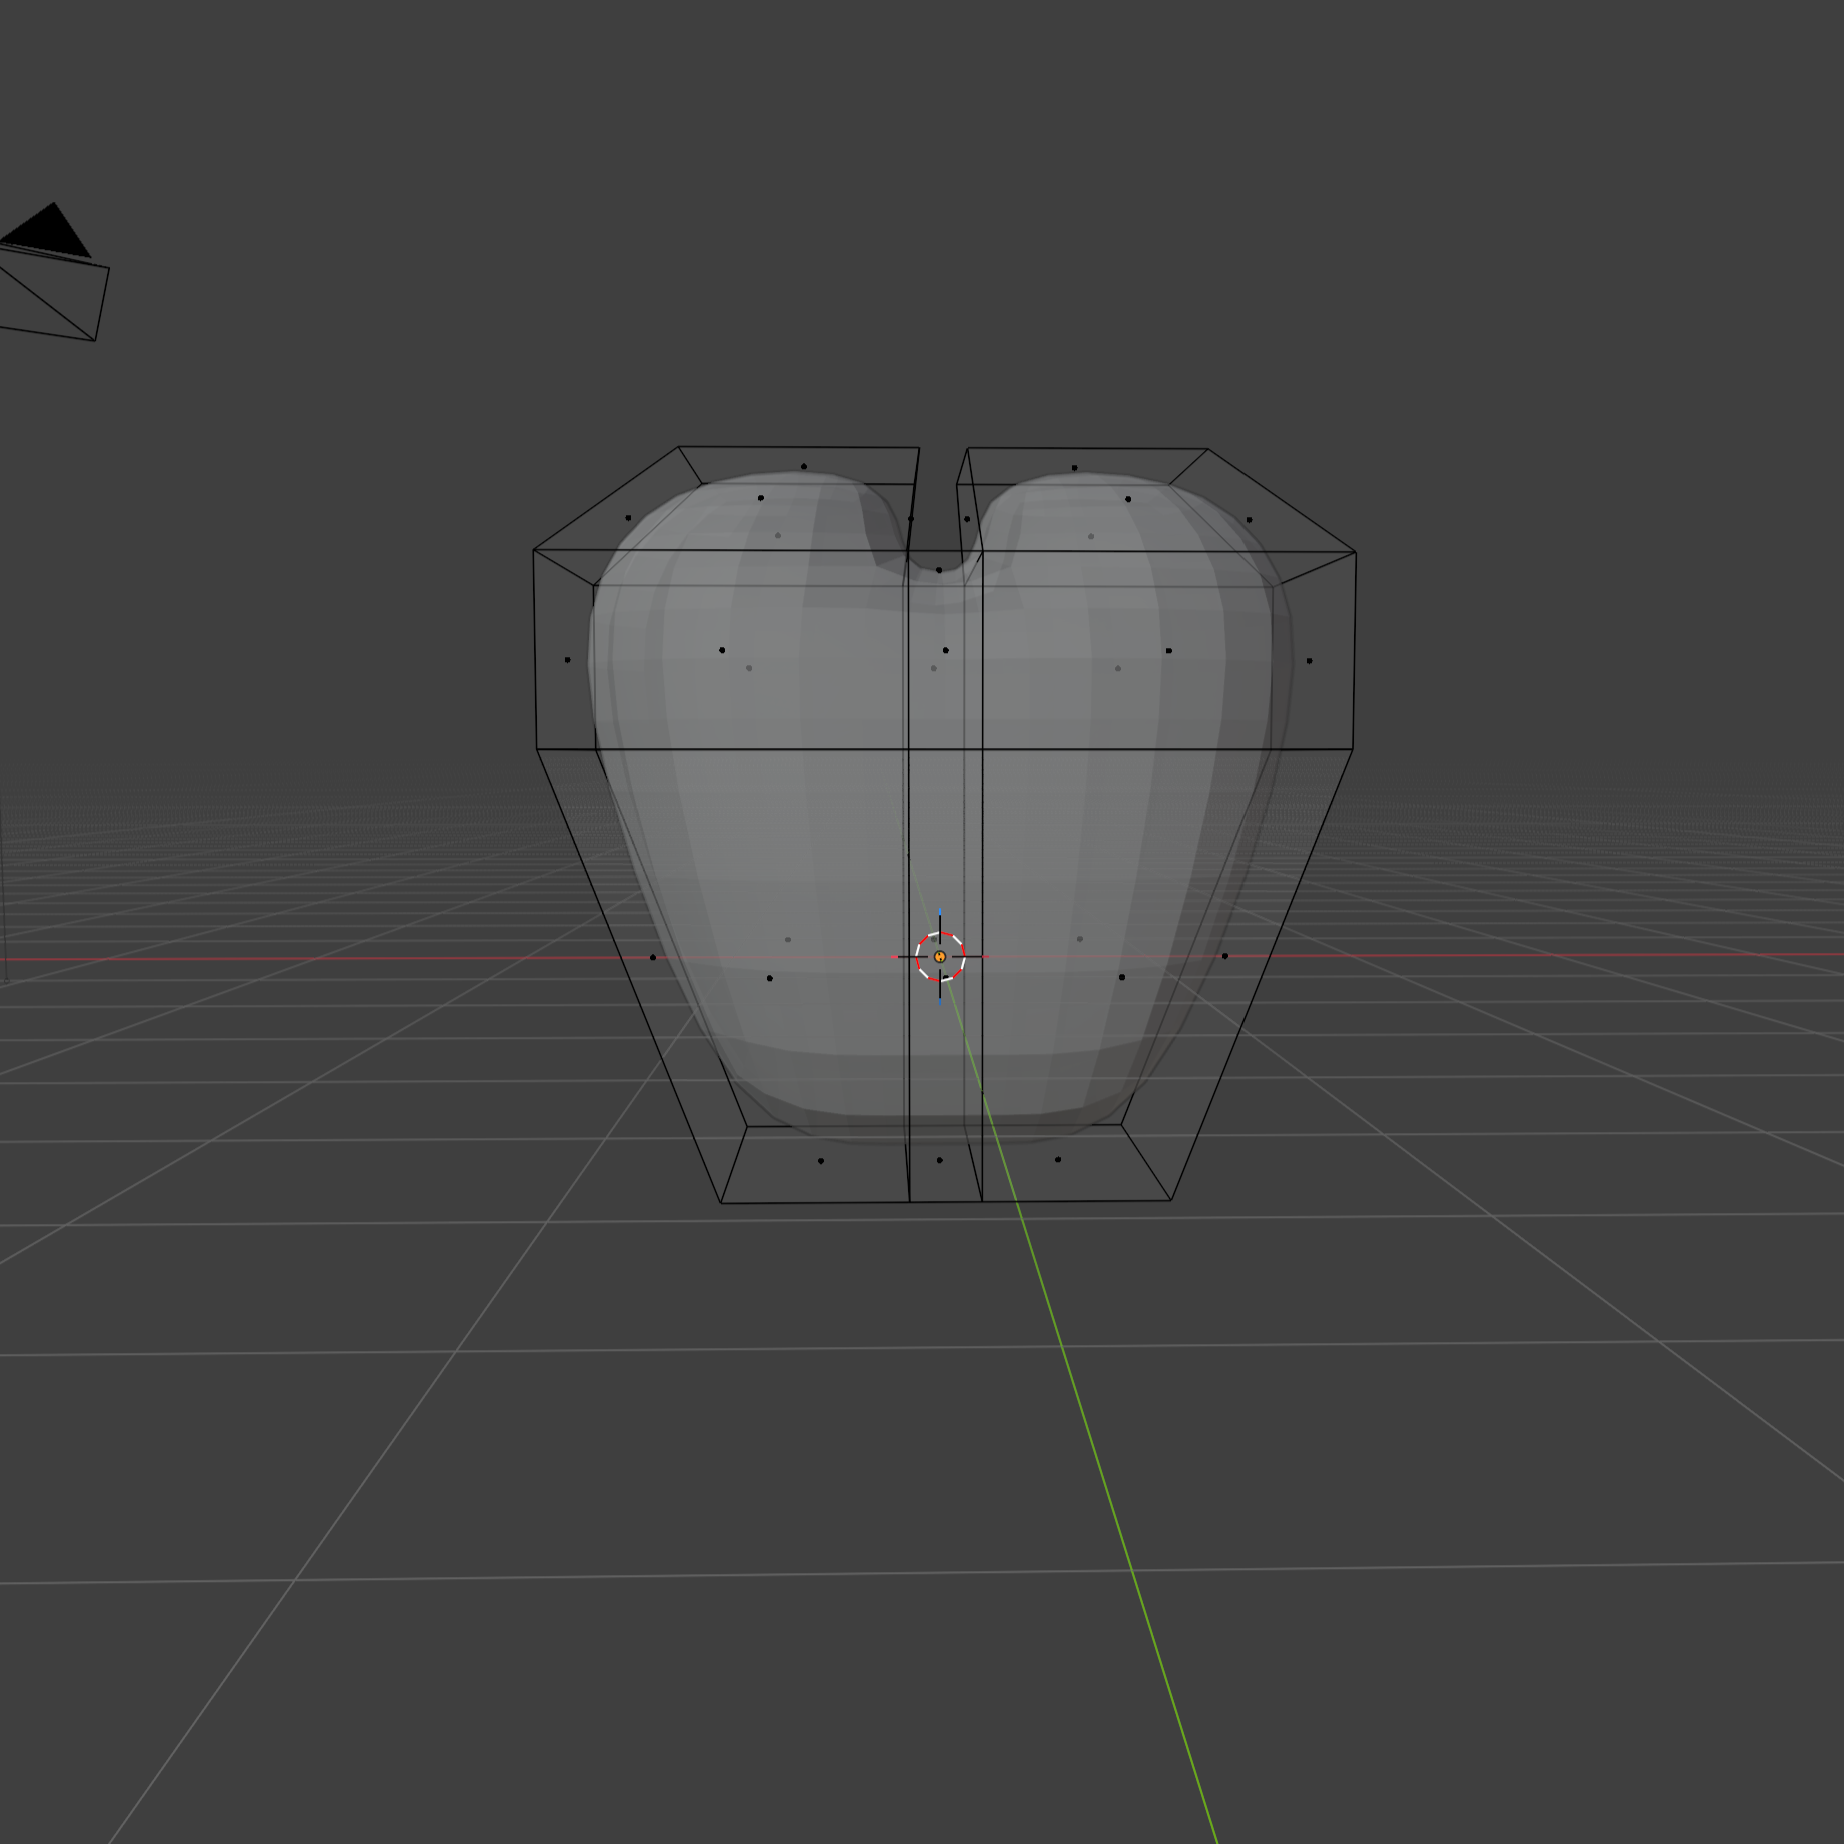
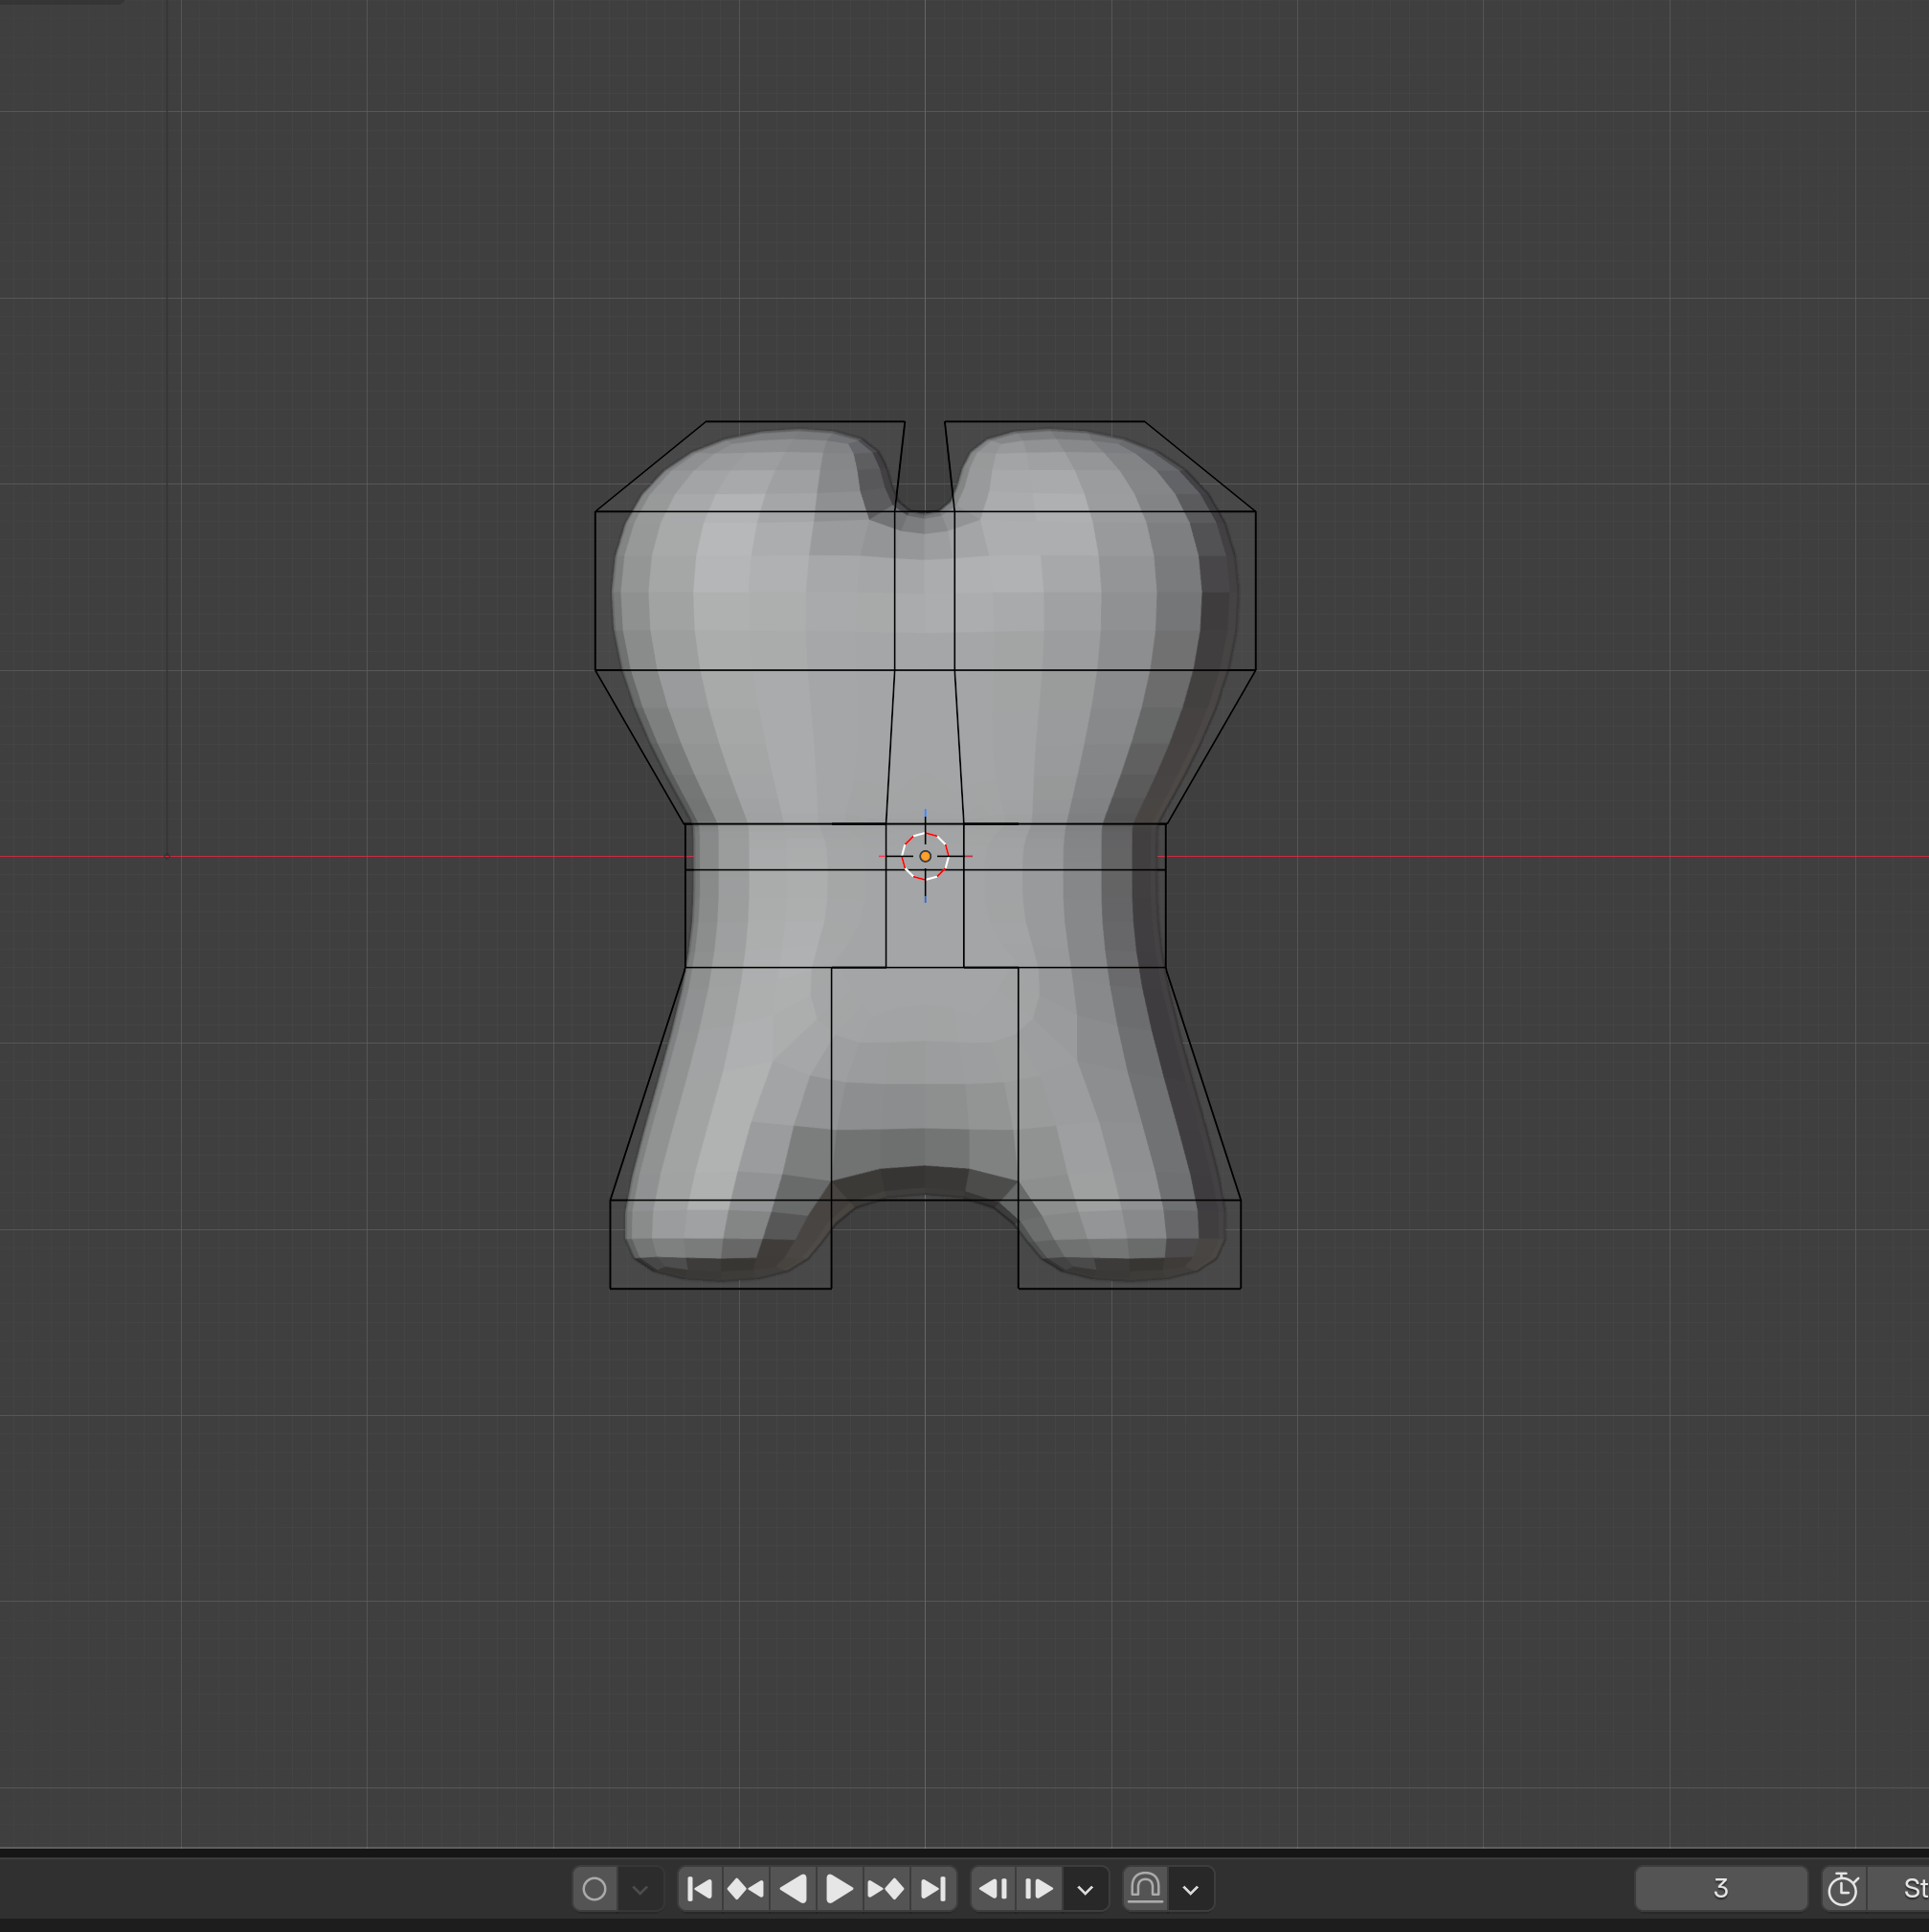
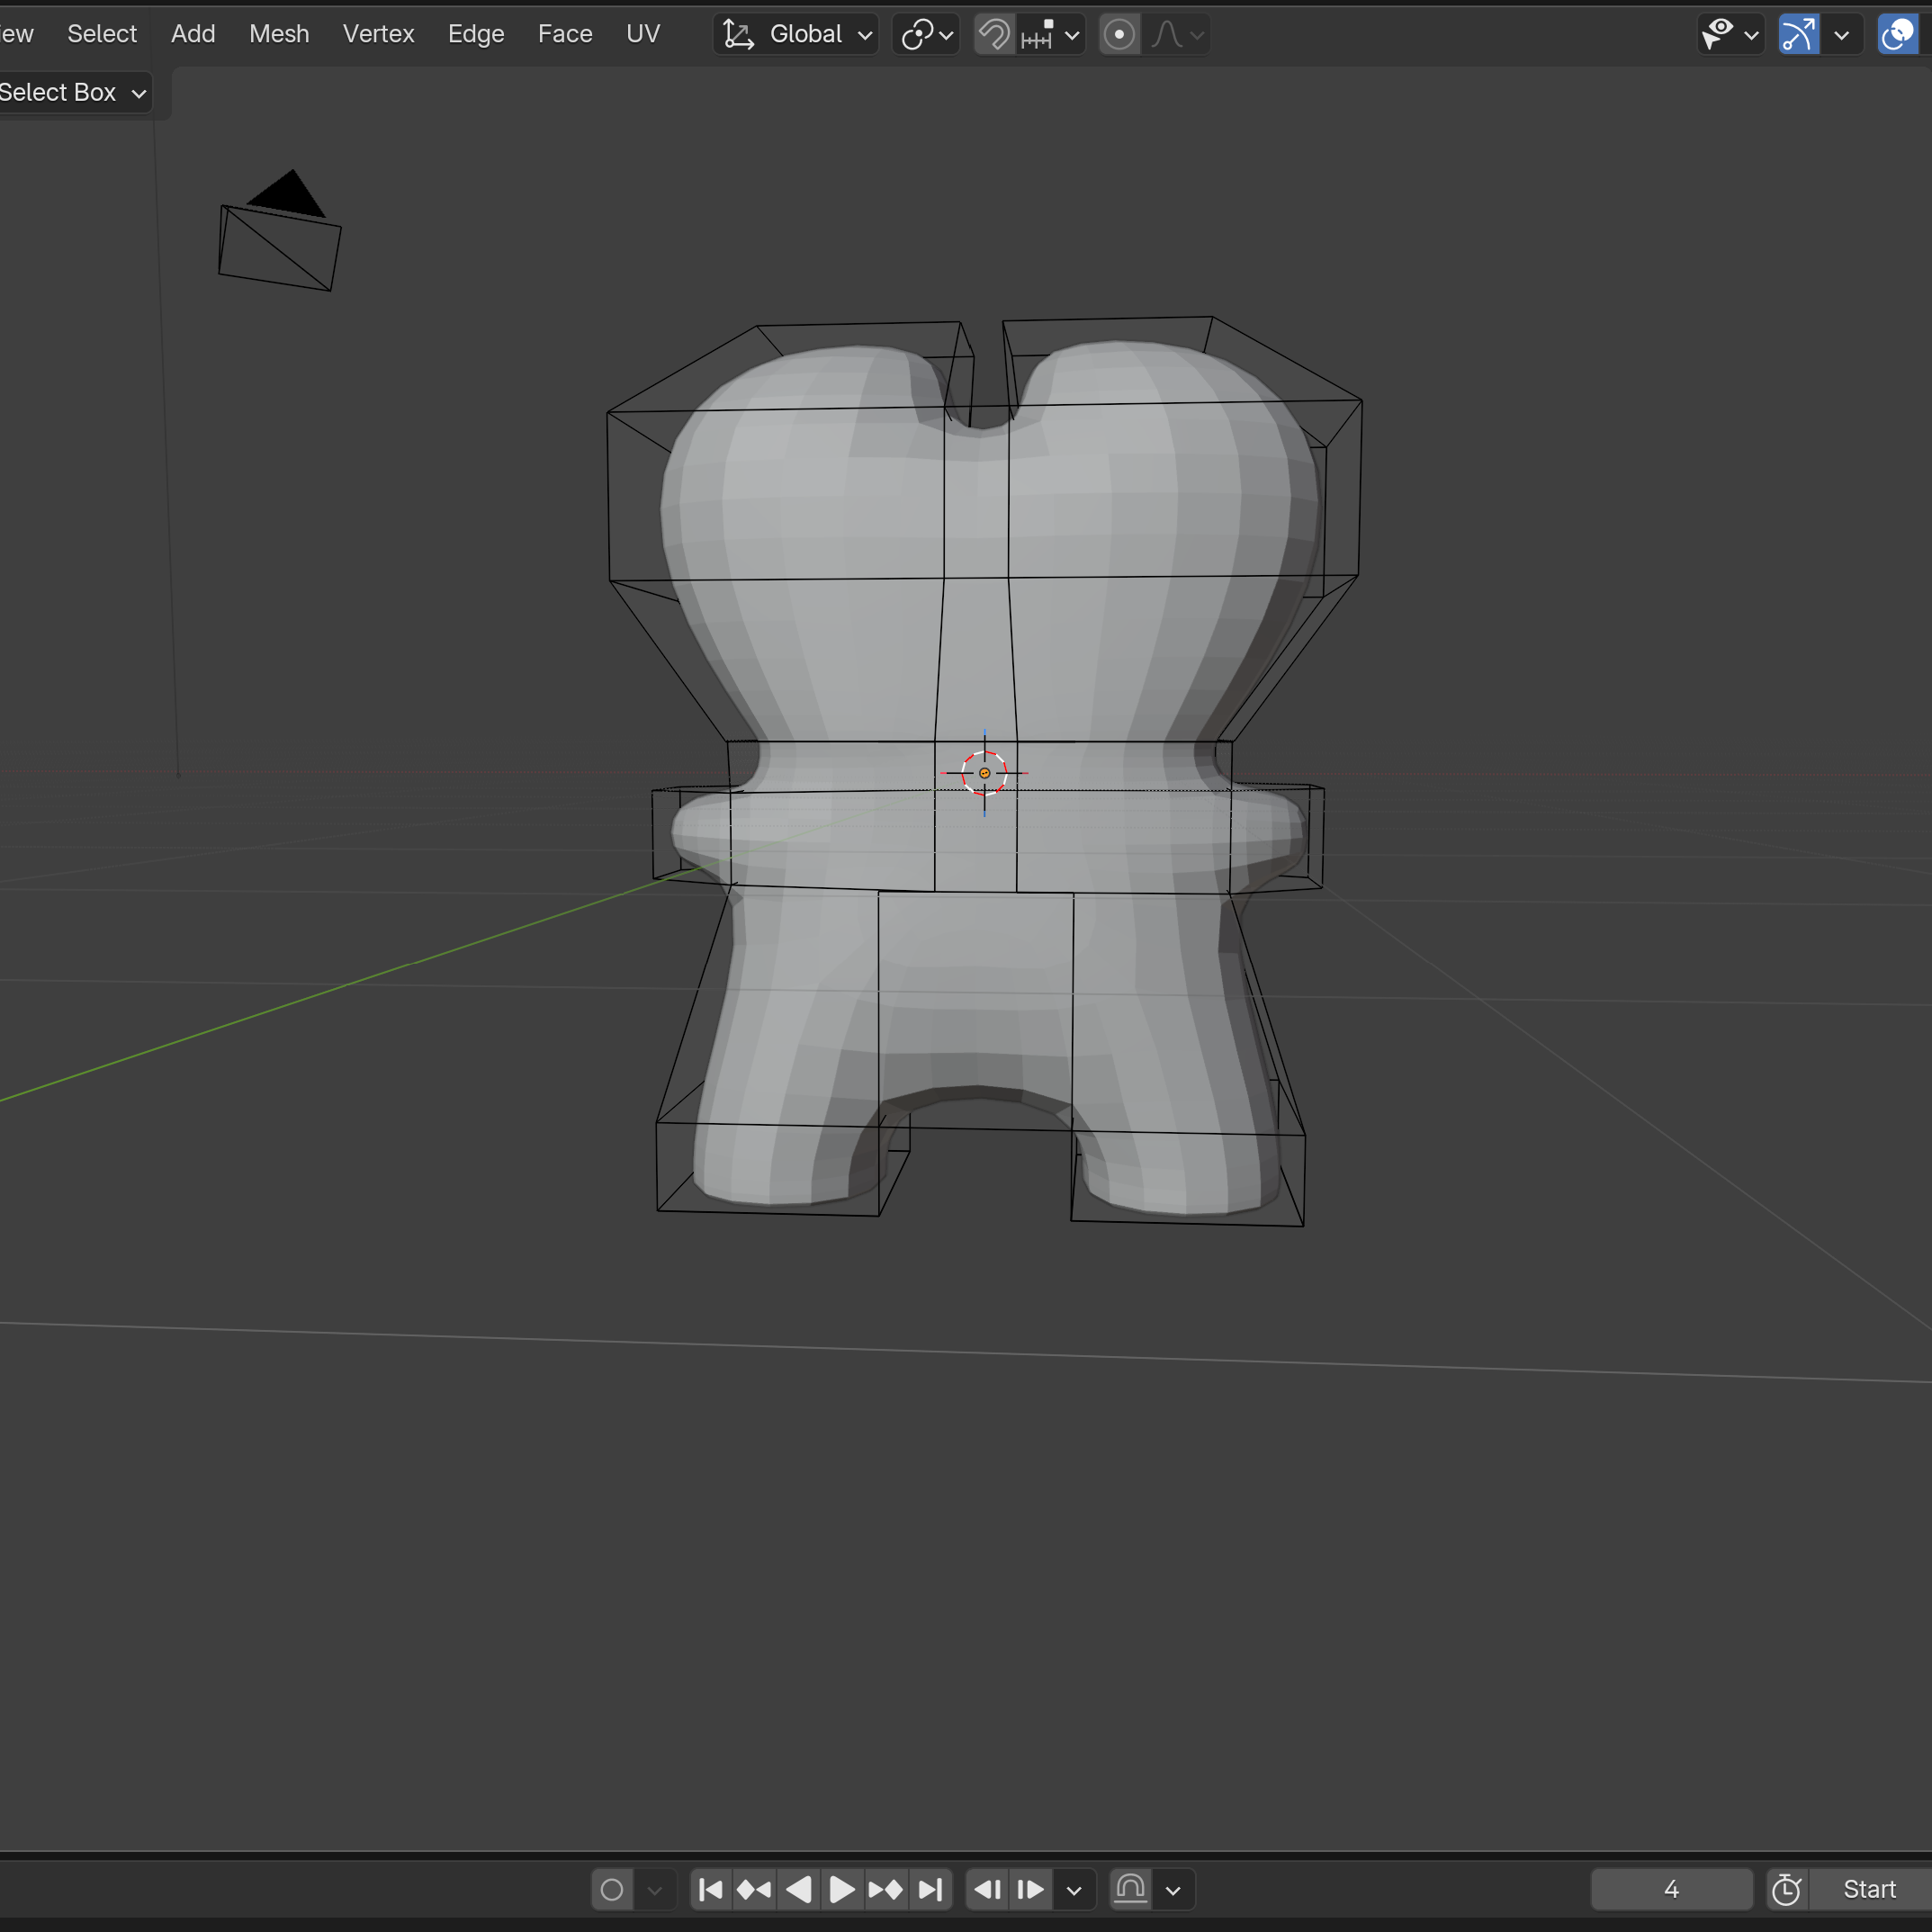
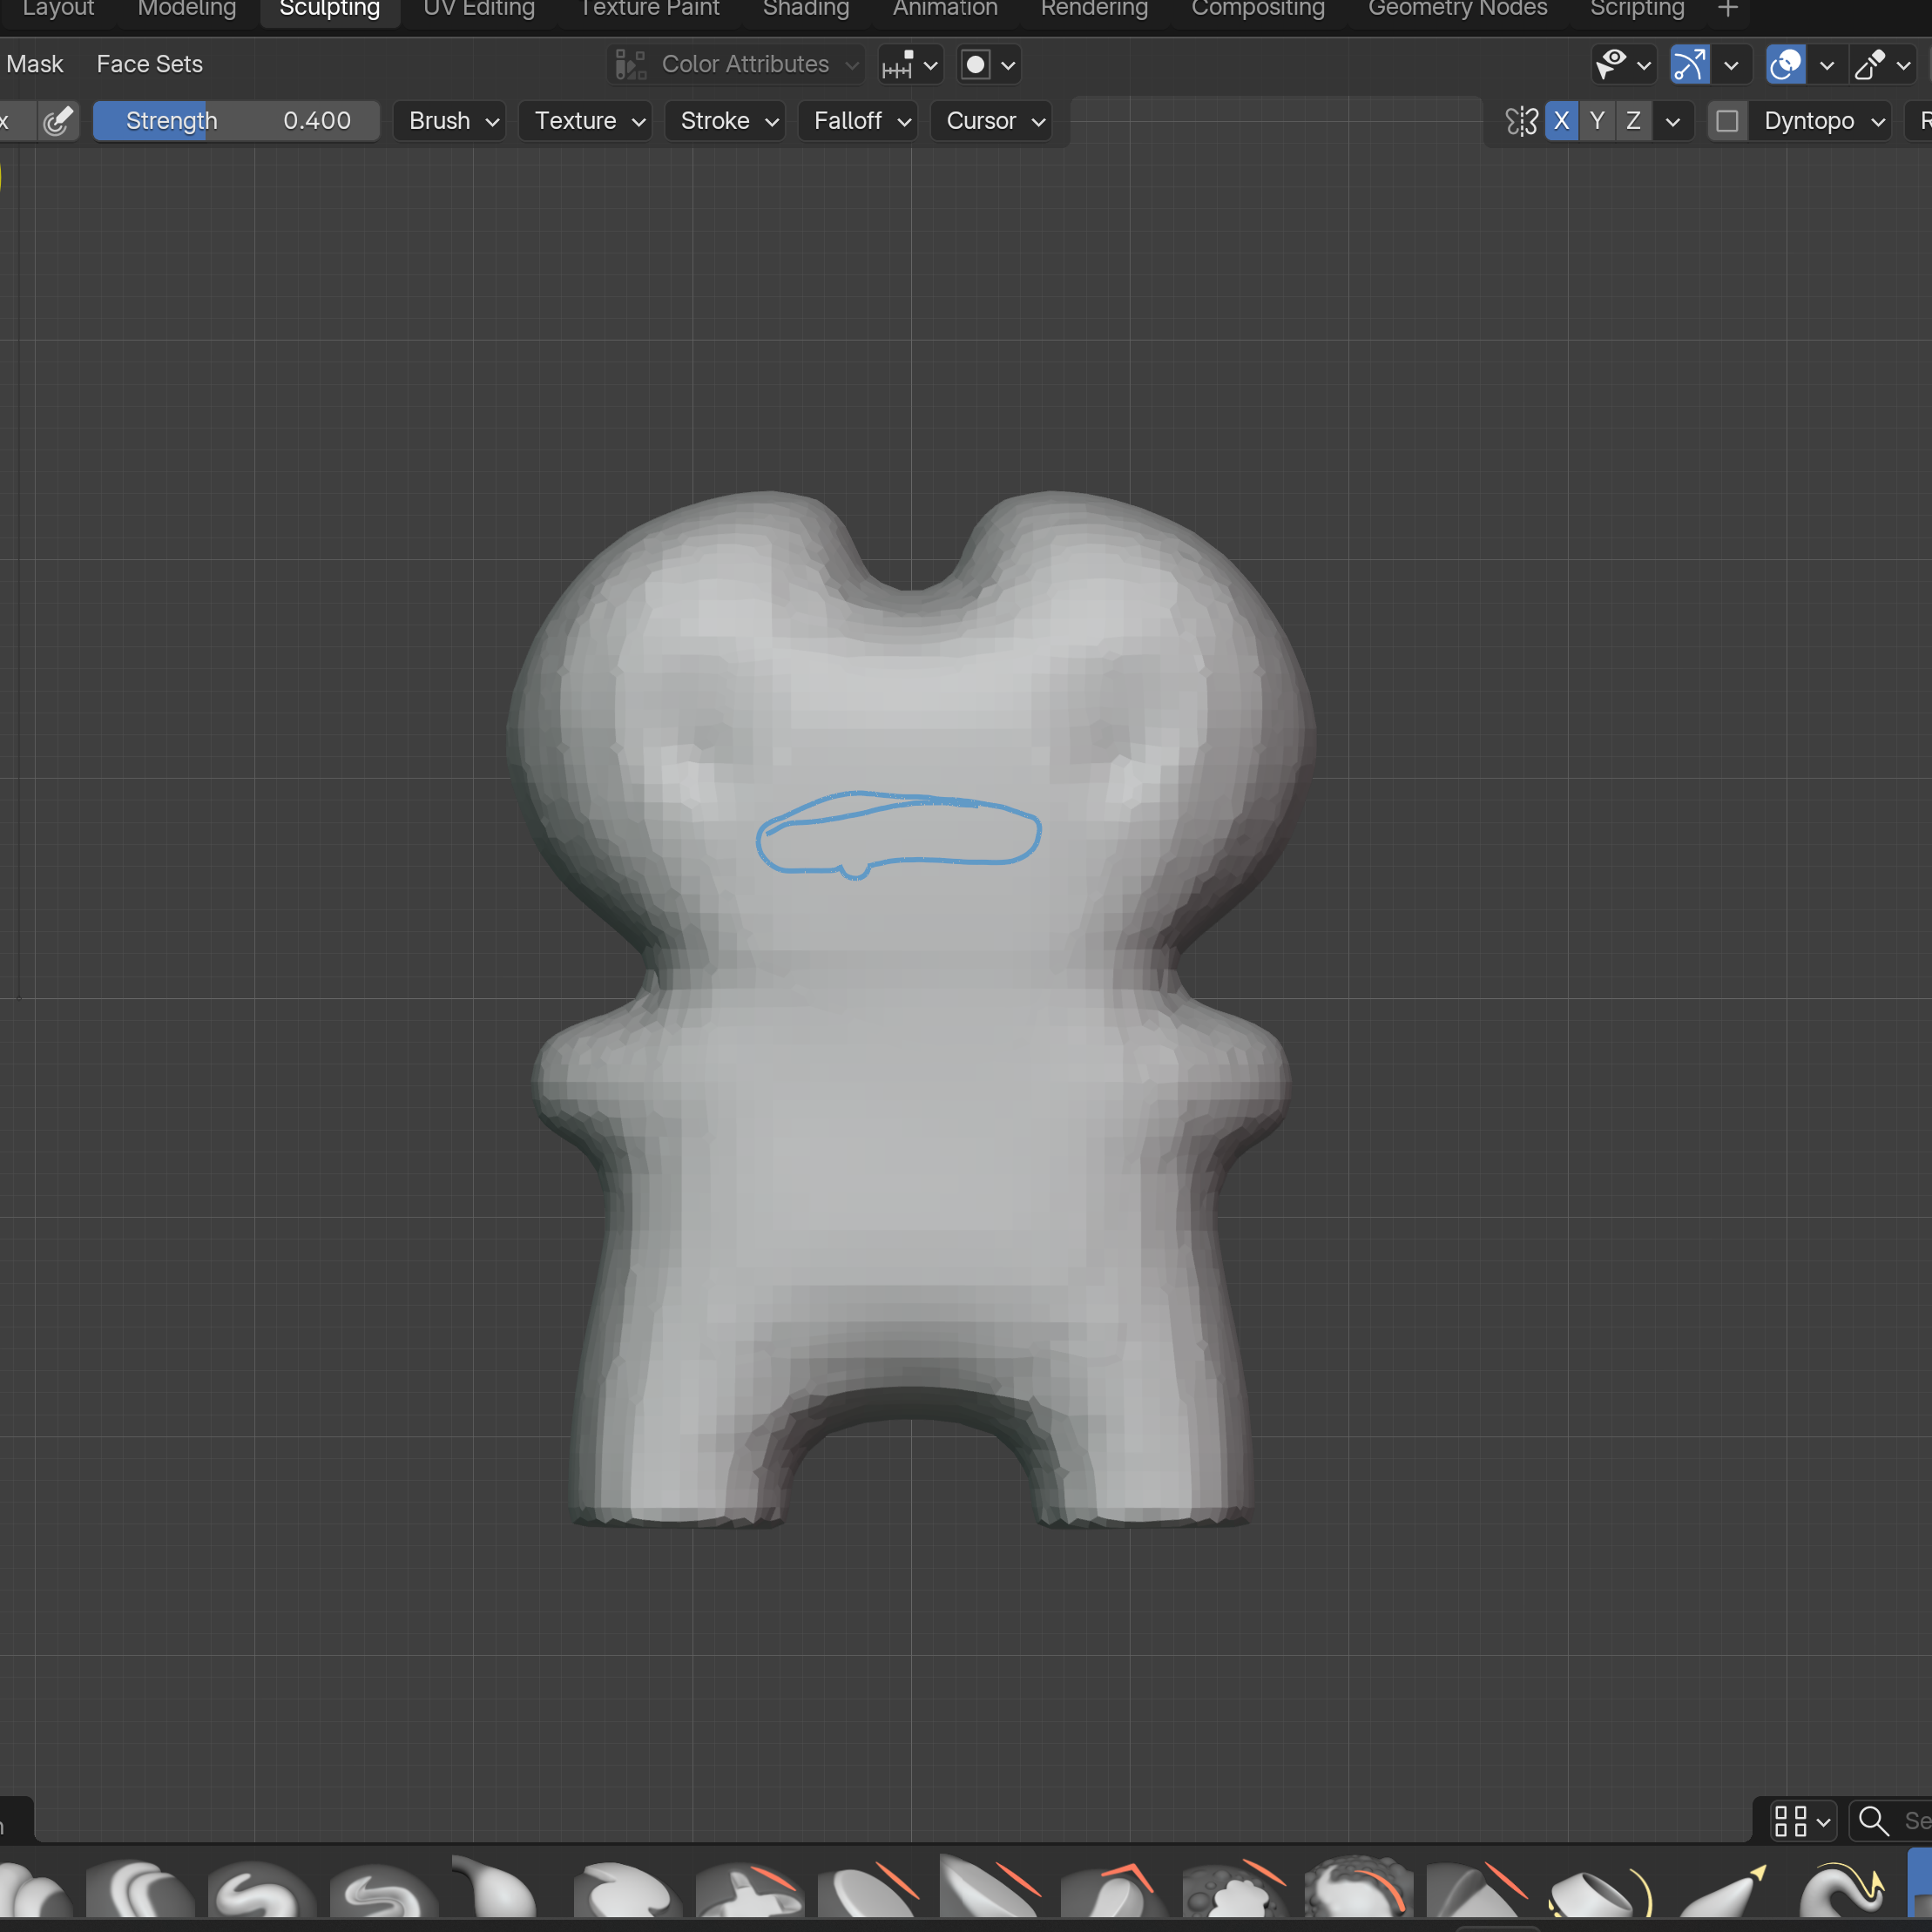
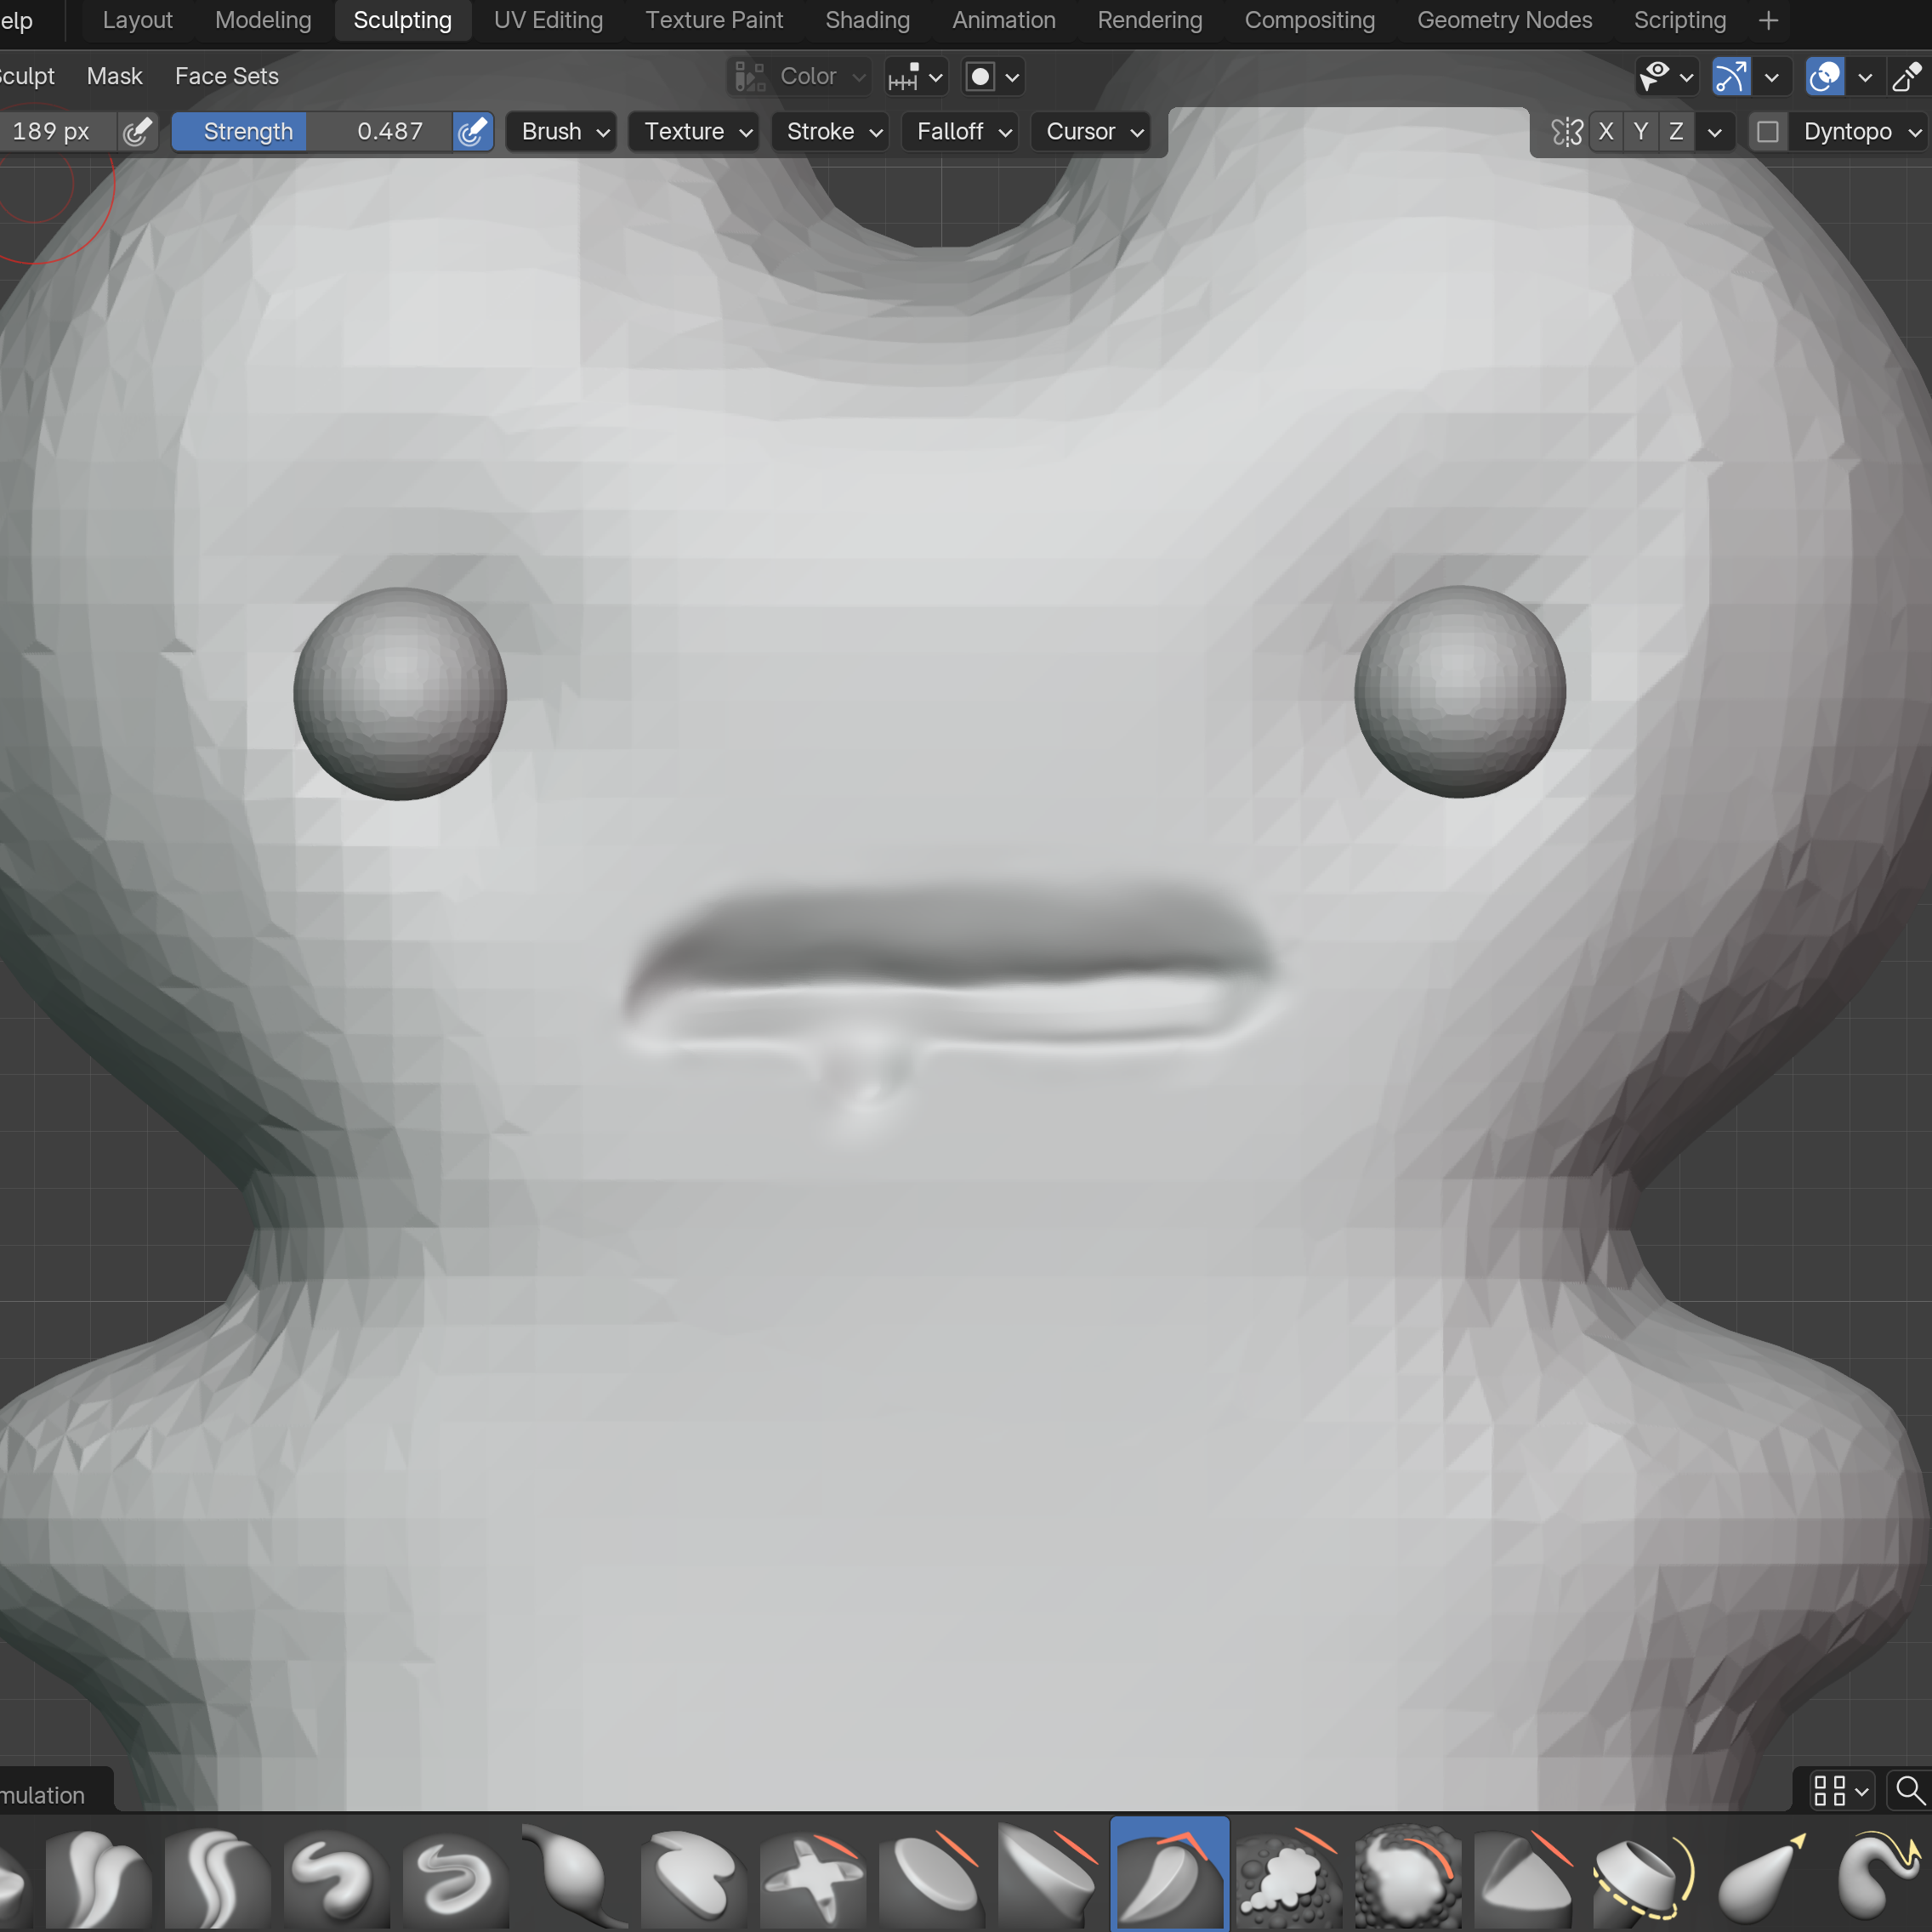
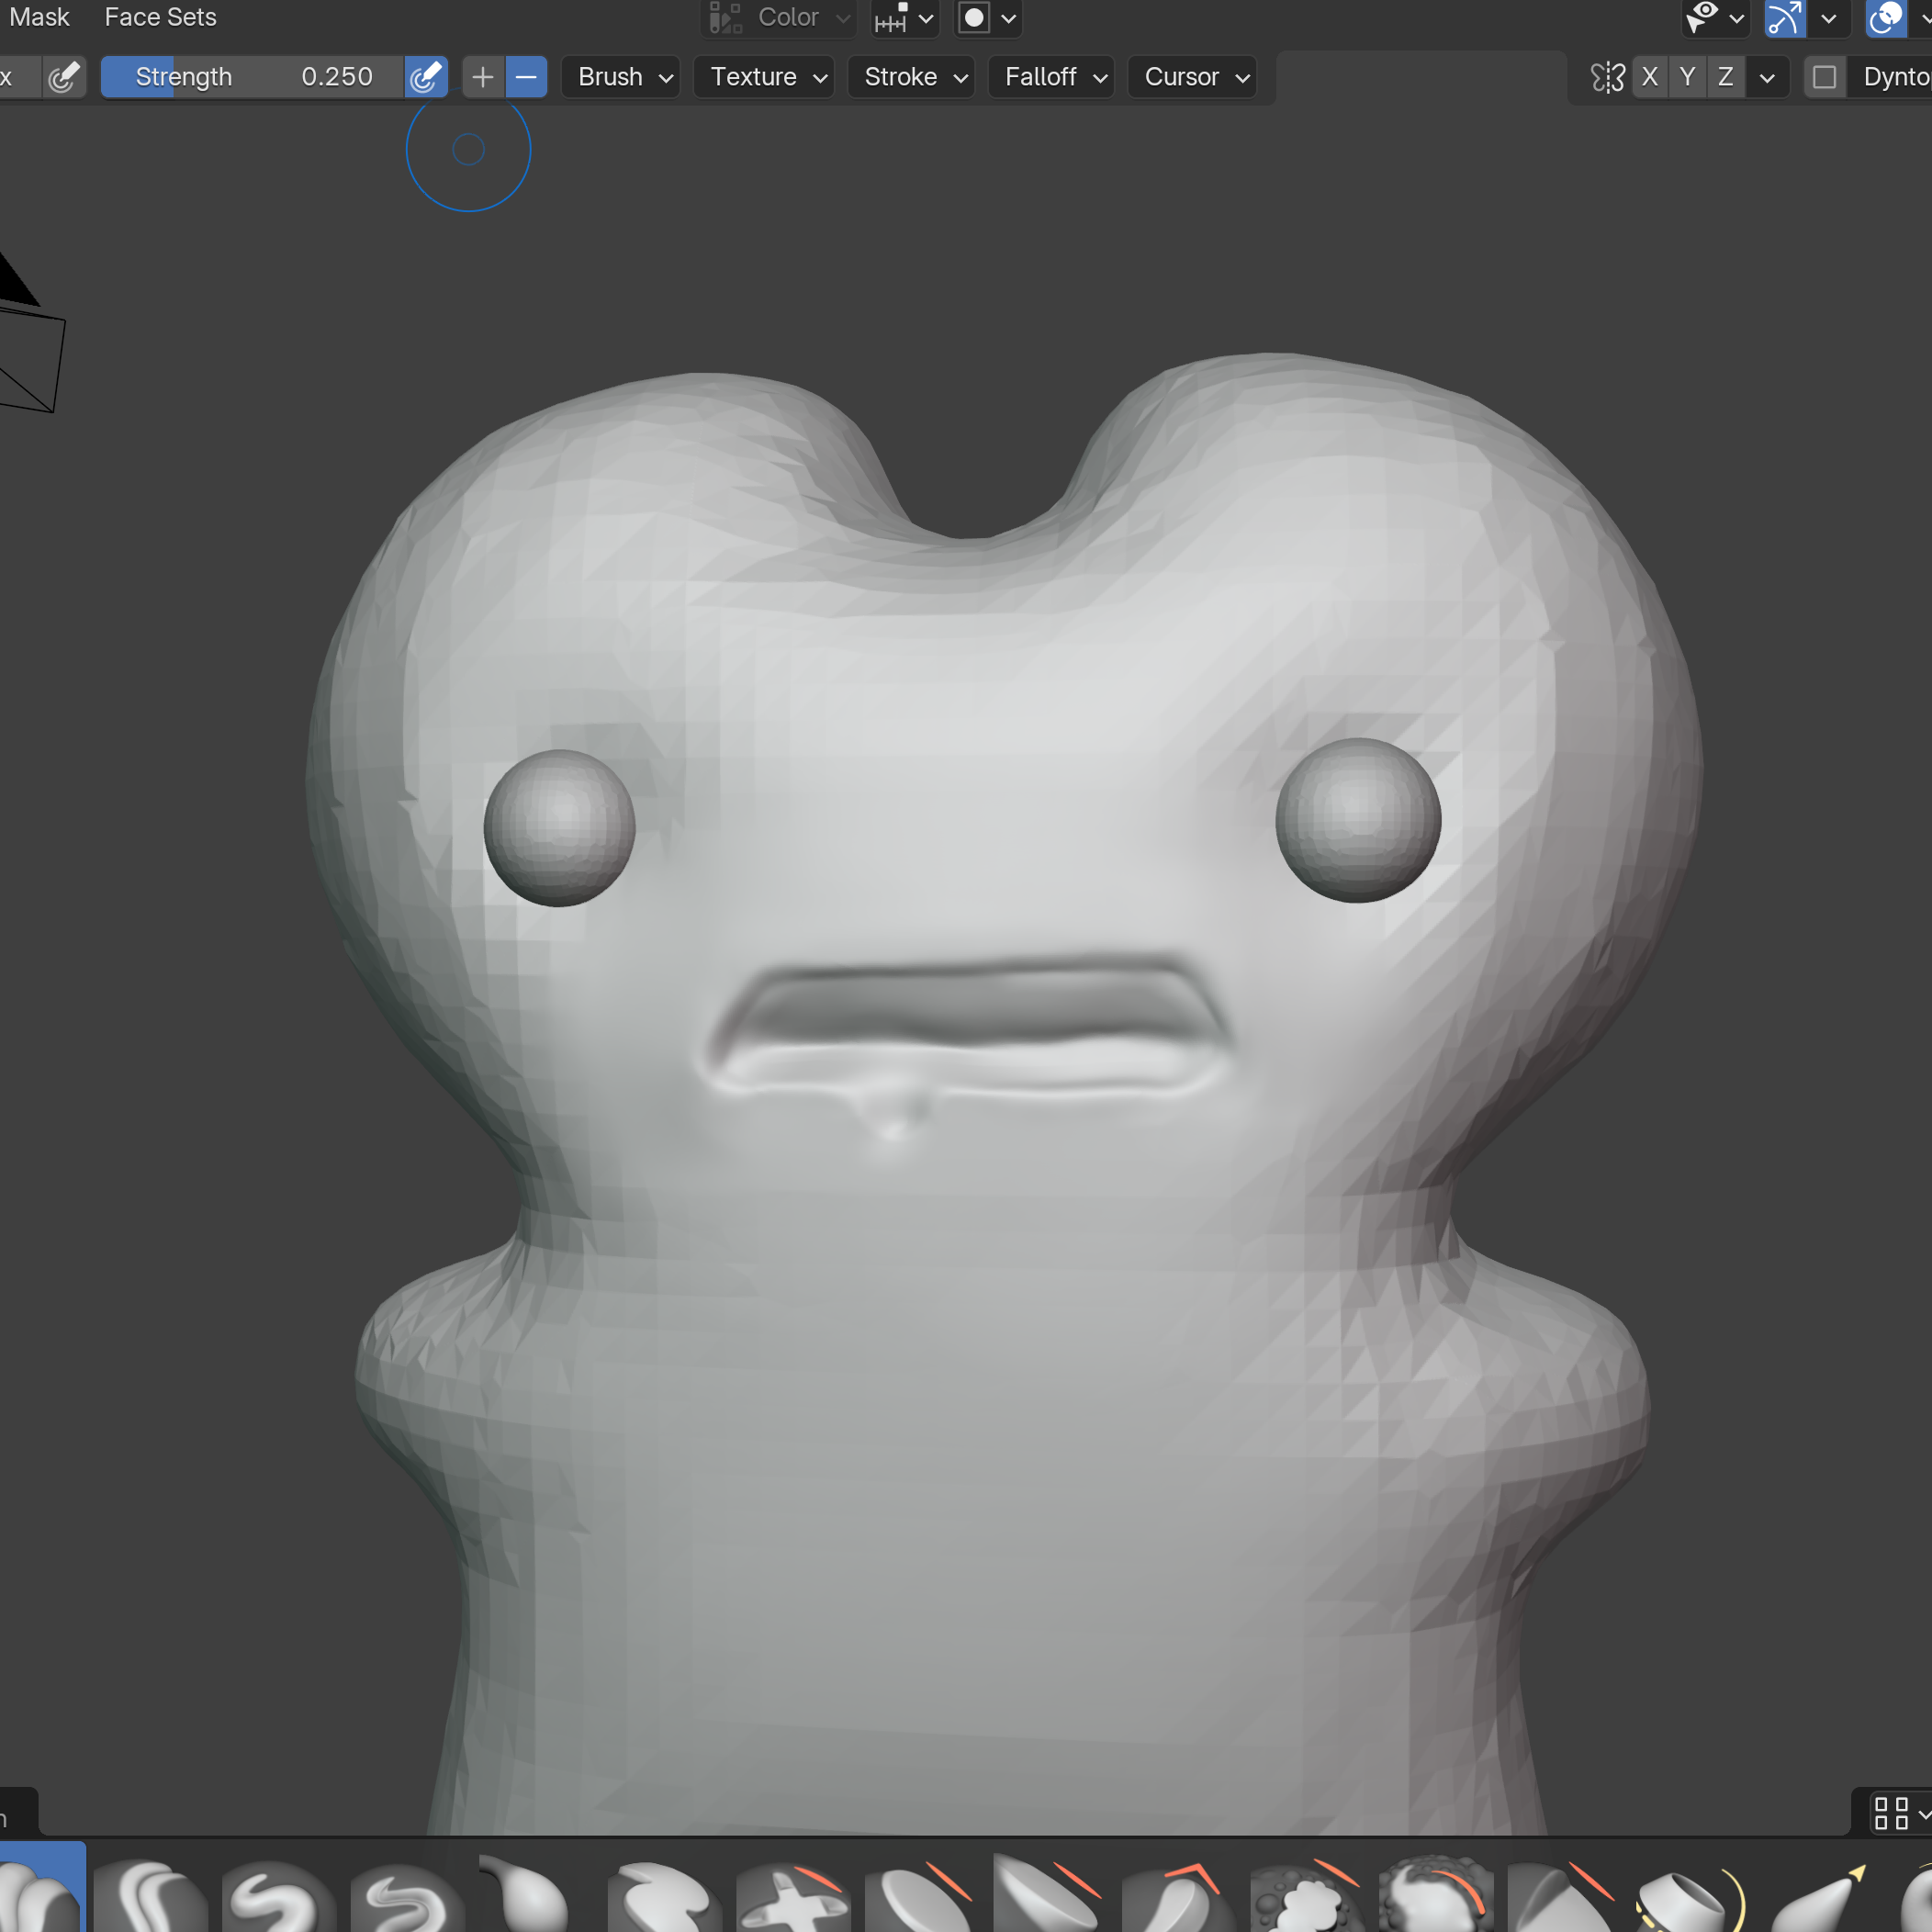
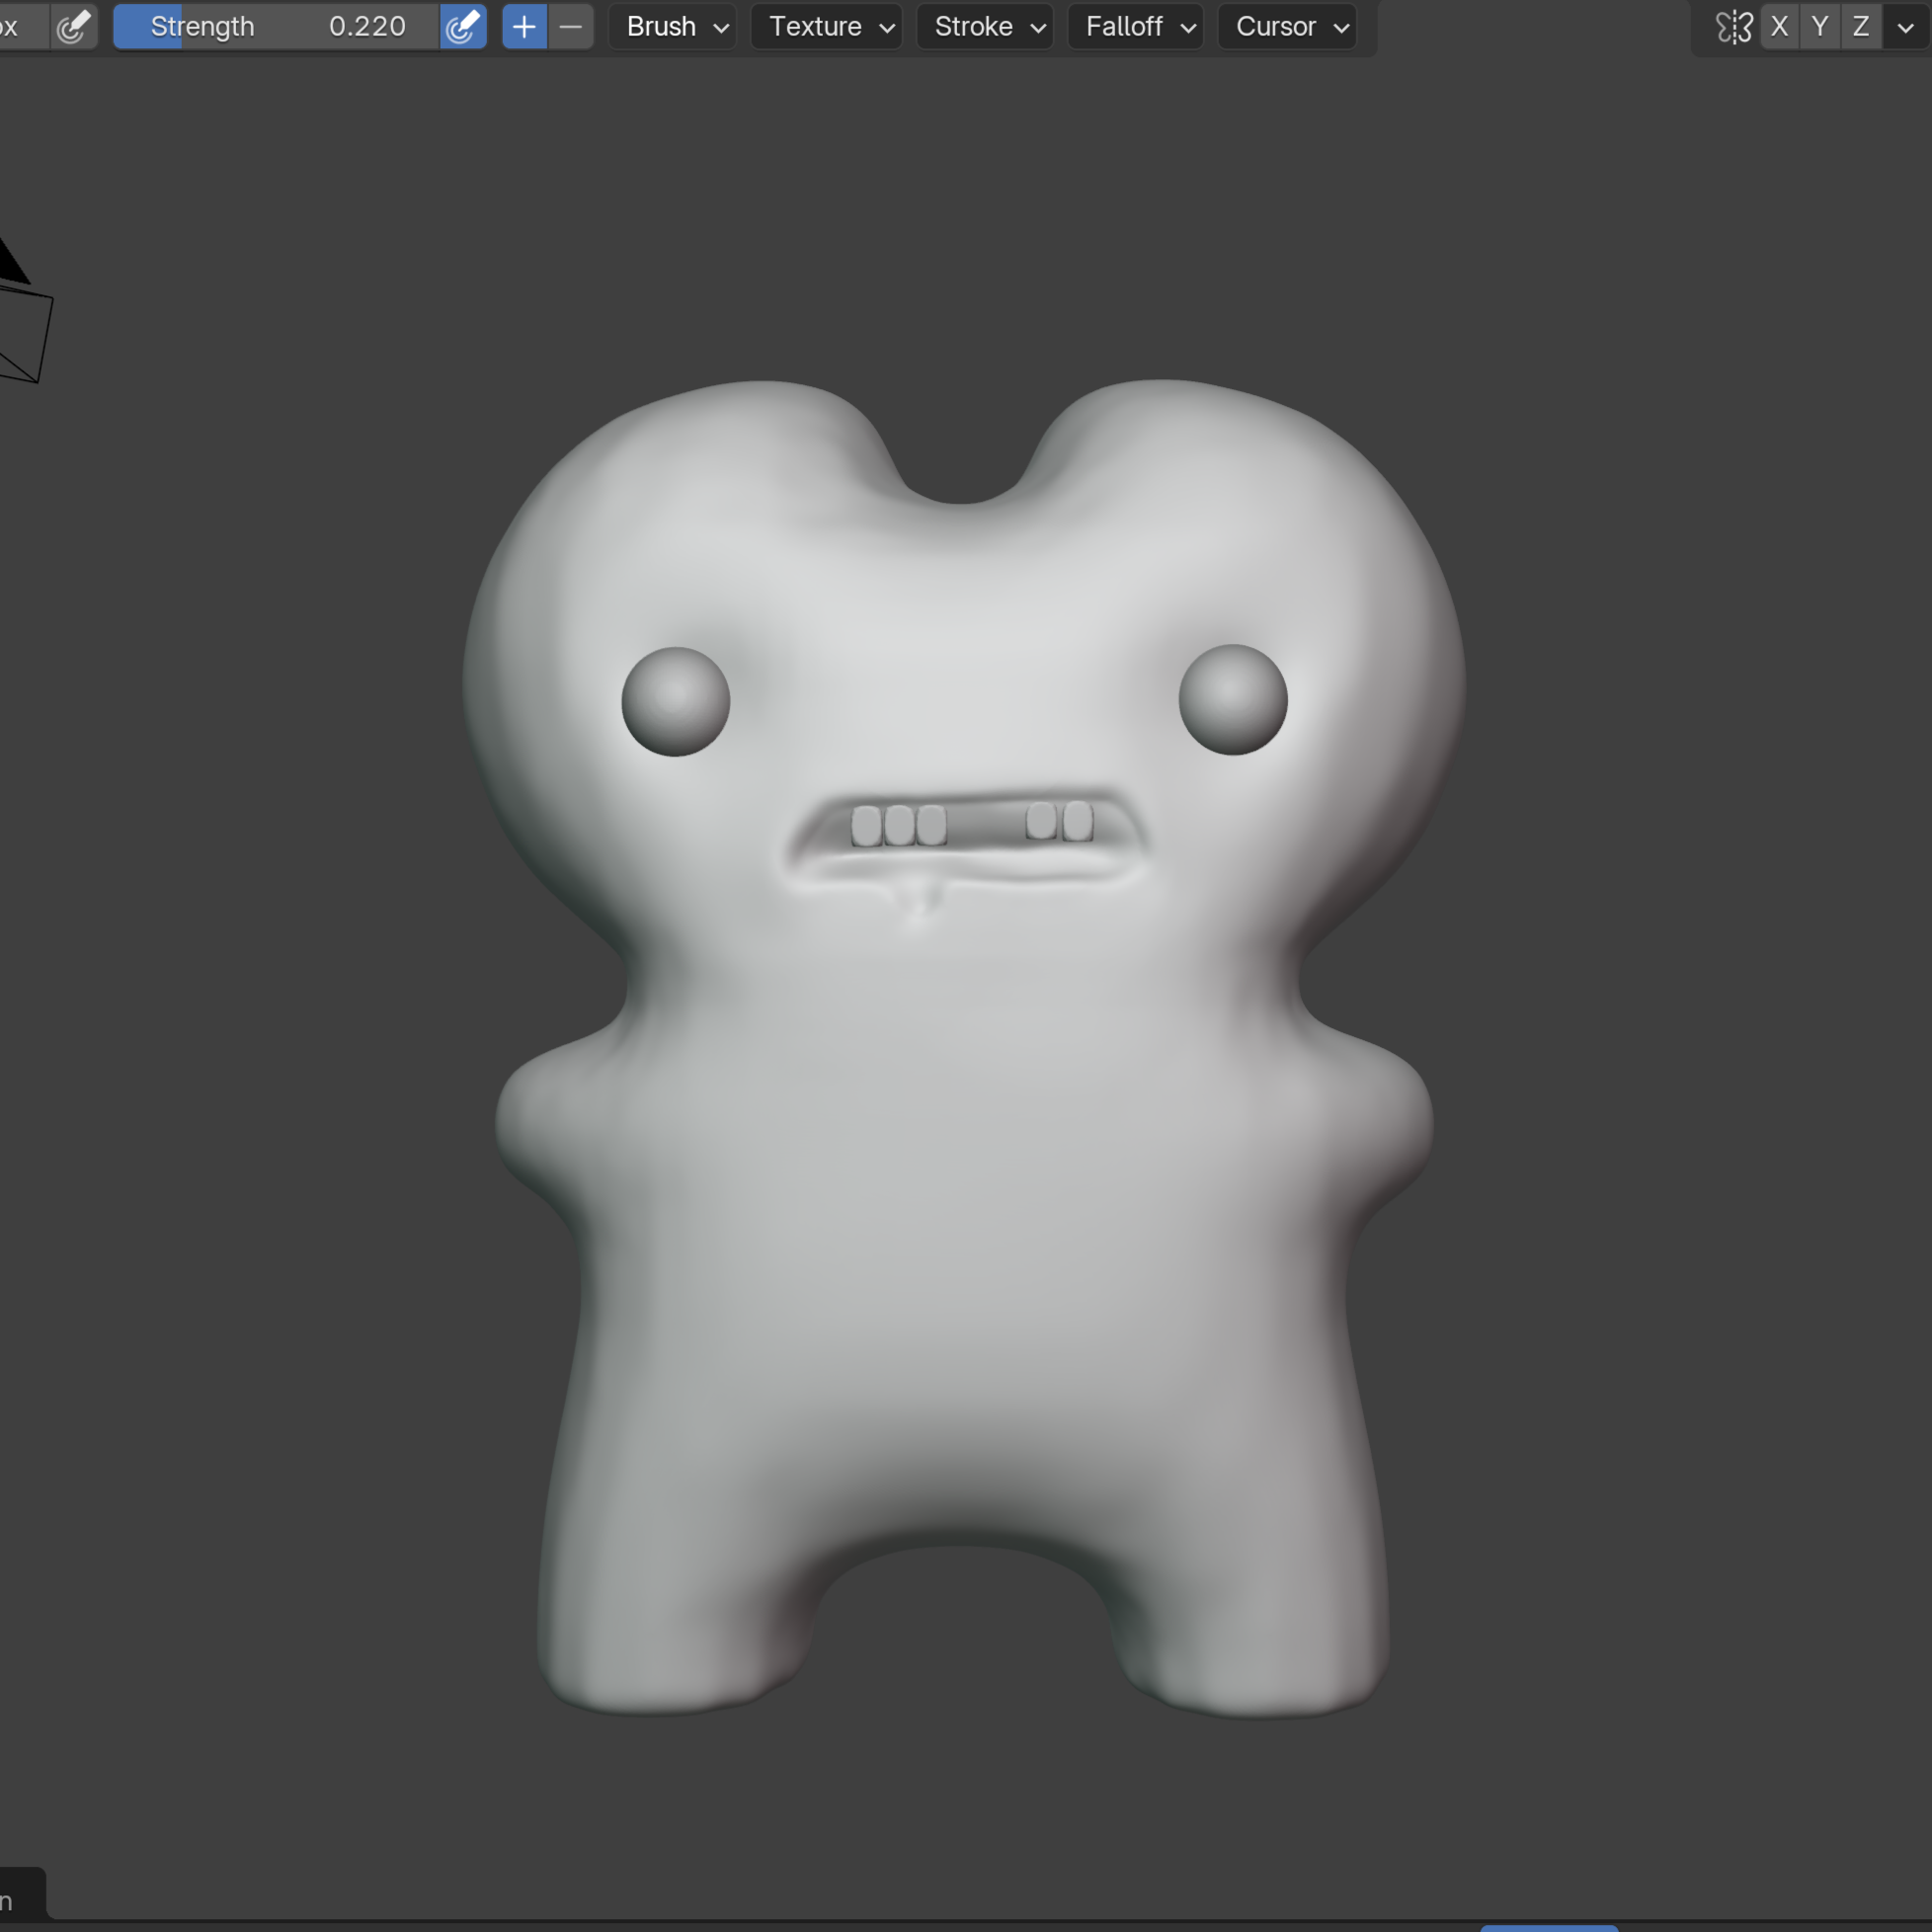
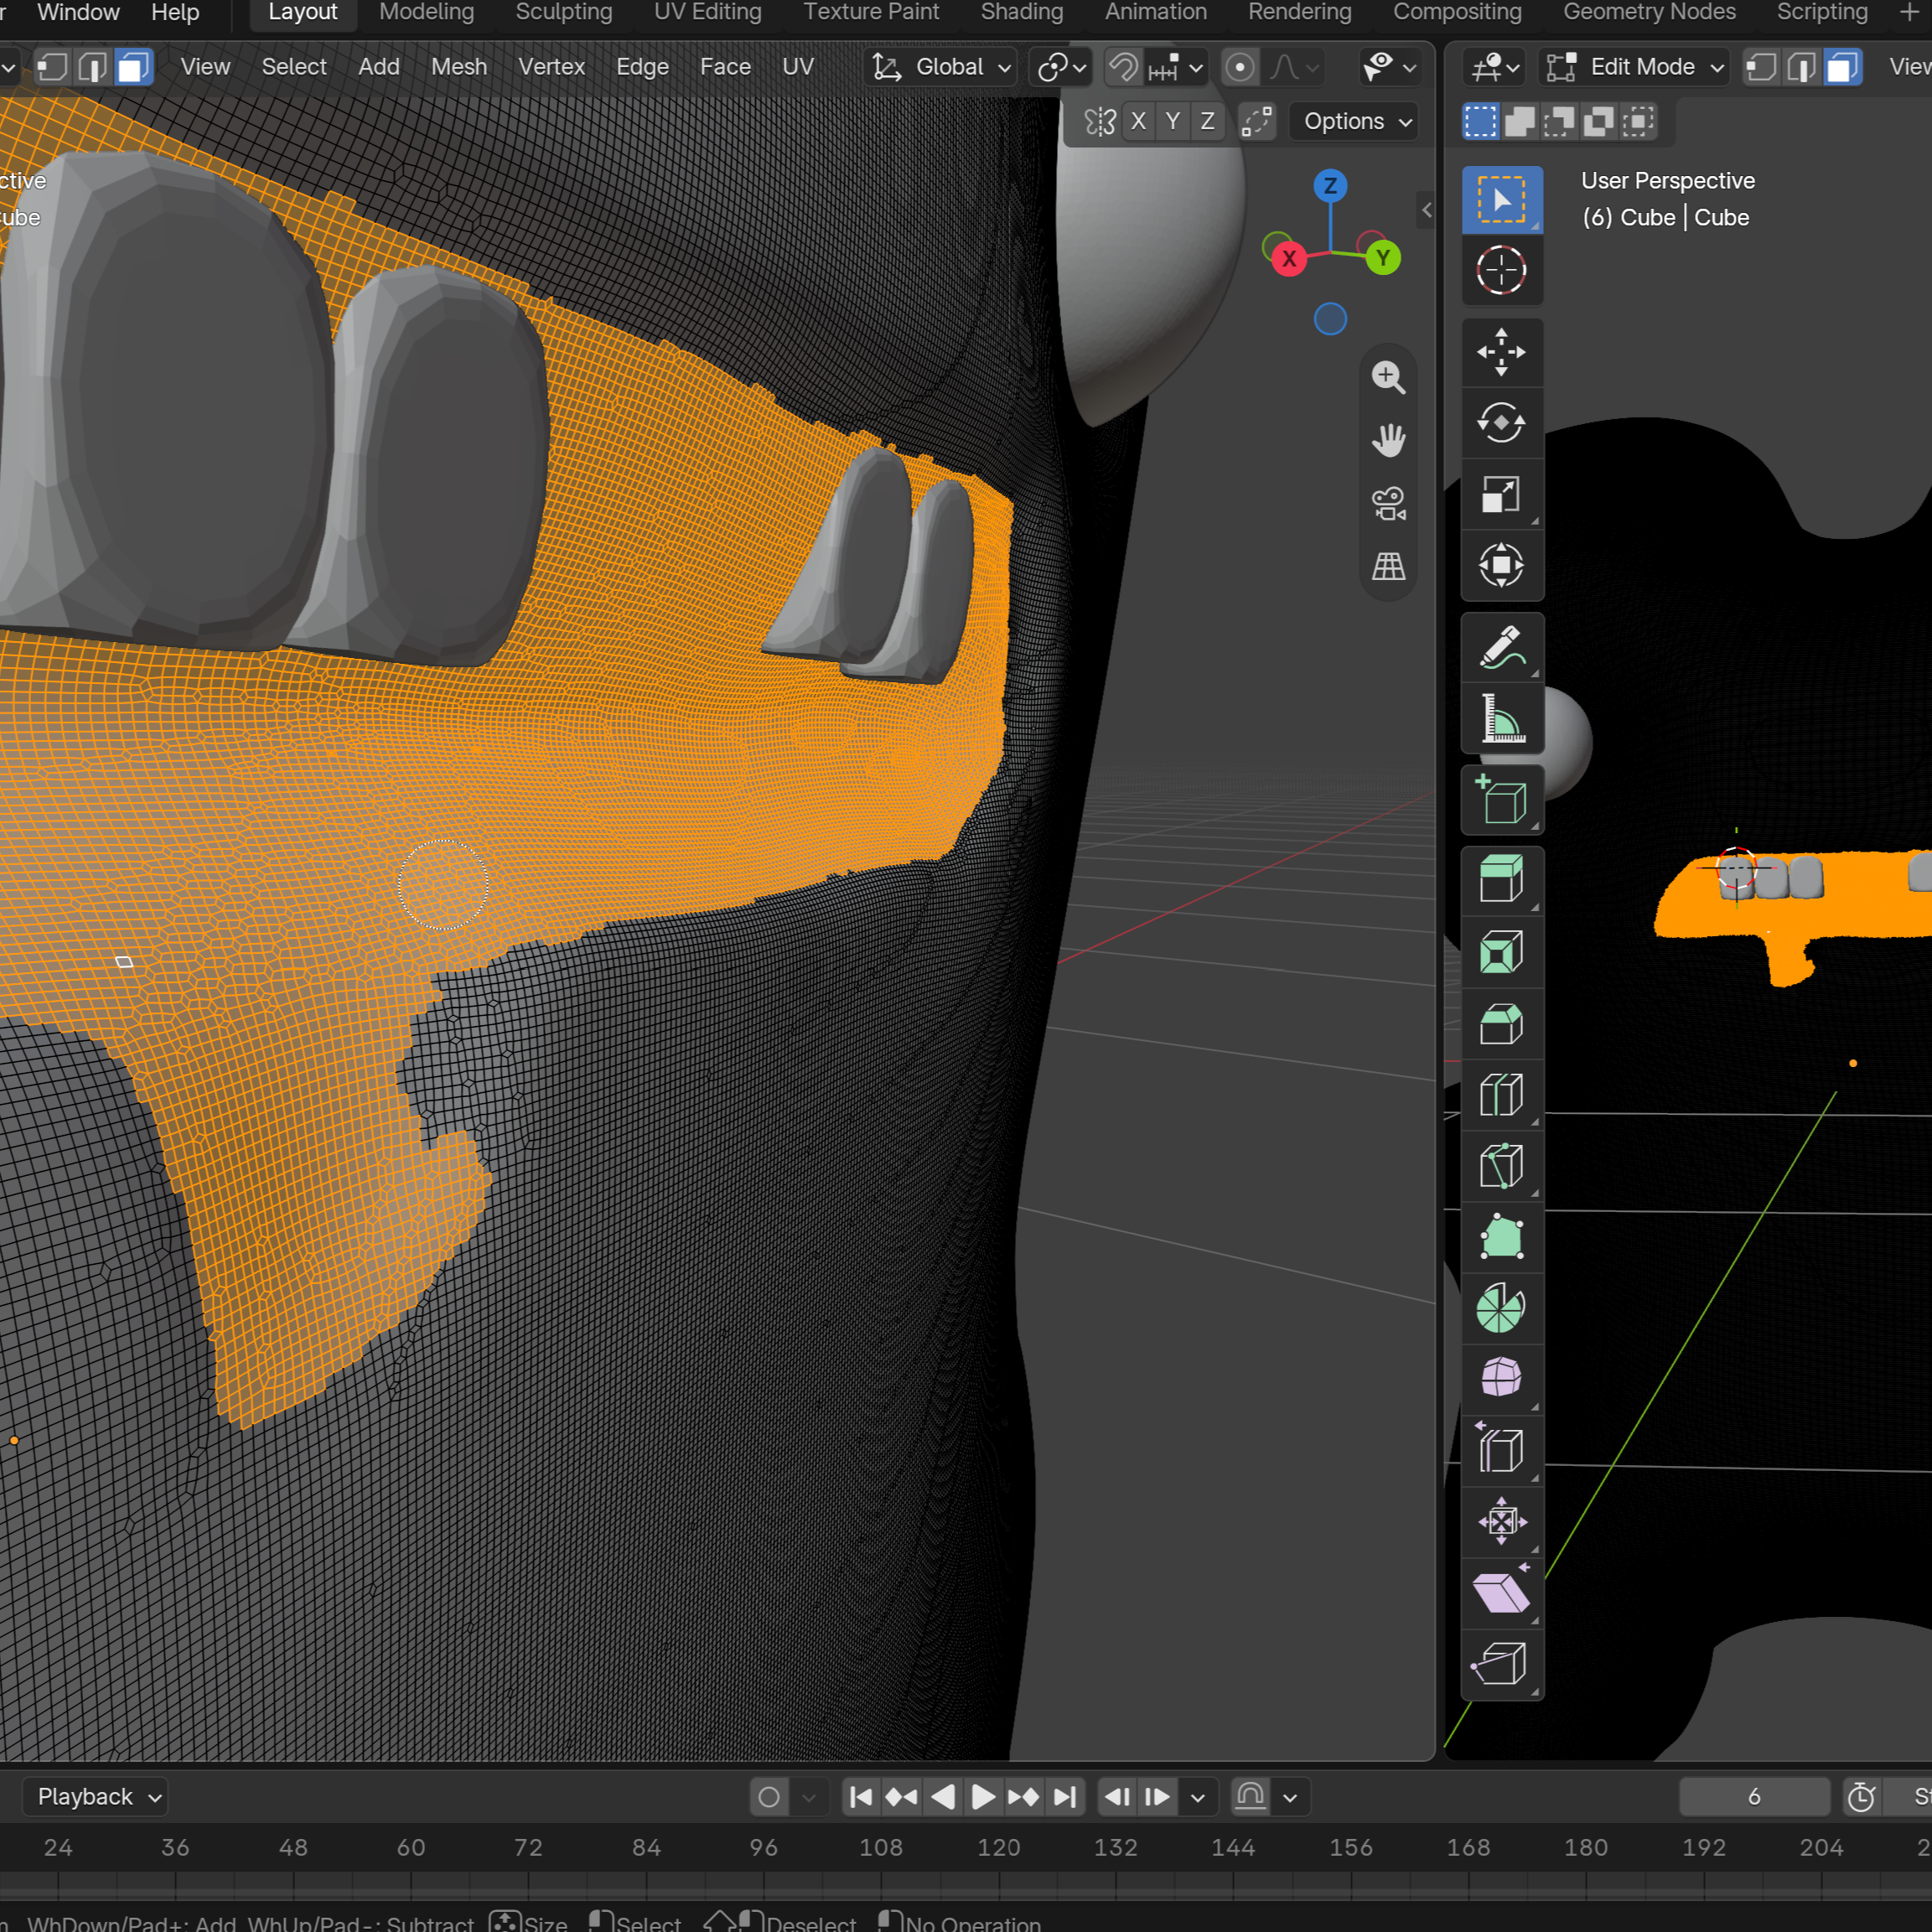
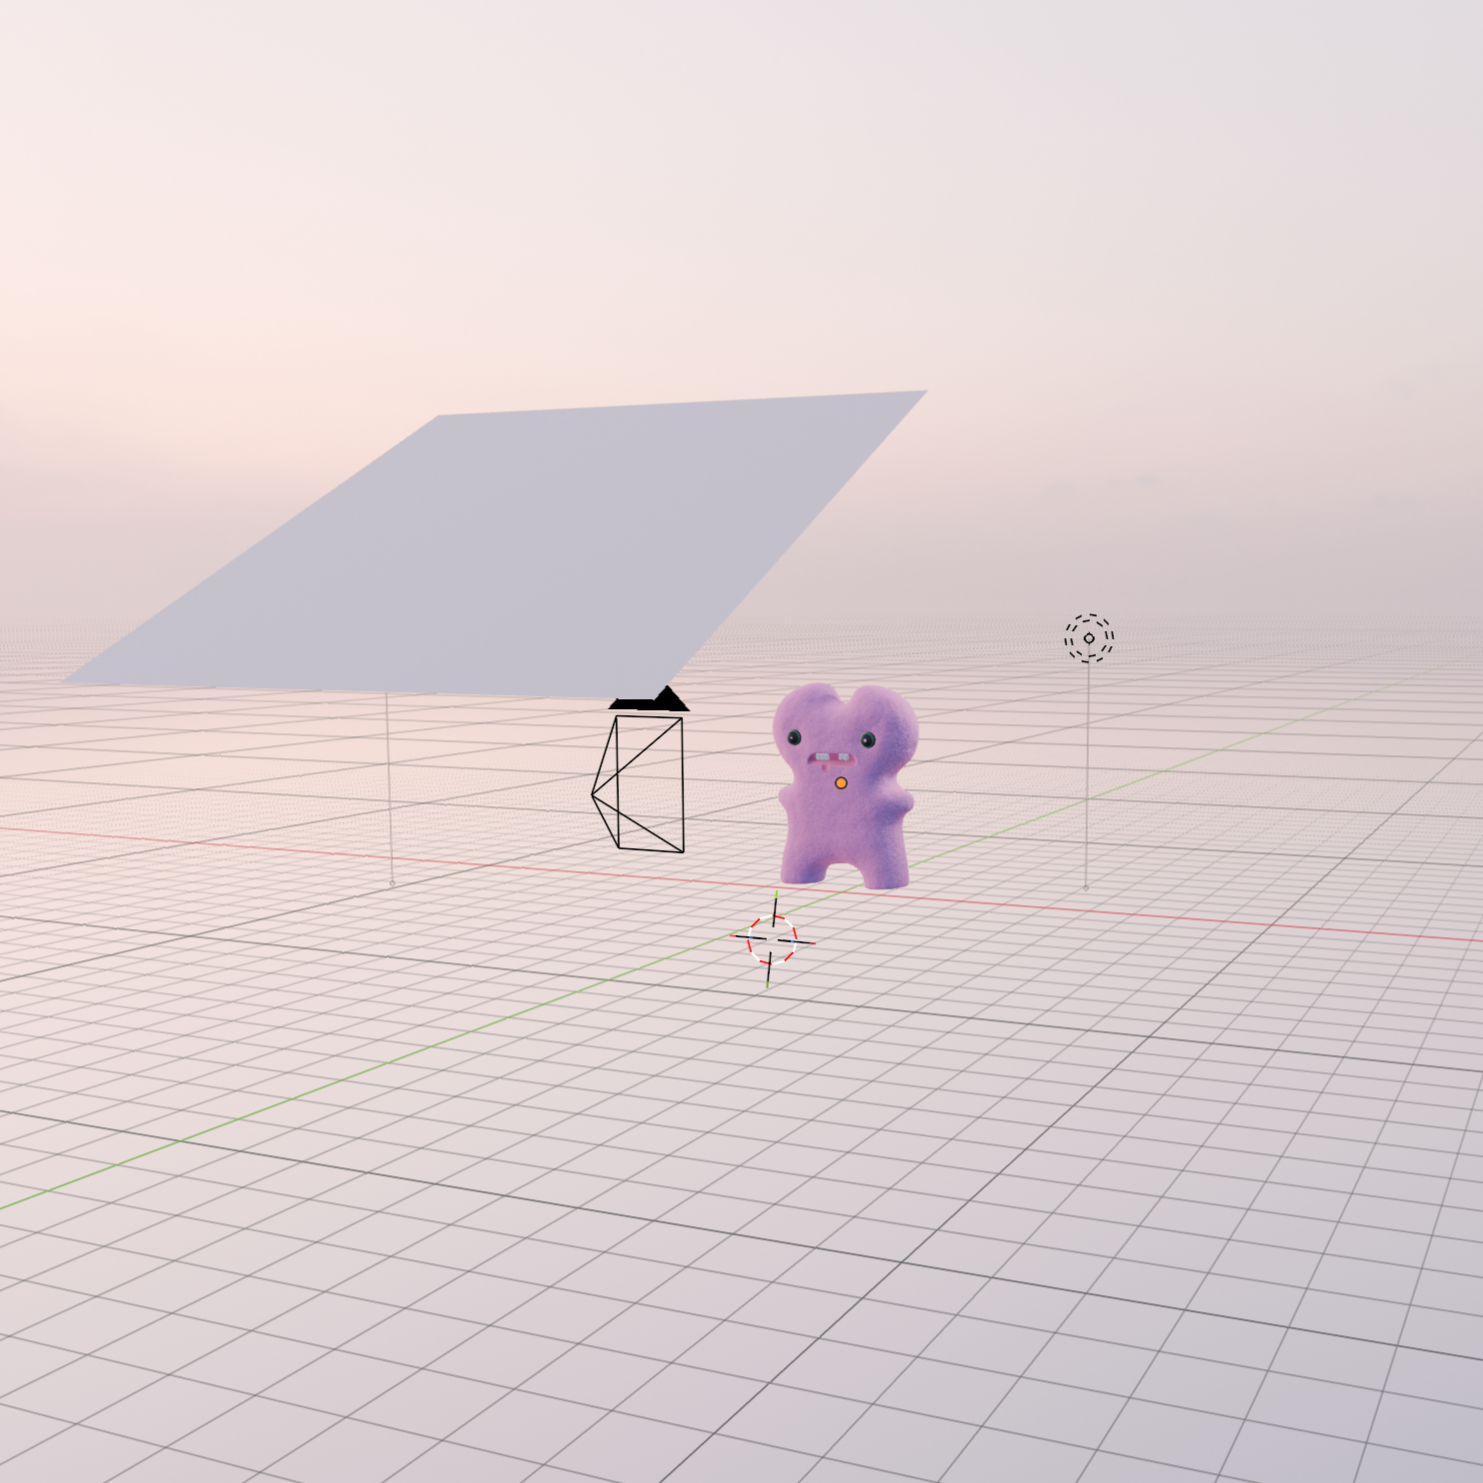
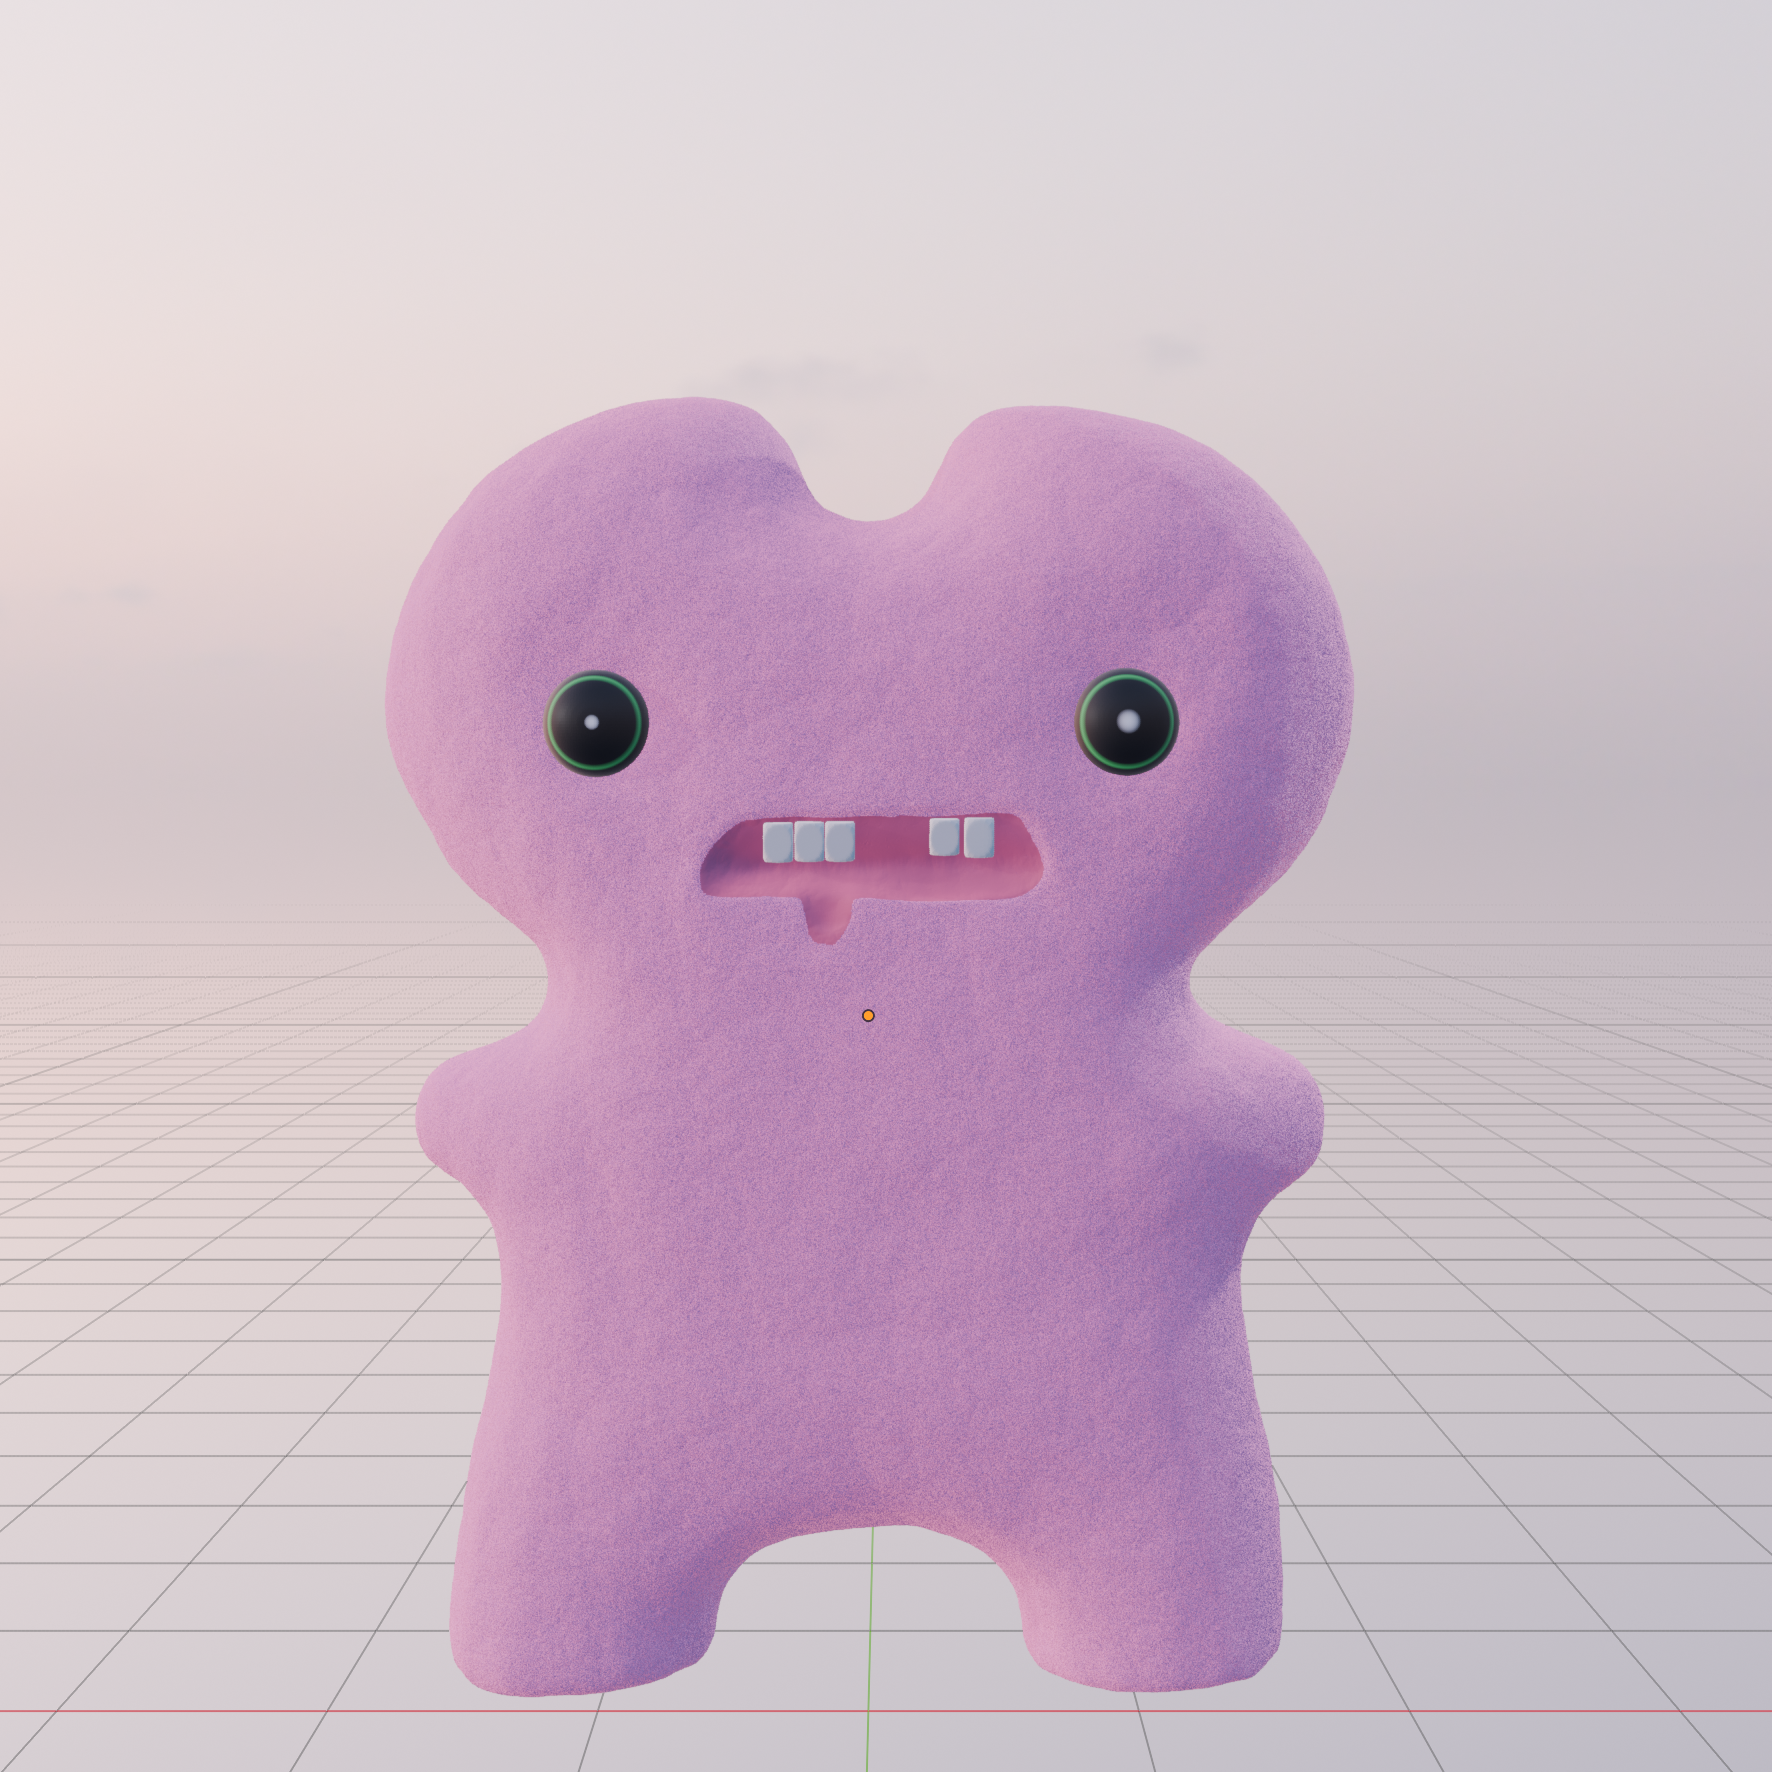
For the Design Challenge 2, I explored more on sculpting and texture. The rubber duck light was very challenging at first since there were a lot of things that I had to learn about Blender scultping that I didnt know such as tools and how to operate them properly. By pushing through these issues I learned how to apply my knowledge to the next object I was creating. With the Fuggler collectible I knew how to better use what I learned from my last object to create the double lobed head and mouth opening as well as using vertex groups to create the bumpy feel of felt, the poly faces on the object is also way lower now. I also learned abit more about lighting and how to use it to enhance the overall look of the model.
Material Workshop 1
Material Workshop 2
Project 1
Project 1 Models
Published 3D Model 1
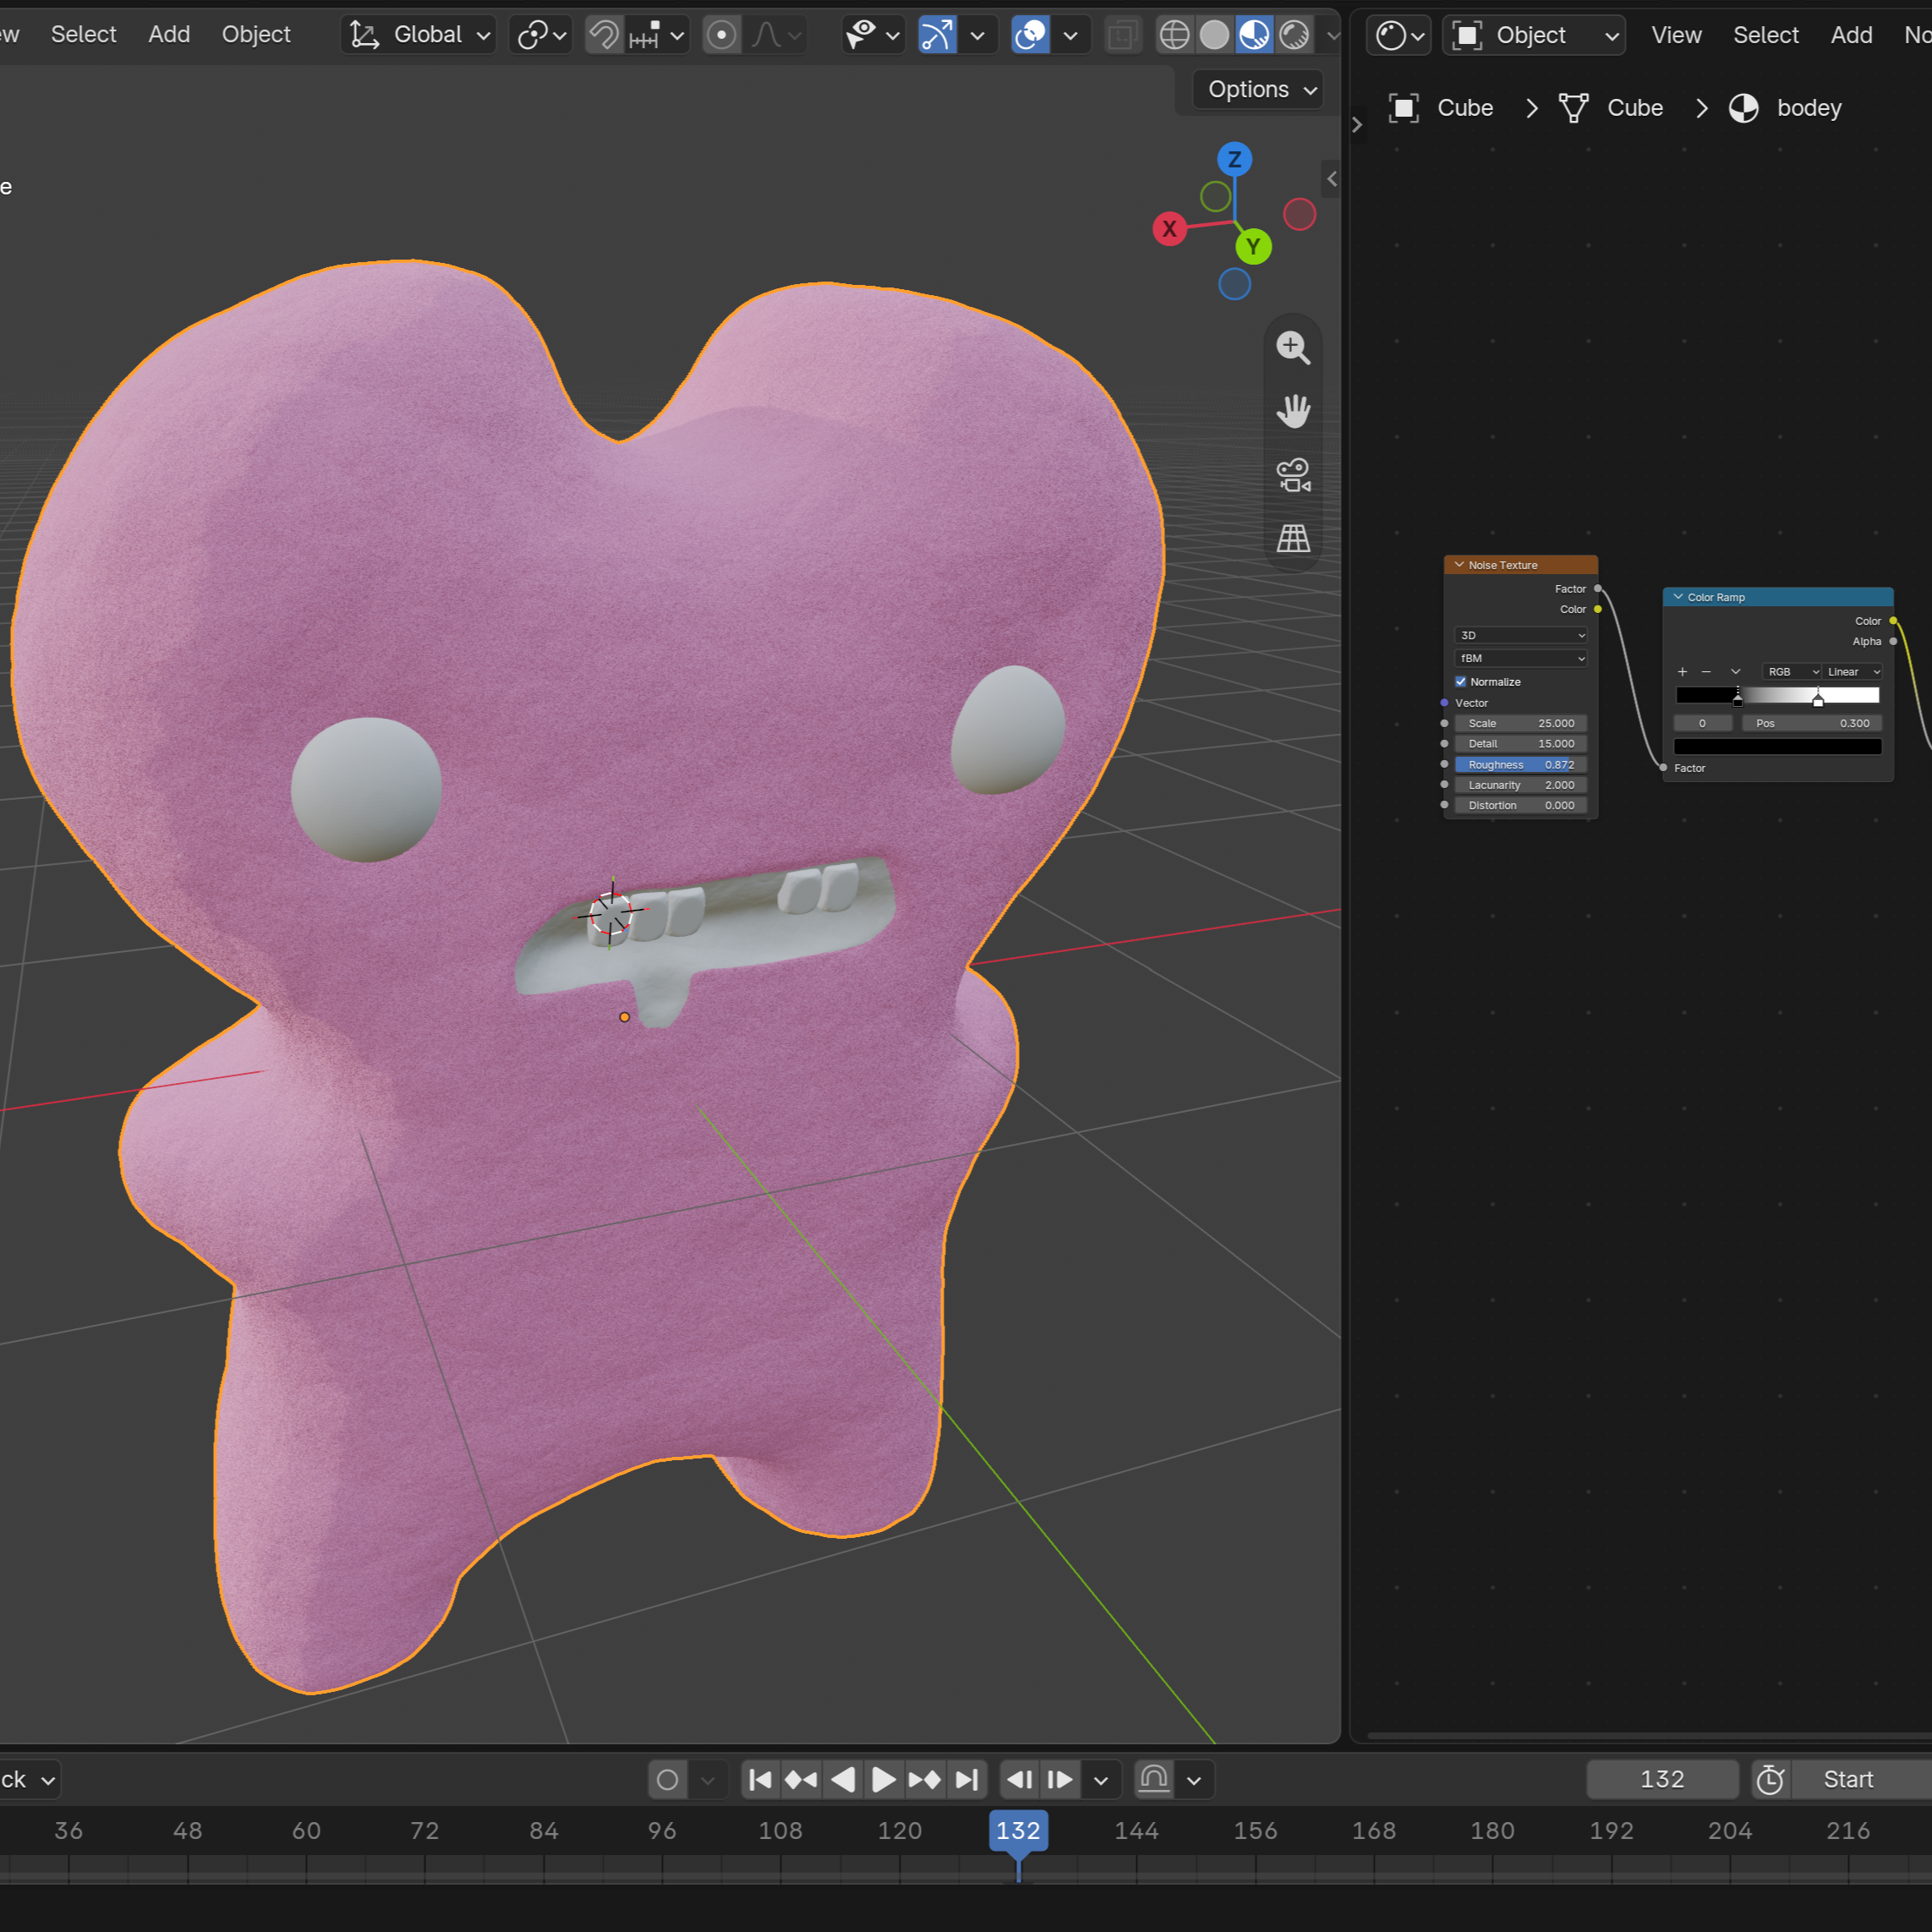
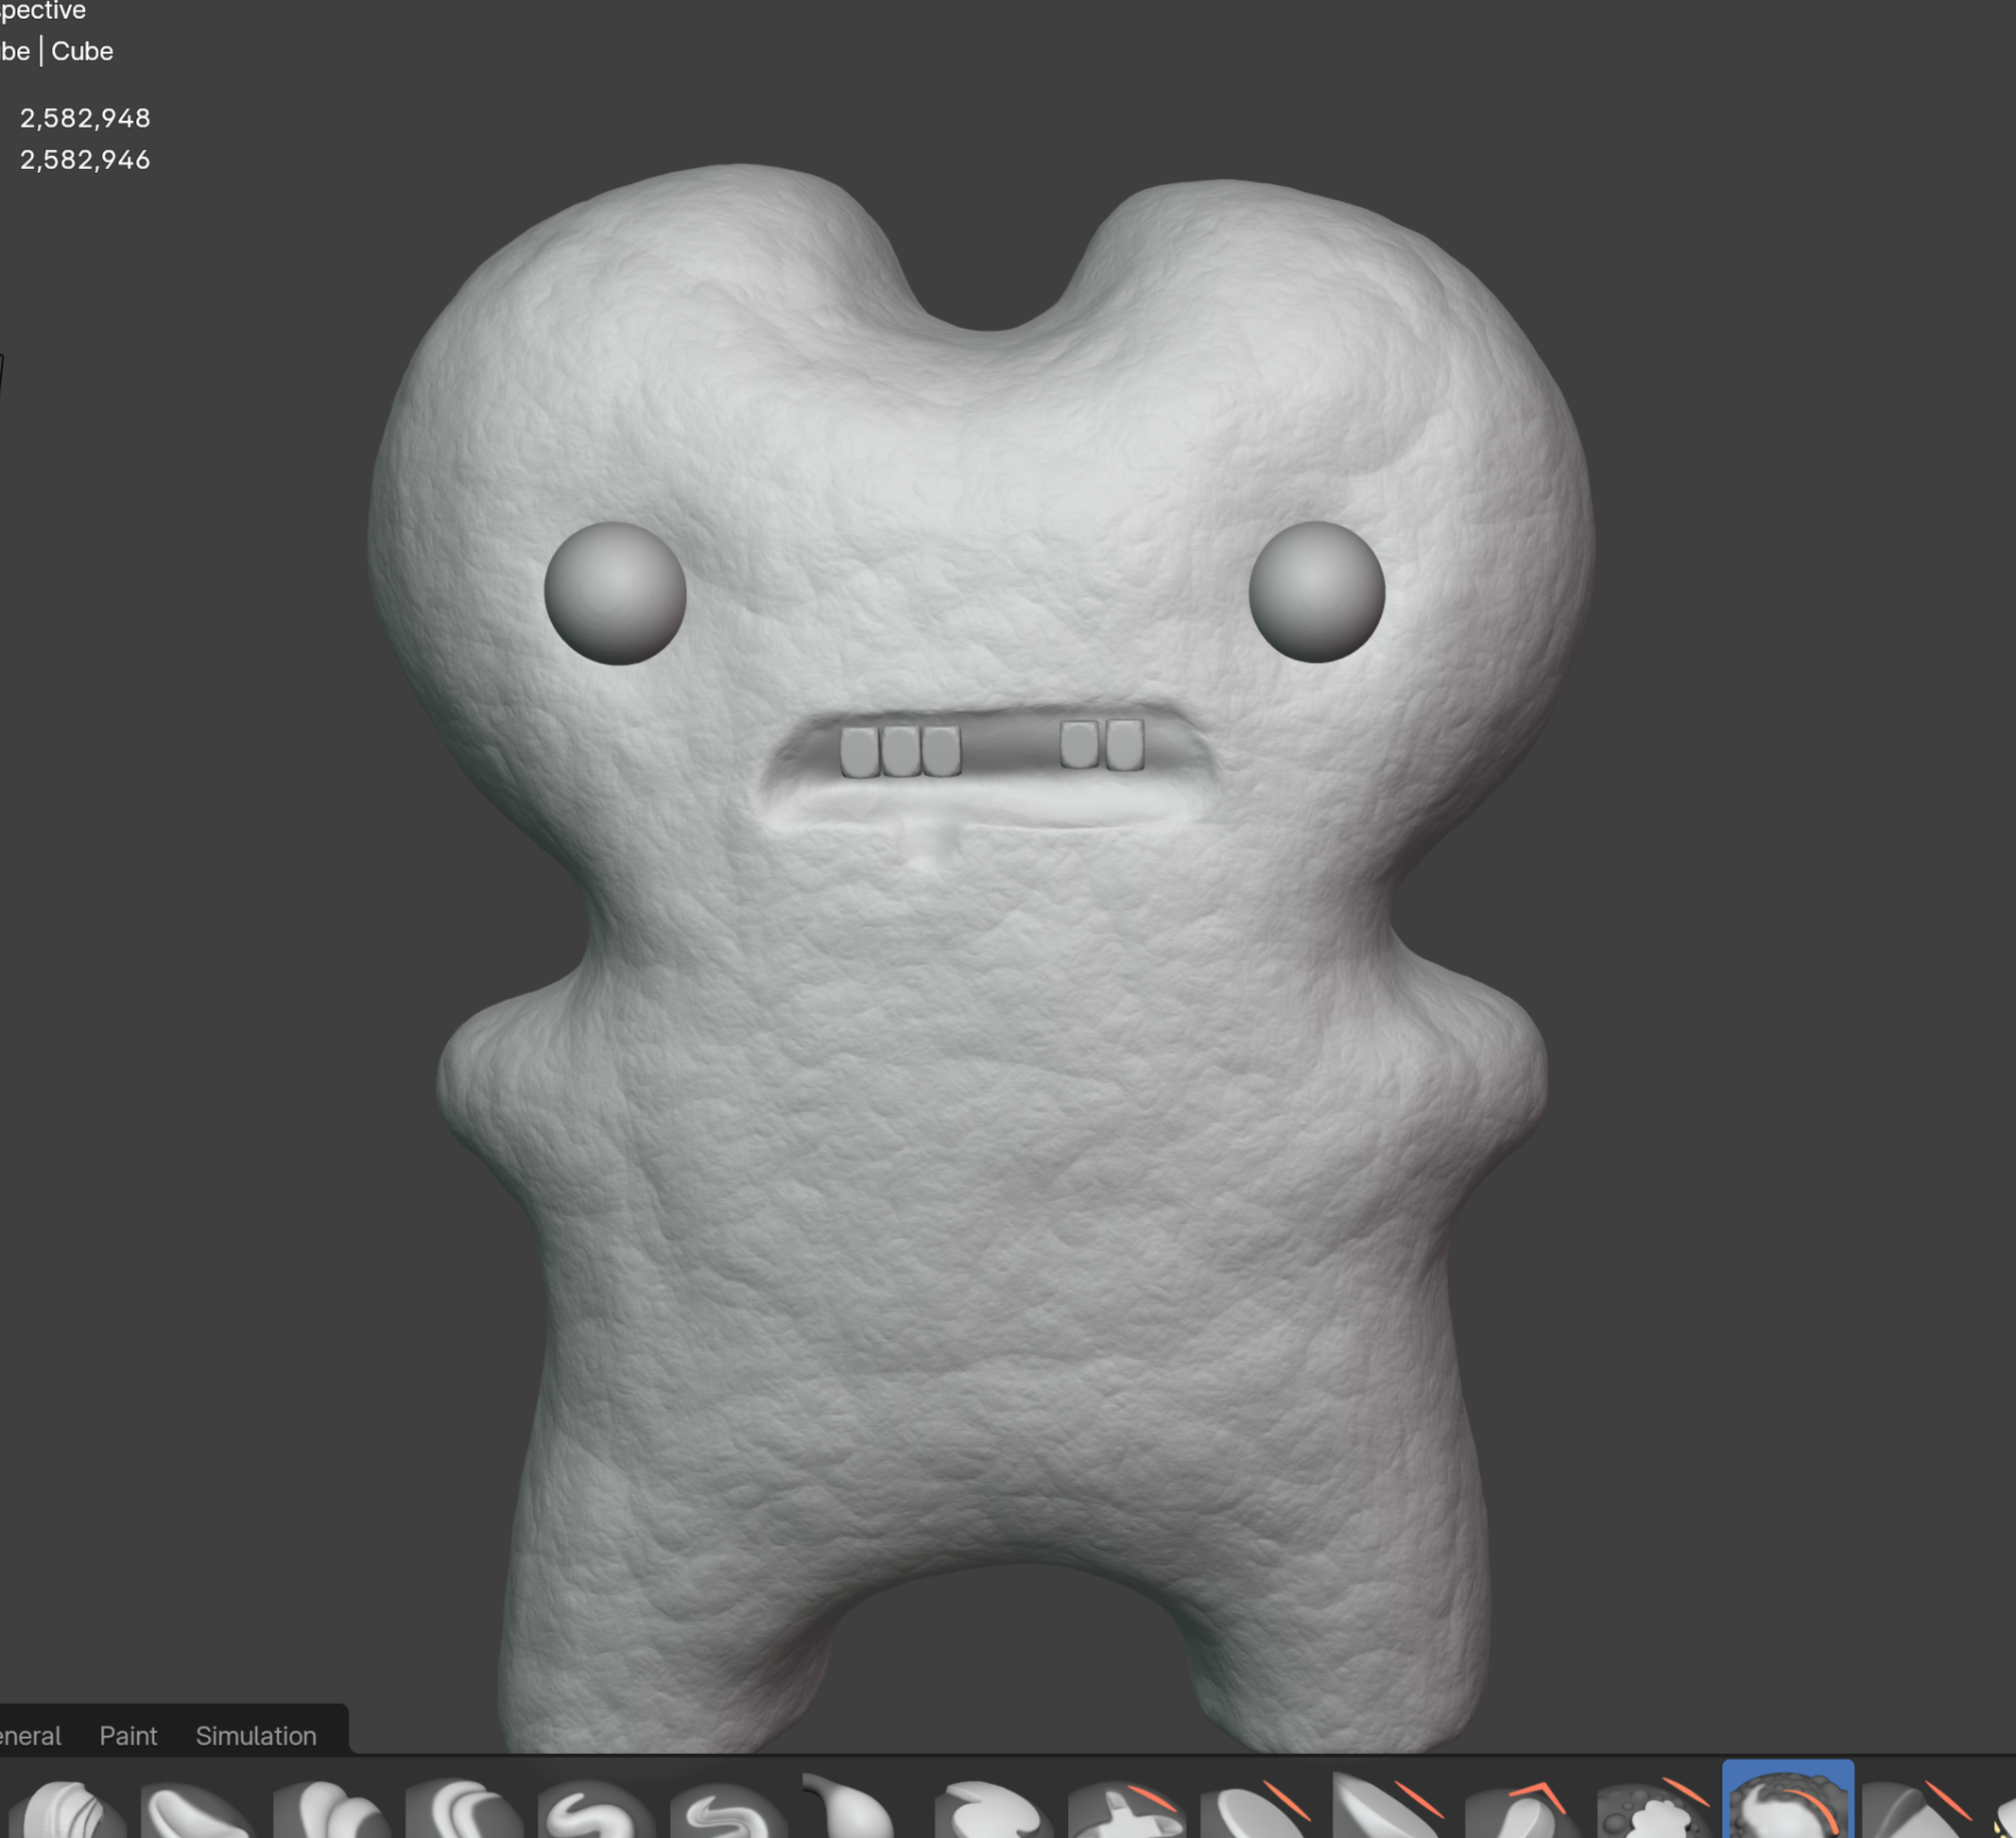
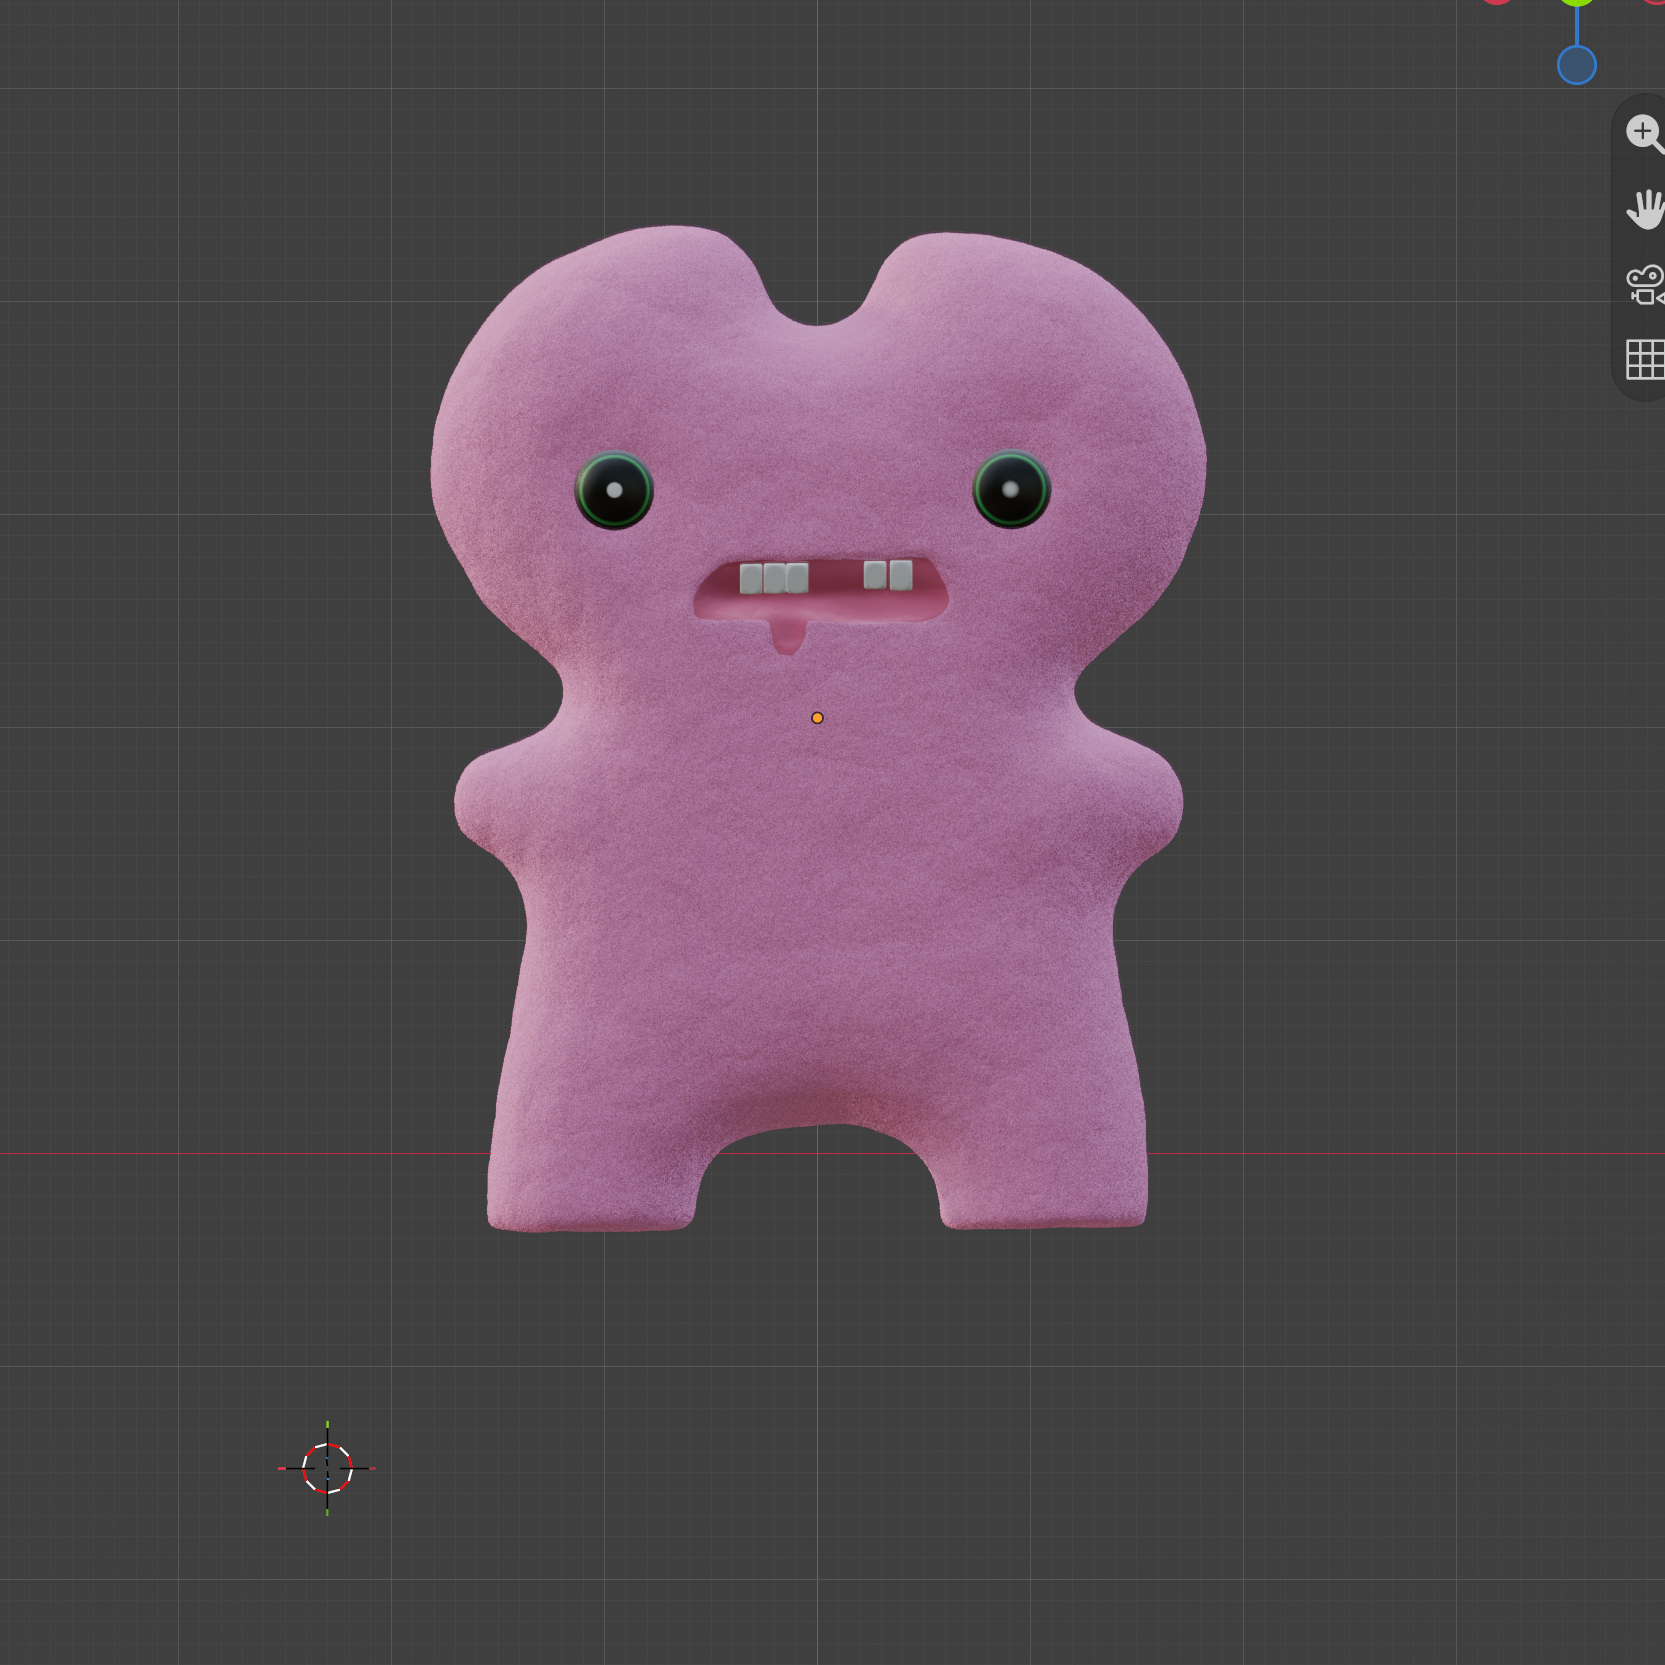
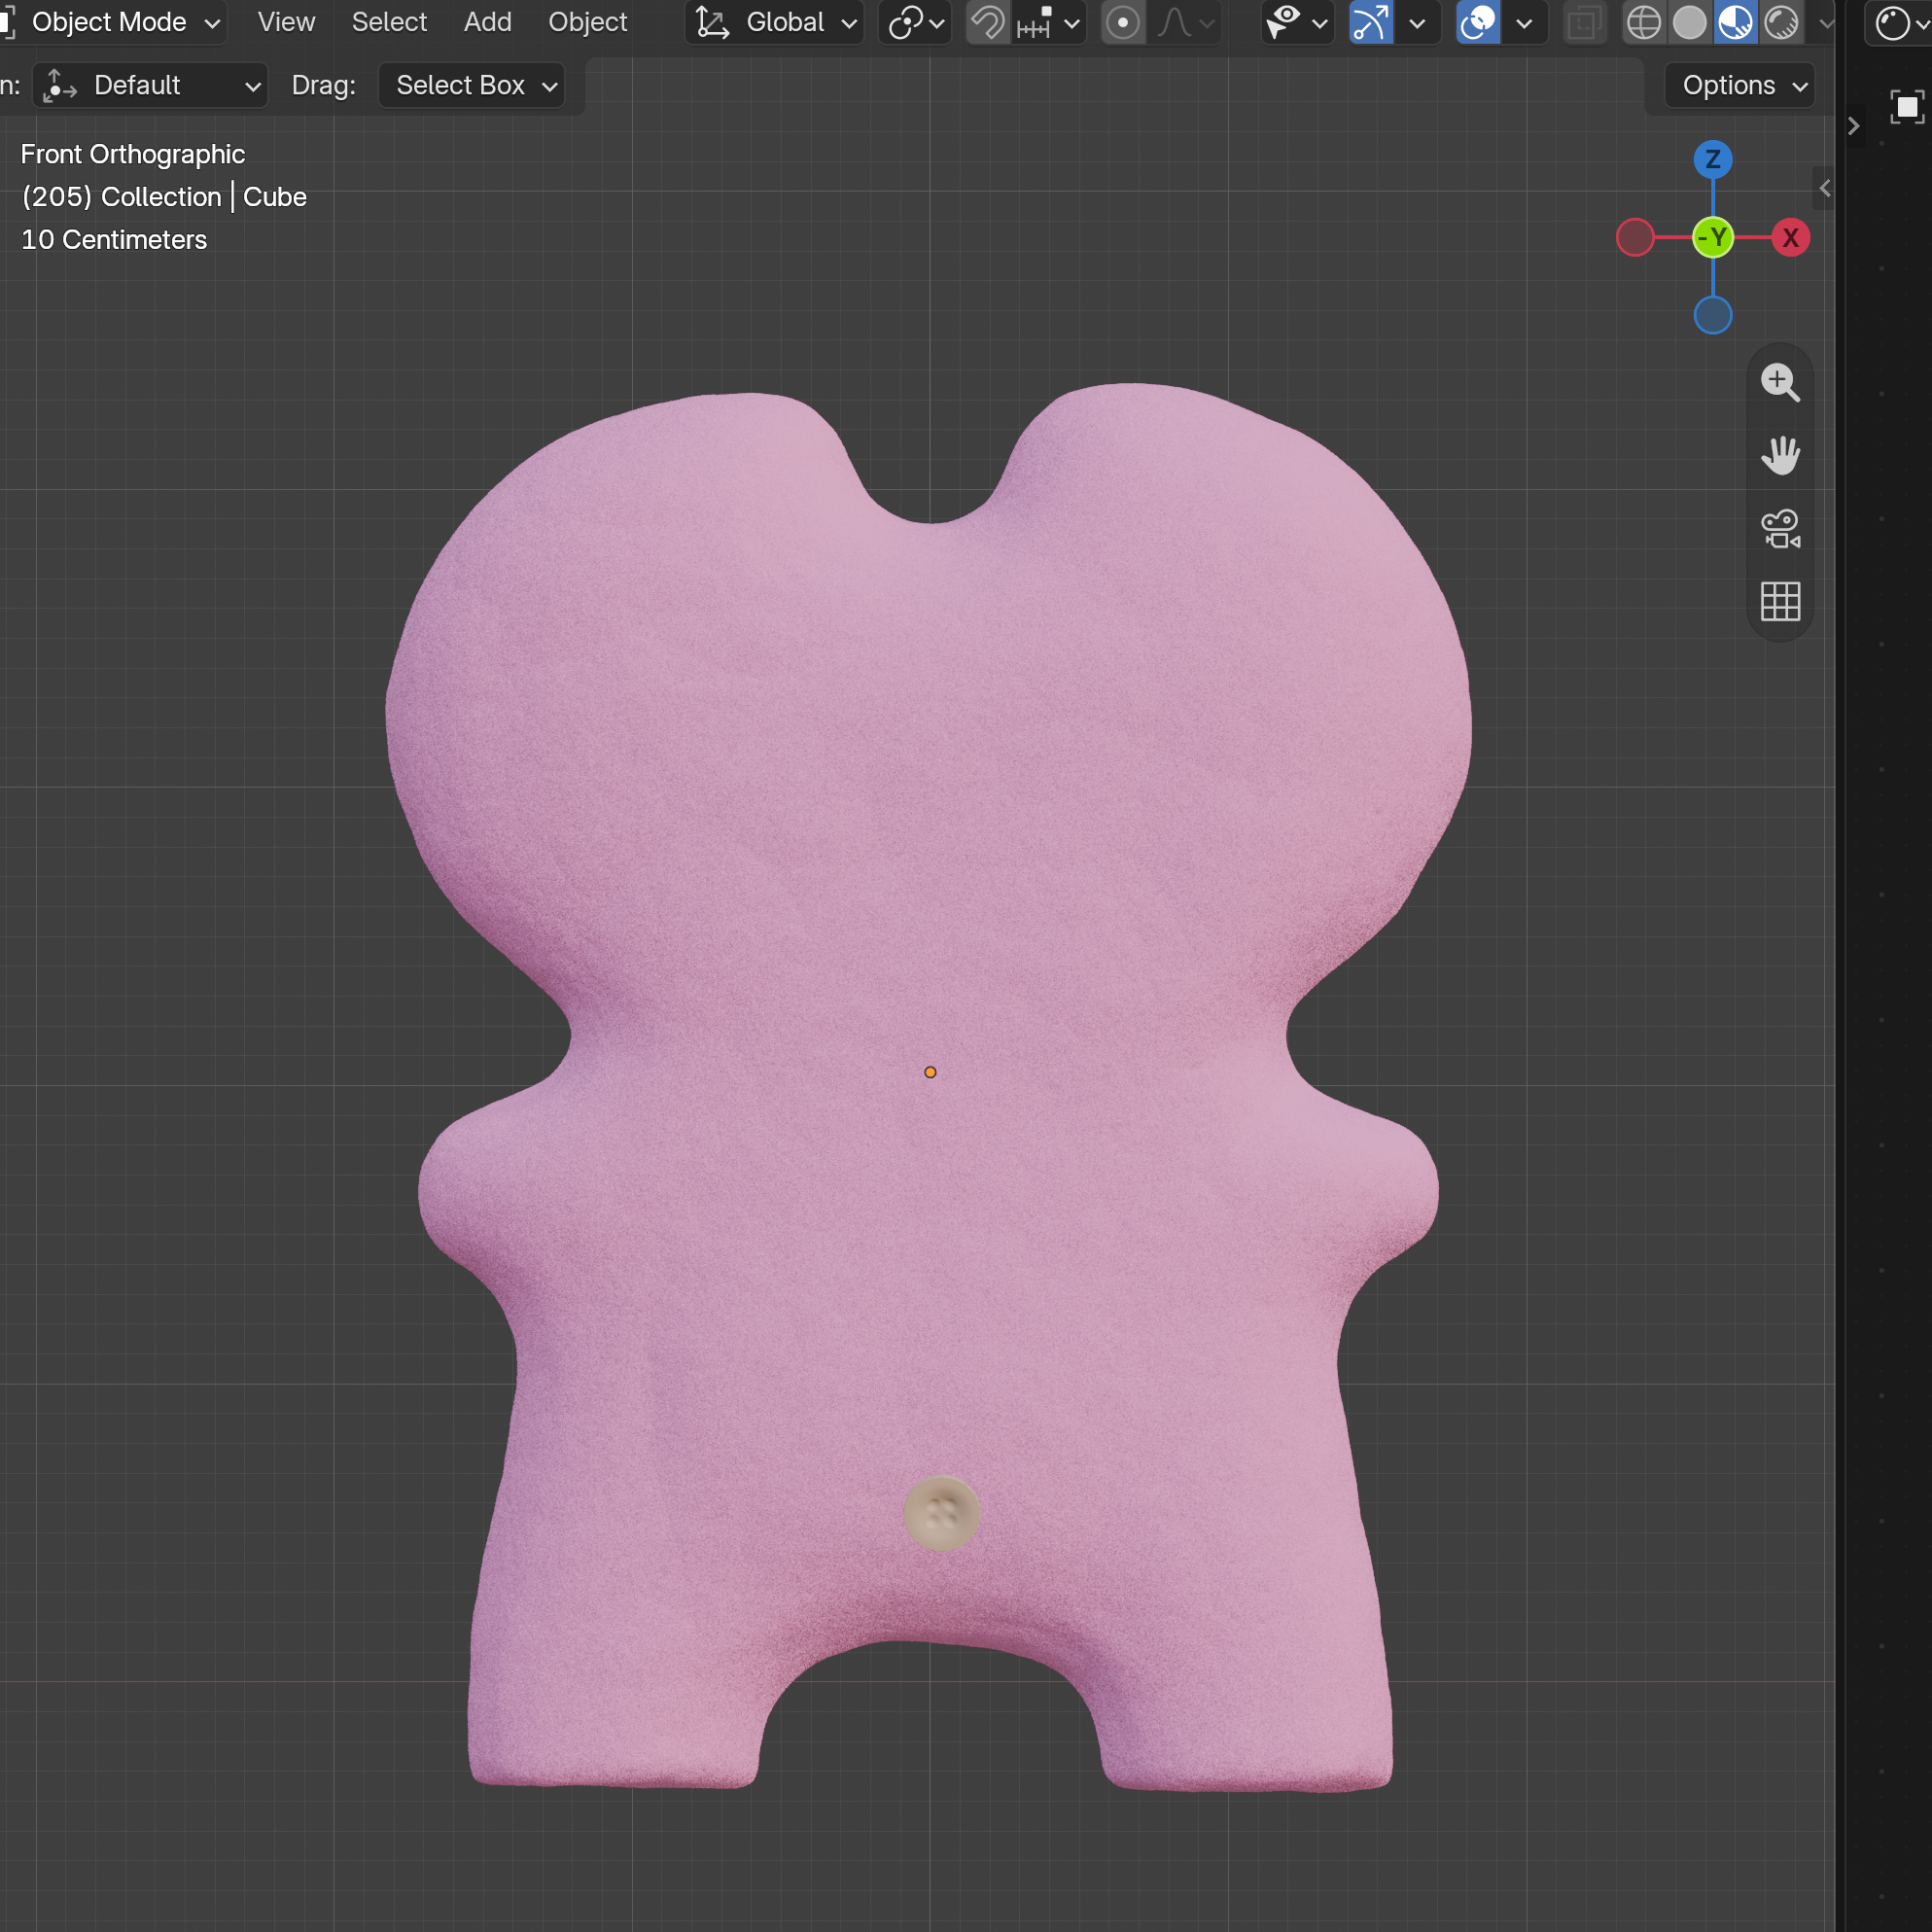
The first model i wanted to do was a soft collectible type character to see what i could do with displacements and custom materials shader.I built the base mesh using box modeling and subdivision surfaces, then utilized Blender’s Sculpt Mode with the Elastic Deform, Inflate, and Clay Strips brushes to create organic, relaxed folds across the body. I then took my base mesh and used displacement to give it that marshmallowy bumpy feel. Once i had that going i baked the displacement and bumps to images so they would translate well on the web and not lag things out too much. I played around with the pbr material and tested it in the model viewer with a neutral hdr to see how my soft shapes and shadows look.
Published 3D Model 2
For the Fuggler Cat, my goal was to translate a fluffy, tufted plush character into a real-time web model (.glb) using Google Model Viewer. I experimented with many techniques using particles in blender as well as geometry nodes hair curve modifiers. I was really happy with how it looked. But since web viewers can't render hair particle strands when exported as curves it would just appear as a normal hairless mesh. Therefore, I have to reconsidered my technical approach and used a displace modifier with a cloud texture instead. This allowed me to have actual pieces of geometry sticking out from the mesh to represent fur. I created a mask for areas I didn't want this to happen such as his mouth cavity, eyes and collar. By assigning this mask to the vertex group slot on my modifier. Finally, I set up a solid navy blue Principled BSDF material and baked the necessary surface normals to ensure full compatibility, clean topology, and fast loading performance in the web viewer. Although it doesn't look as good as the particle hair, I am quite happy with the final result.
Published 3D Model 3
The last model that I made was my Red Devil-Ghost Plush Key Chain. It has an embroidered face, dark colored plush tongue, fabric ribbon and a key ring. I modeled this key chain with a cube subdivision model. Then I used the digital sculpt grab tool to get more of the body shape of the ghost. To make the eyes and wings I used bezier curve and solidify to give them some depth then for the tounge i use box modeling and subdivision. I created a noise normal map to make the body look more plush like. I applied multiple PBR materials to each object and gave it a metal look to the gold ring and sheen on the ribbon loop.